How to Choose an Automotive Display Extension Cable for Aftermarket Infotainment

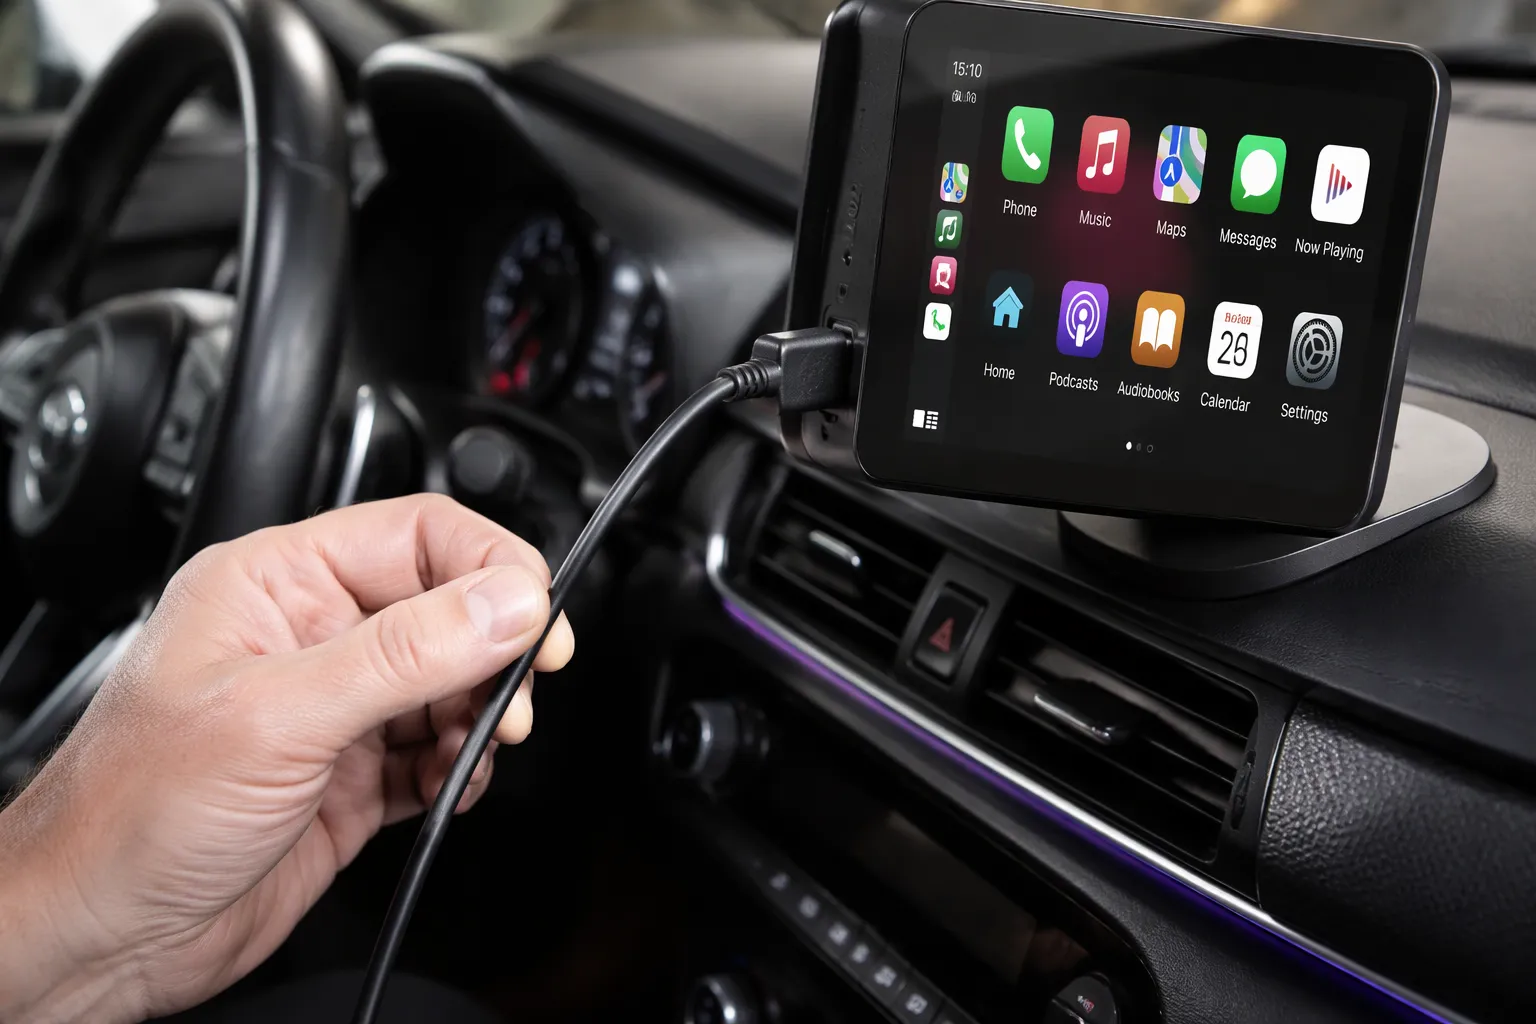
You pull a factory radio, test-fit the new touchscreen, and the harness falls short by six inches. The factory plug will not seat. The new routing path runs behind a bracket. Now you need the right automotive display extension cable, and guessing is expensive.
Before you buy, weigh these factors: connector compatibility, cable length and routing, HSD or LVDS interface matching, signal quality, durability, compliance, and cost versus performance. Get them right, and image quality and touch response stay intact. Get them wrong, and you face flickering screens, signal dropouts, or bent pins in a connector you cannot repair.
Use the checklist below to confirm every detail before you order.
Key Takeaways
Confirm connector type, pinout, and interface match before you buy.
Measure the full cable route and pick the shortest length that fits.
Protect signal quality with proper shielding and routing away from interference.
Choose durable cables with strain relief and the right connector angle.
Balance cost and custom options by sending photos and details for a quote.
What an Automotive Display Extension Cable Does
An automotive display extension cable connects a display, head unit, control module, or infotainment system when the original cable length or routing path does not suit an aftermarket installation. The factory harness follows the factory layout. Your new screen, bracket, or dashboard position often does not.
The cable may carry HSD, LVDS, or another automotive display interface, depending on the system design. No single cable works with every vehicle or screen. You must match the cable to the actual system in front of you.
Common Aftermarket Infotainment Applications
You will meet this cable in many upgrade jobs:
Factory screen replacement
Android screen installation
Apple CarPlay and Android Auto upgrades
Head unit replacement
Larger display installation
Rear-seat entertainment
Digital dashboard upgrades
Navigation display upgrades
Multimedia interface integration
Display relocation or custom dashboard installation
Each application changes the routing path, the connector pair, and the space behind the dash. A rear-seat screen runs a long path to the rear cabin. A relocated display may need a right-angle exit to clear a custom bezel.
Why the Correct Cable Matters
The correct cable depends on the original head unit, display, connector, pinout, protocol, and vehicle installation. Two vehicles from the same brand and year can use different head unit generations and different display connectors. A cable that fits one may not fit the other.
A mismatched cable shows up fast. You may see a blank screen, flickering, dropped touch input, or damaged pins. A correct cable protects image quality and touch response from the first power-up. Confirm every detail against the real parts before you order.
Confirm Connector and Interface Compatibility
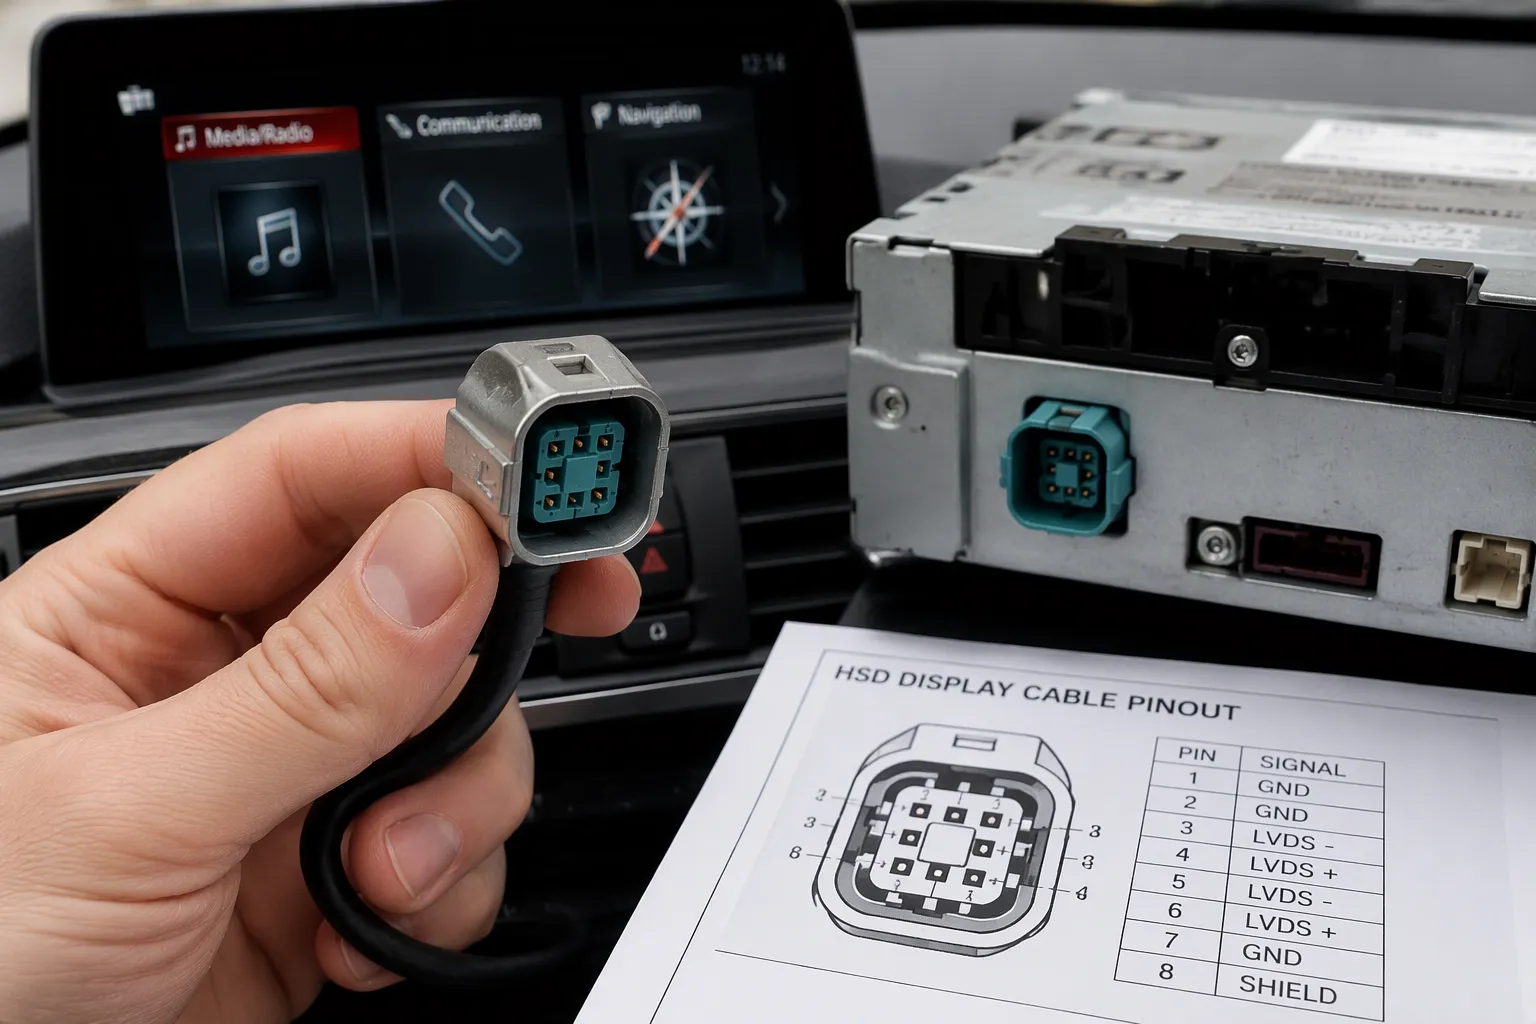
Compatibility starts with the interface family. HSD describes a connector and high-speed data cable family. LVDS describes a differential signaling method used in some display systems. These are different concepts, and an HSD connector does not automatically guarantee LVDS compatibility. A cable can carry the right plug and still fail the display system.
Several factors decide whether a cable works in a given installation:
Factor | What It Affects |
|---|---|
Connector type | Physical fit at the display and head unit |
Pin assignment | Which signal reaches which contact |
Cable construction | How well the cable carries high-speed data |
Differential pair arrangement | Signal balance and noise rejection |
Impedance | Signal integrity across the cable run |
Shielding | Protection from electromagnetic interference |
Display protocol | Whether the display and head unit can communicate |
Head unit interface | The source side of the connection |
Vehicle system design | Routing space and system architecture |
A standard HSD cable does not suit every LVDS display installation. Treat each job as its own case.
HSD and LVDS Display Cables
Think of HSD as the hardware family and LVDS as the language some displays speak. HSD connectors and cable assemblies support high-speed data transmission for digital infotainment, USB, LVDS, Ethernet, and other automotive links. The connector family gives you a robust mechanical platform. The signaling method still depends on the system design.
This distinction matters when you order an automotive display extension cable. You need a cable built for the protocol in the vehicle, not just a cable with a matching plug.
Checking Connector Type, Gender, and Pinout
Confirm these details before you buy:
Vehicle make and model
Production year
Head unit type
Factory display type
New display type
Connector shape
Connector gender
Pin assignment
Cable direction
Locking structure
Number of connectors
Whether an adapter or extension is required
Connector appearance alone is not enough. Two plugs can look identical and still differ in pin assignment, coding, or gender. A wrong pinout can damage the display or the head unit on first power-up.
LEADSIGN supplies HSD connectors and HSD cable assemblies for aftermarket infotainment work. HSD features such as primary and secondary locks and high coding efficiency help prevent misconnections during installation. Different codings on the plastic housing give you a clear keying reference, so the right plug meets the right socket.
When you request confirmation, send photos of the original cable and both connectors. Include the vehicle model, head unit, display type, and cable length. Final compatibility must be confirmed against the actual connector, pinout, display system, and technical drawing.
Choose the Right Length and Signal Quality
Length and signal quality work together. A cable that fits the route but loses signal fails the job. A cable with excellent signal properties but the wrong length also fails. Treat both as one decision.
Selecting the Correct Automotive Display Extension Cable Length
Measure the complete routing path before you order. Run a tape or a length of string along the exact path the cable will follow. Start at the head unit connector and end at the display connector. Include space around brackets and trim panels. Add room for installation movement, because you need slack to seat each connector without force.
Follow these steps to get the length right:
Measure the full path, not the straight-line distance.
Add clearance at every bracket and trim panel.
Leave enough slack to connect and disconnect without pulling.
Check the position of the head unit and the display.
Plan for future service access.
A cable that is too short creates mechanical stress. The connector takes the load, and pins can bend or pull loose over time. An unnecessarily long cable complicates installation. Excess slack coils behind the dash, and that coil can press against sharp edges or sit near heat sources. Choose the shortest length that still allows clean routing and service access.
Avoid pulling force at the connector. Avoid sharp bends. Never crush the cable behind the dashboard. These habits damage the cable even when the length is correct.
Protecting Signal Integrity and Display Performance
Signal quality depends on the whole cable assembly, not one feature. Differential signaling carries the display data as paired signals. Signal integrity holds when the cable preserves those pairs along the full run. Impedance matching keeps the signal stable from connector to connector. Shielding blocks electromagnetic interference from nearby wiring. Good construction limits crosstalk between pairs. Solid connector termination keeps the link reliable at each end.
Cable length and cable routing both affect performance. A longer run gives interference more opportunity to couple into the signal. A route that passes near power wiring or motors raises that risk further. Keep the cable away from interference sources and follow the bend radius the assembly allows.
Do not assume a cable supports a given resolution or refresh rate. Select the automotive display extension cable according to the actual display system and protocol requirements. Confirm the interface, the pinout, and the cable construction against the real hardware. Final compatibility must be confirmed using the actual connector, pinout, display system, and technical drawing.
Evaluate Durability, Compliance, and Connector Orientation
Heat, Flex, and Strain Relief
A dashboard is a harsh home for any cable. Summer cabin temperatures climb high, and the cable sits close to heat sources behind the dash. Vibration from the road works on every connector and every bend. Choose an automotive display extension cable built for this environment, not a general-purpose cable pressed into service.
Check the temperature range the assembly is rated for and compare it to the real conditions behind the dash. Look at flexibility, because a stiff cable resists the tight bends a custom route demands. Strain relief matters just as much. A connector with proper strain relief keeps pulling force away from the pins. Ask about safety and EMC standards at a general level, and confirm the supplier can speak to them. Do not accept vague claims in place of real documentation.
Straight vs. Right-Angle Connectors
Connector orientation changes how the cable leaves the display and the head unit. A straight connector exits in line with the socket. A right-angle connector turns the cable ninety degrees at the plug. Each design fits different installations.
Factor | Straight Connector | Right-Angle Connector |
|---|---|---|
Installation space | Needs room behind the socket | Fits tight spaces |
Cable exit direction | Straight out from the port | Turns at the plug |
Routing flexibility | Limited near walls | Follows tight paths |
Clearance behind display | Requires depth | Saves depth |
Clearance near head unit | Requires depth | Saves depth |
Connector access | Easy to grab | Can be harder to reach |
Mechanical stress | Bending loads the plug | Redirects the bend |
Installation convenience | Simple in open space | Better in cramped dashes |
A right-angle connector often suits a shallow dashboard cavity. A straight connector may serve an open installation with easy access. The correct choice depends on the actual installation, so test-fit before you commit.
Balance Cost, Custom Options, and Procurement
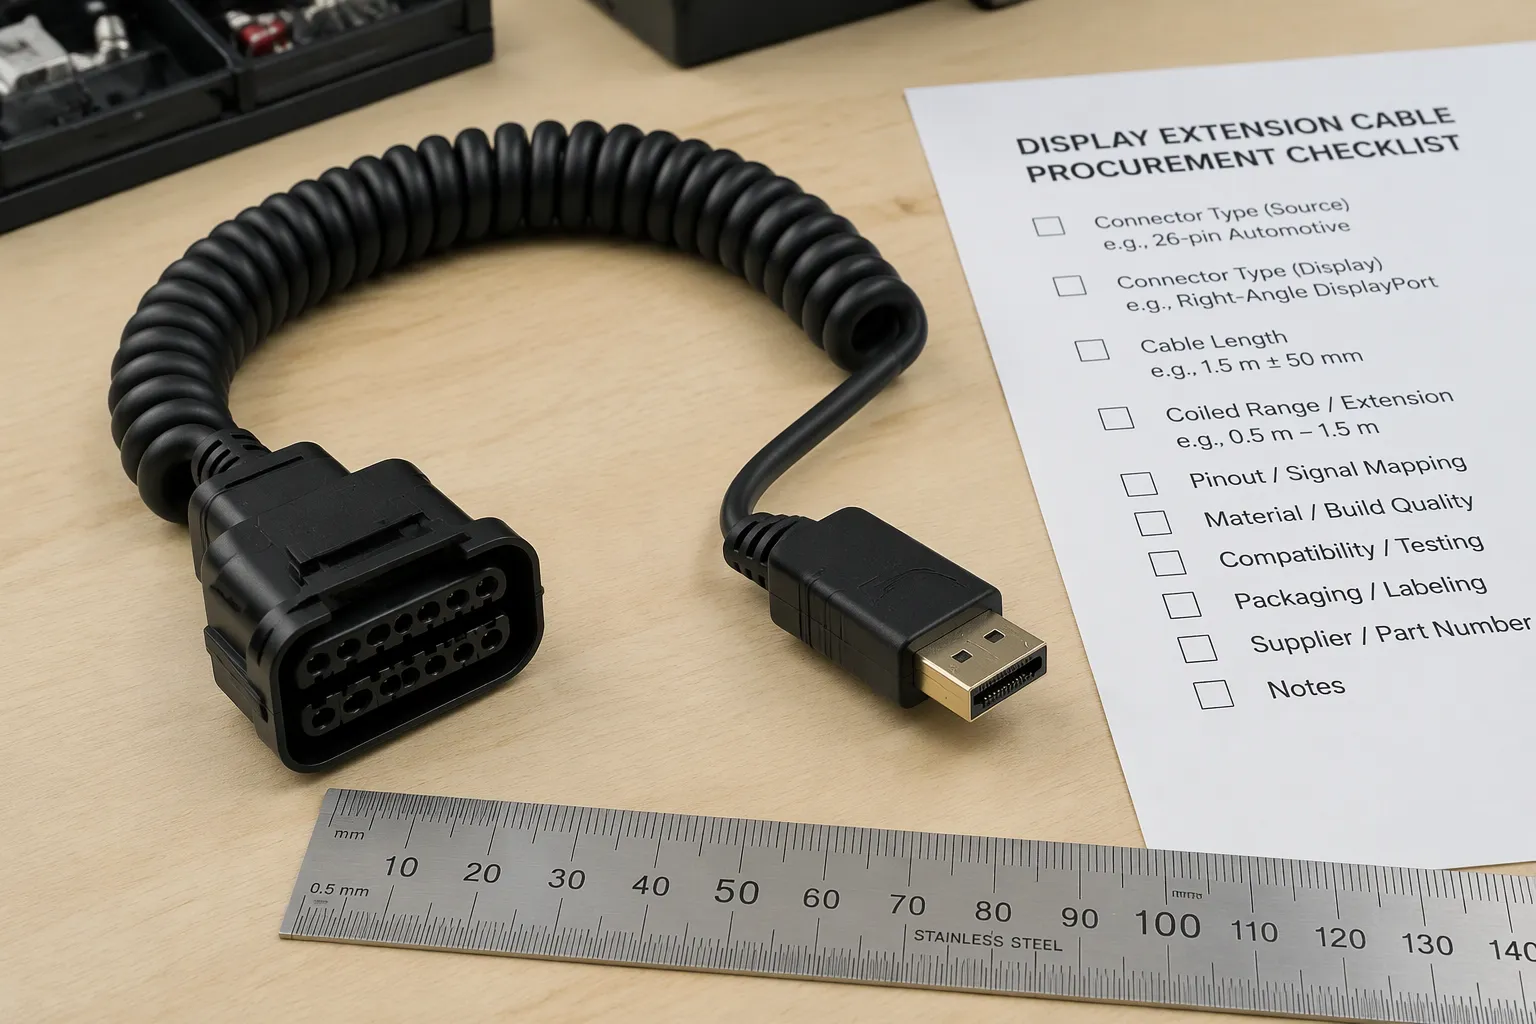
Standard vs. Custom Cable Assemblies
A standard extension cable fits a known job. You know the connector combination, the vehicle application, and the cable length. The routing path follows a familiar pattern, and you repeat the same installation many times. In that case, a standard assembly saves time and money.
A custom cable assembly may serve you better in other situations. Consider one when you need a special cable length, different connectors at both ends, or a straight-to-right-angle configuration. Custom work also helps with special connector coding, tight dashboard space, custom pin assignment, or a multi-connector design. Prototype installations, low-volume aftermarket projects, and special packaging requirements all point toward a custom build.
LEADSIGN supports connector selection, cable length, connector configuration, cable routing, and interface matching. The team also handles samples and customized cable assembly requirements. Send photos of the original cable and both connectors with your request. Include the vehicle model, head unit, display type, cable length, application, and estimated quantity.
Installation and Procurement Checklist
Use this table to collect every detail before you order an automotive display extension cable.
Item to confirm | Why it matters | Information required |
|---|---|---|
Vehicle make and model | Narrows the system family | Full model name |
Production year | Head unit generations change | Model year |
Head unit | Defines the source interface | Part photo and label |
Factory screen | Confirms the original connector | Photo of the plug |
Replacement screen | Confirms the new connector | Model and photo |
Physical fit | Series name | |
Connector gender | Prevents a wrong mate | Male or female |
Connector coding | Stops misconnection | Housing code |
Pinout | Protects both devices | Pin map or drawing |
Cable length | Fits the routing path | Measured length |
Cable direction | Matches the exit angle | Direction sketch |
Straight or right-angle design | Clears tight spaces | Preferred style |
Display protocol | Matches the signal type | System specification |
Cable shielding | Limits interference | Shielding requirement |
Routing path | Guides length and bends | Path description |
Bend radius | Avoids cable damage | Minimum radius |
Sample requirement | Verifies the fit | Yes or no |
Technical drawing | Confirms the build | Drawing request |
Quantity | Sets pricing and lead time | Unit count |
Delivery destination | Plans shipping | Full address |
Avoid these common mistakes. Do not order by vehicle model alone. Do not ignore the head unit generation. Never assume all displays from one brand use the same cable. Skip the habit of choosing by connector appearance. Confirm gender and pinout with care. Measure length twice. Keep bends gentle, and never crush the cable behind the dash. Route away from interference sources. Test a sample before full installation. Do not assume every HSD or LVDS cable supports the same display system. Always request photos and technical drawings.
Start with the job itself. Confirm what the cable does and which applications it serves. Then verify connector and interface compatibility, choose the right length, and protect signal quality. Next, evaluate durability and connector orientation. Finish by balancing cost against custom options and procurement needs.
Matching the automotive display extension cable to the actual connector, pinout, display system, and installation environment matters more than chasing the highest price or the longest spec sheet. Use the checklist as a repeatable buying process. Test a sample before full installation. Contact LEADSIGN for technical support, samples, custom cable assemblies, or a quotation.
FAQ
Can you use an HSD cable for every LVDS display?
No. HSD names a connector and high-speed cable family. LVDS names a signaling method. A matching plug does not prove the pinout, impedance, or protocol will work. Confirm the actual display system and technical drawing before you order.
How do you measure the cable length you need?
Run a string along the full routing path from head unit to display. Add clearance at brackets and trim panels. Leave slack for connecting without pulling. Pick the shortest length that still allows clean routing and service access.
Should you choose a straight or right-angle connector?
It depends on the space behind the dash. A right-angle plug saves depth in a shallow cavity. A straight plug works well in an open installation with easy access. Test-fit the display and head unit before you commit.
Why test a sample before a full installation?
A sample confirms the connector fit, pinout, and length on the real hardware. It catches a wrong coding or gender before you commit to a bulk order. Test the sample in the actual vehicle whenever possible.
What information should you send LEADSIGN for a quote?
Send photos of the original cable and both connectors. Include the vehicle model, head unit, display type, cable length, application, and estimated quantity. The team can then confirm connector matching, samples, and custom cable assembly options.
See Also
Key Benefits of HSD Connectors for Automotive Infotainment Systems
Improving Automotive Data Transmission Using Advanced Connectors and Cables
Boosting Automotive Data Transmission Using FAKRA PCB Connectors
Improve Your In-Car Experience Using HFM Rear Seat Entertainment
Maximizing Infotainment by Unlocking the Potential of HSD to USB Cables