How to Identify and Replace Vehicle Connectors for DIY Repairs

Vehicle connectors are key to your car's electrical system. They help parts communicate and keep things working safely. Knowing how to replace a bad connector saves money. Fixing it yourself also builds confidence in your skills. Spotting and repairing a broken plug means fewer mechanic visits. It also gives you more control over your car repairs.
Key Takeaways
Regularly inspect your vehicle connectors for signs of damage, such as rust or wear, to prevent electrical issues and ensure your car runs smoothly.
Use essential tools like a multimeter and crimping tool to safely and effectively replace faulty connectors, empowering you to handle DIY repairs confidently.
Understanding the different types of connectors and their applications helps you choose the right replacement, saving you time and money on repairs.
Understanding Vehicle Connectors
Vehicle connectors are important for your car’s electrical system. They help parts work together and keep things running well. Let’s learn about these connectors and how they are used.
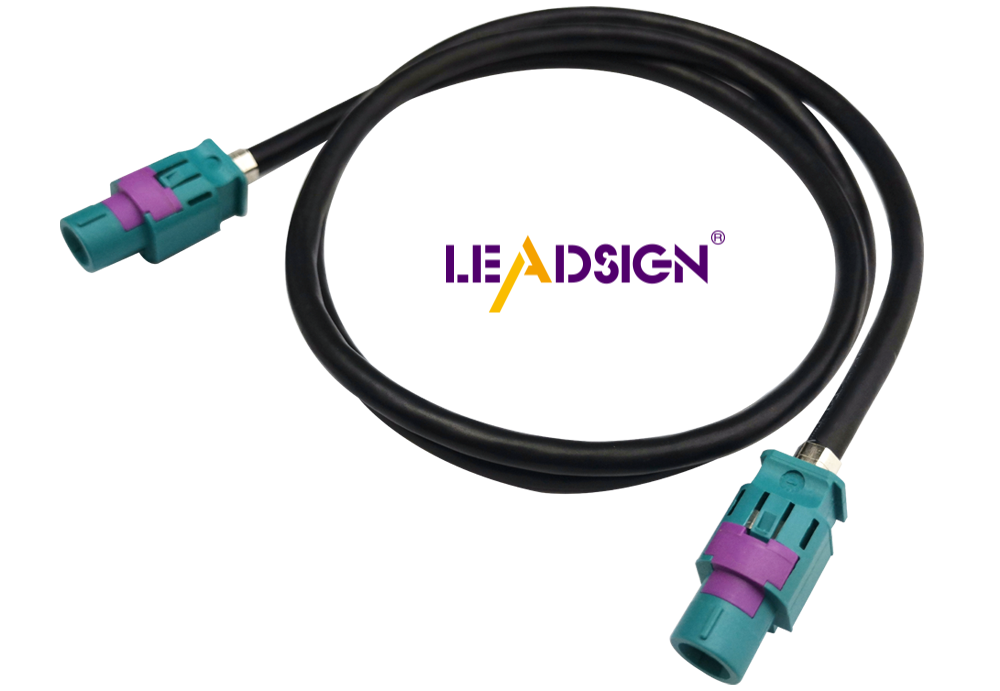
Common Types of Vehicle Connectors
Modern cars have many types of electrical connectors. Each has a special job:
Crimp Connectors: These include bullet, spade, and butt connectors. They are reliable.
Heat Shrink Connectors: These seal out weather, great for outdoor use.
Weather Pack Connectors: Built for tough conditions, they stay dependable.
Deutsch Connectors: Strong and durable, perfect for heavy-duty tasks.
Molex Connectors: These are flexible and used in modern designs.
USB Connectors: Found in infotainment systems and phone connections.
Each type helps keep your car’s electrical system safe and working.
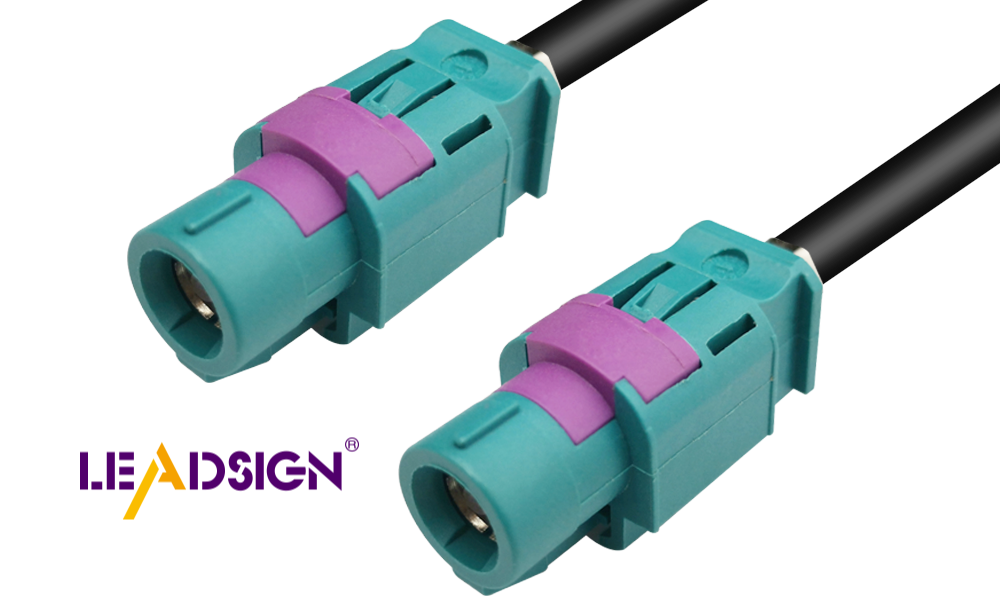
Identifying Automotive Electrical Connectors by Shape, Pins, and Keyways
Finding the right connector can seem hard but gets easier. The shape shows its purpose and what it fits with. Pins tell how many connections it supports. Keyways, or grooves, make sure it aligns correctly. This helps you fix connectors with confidence.
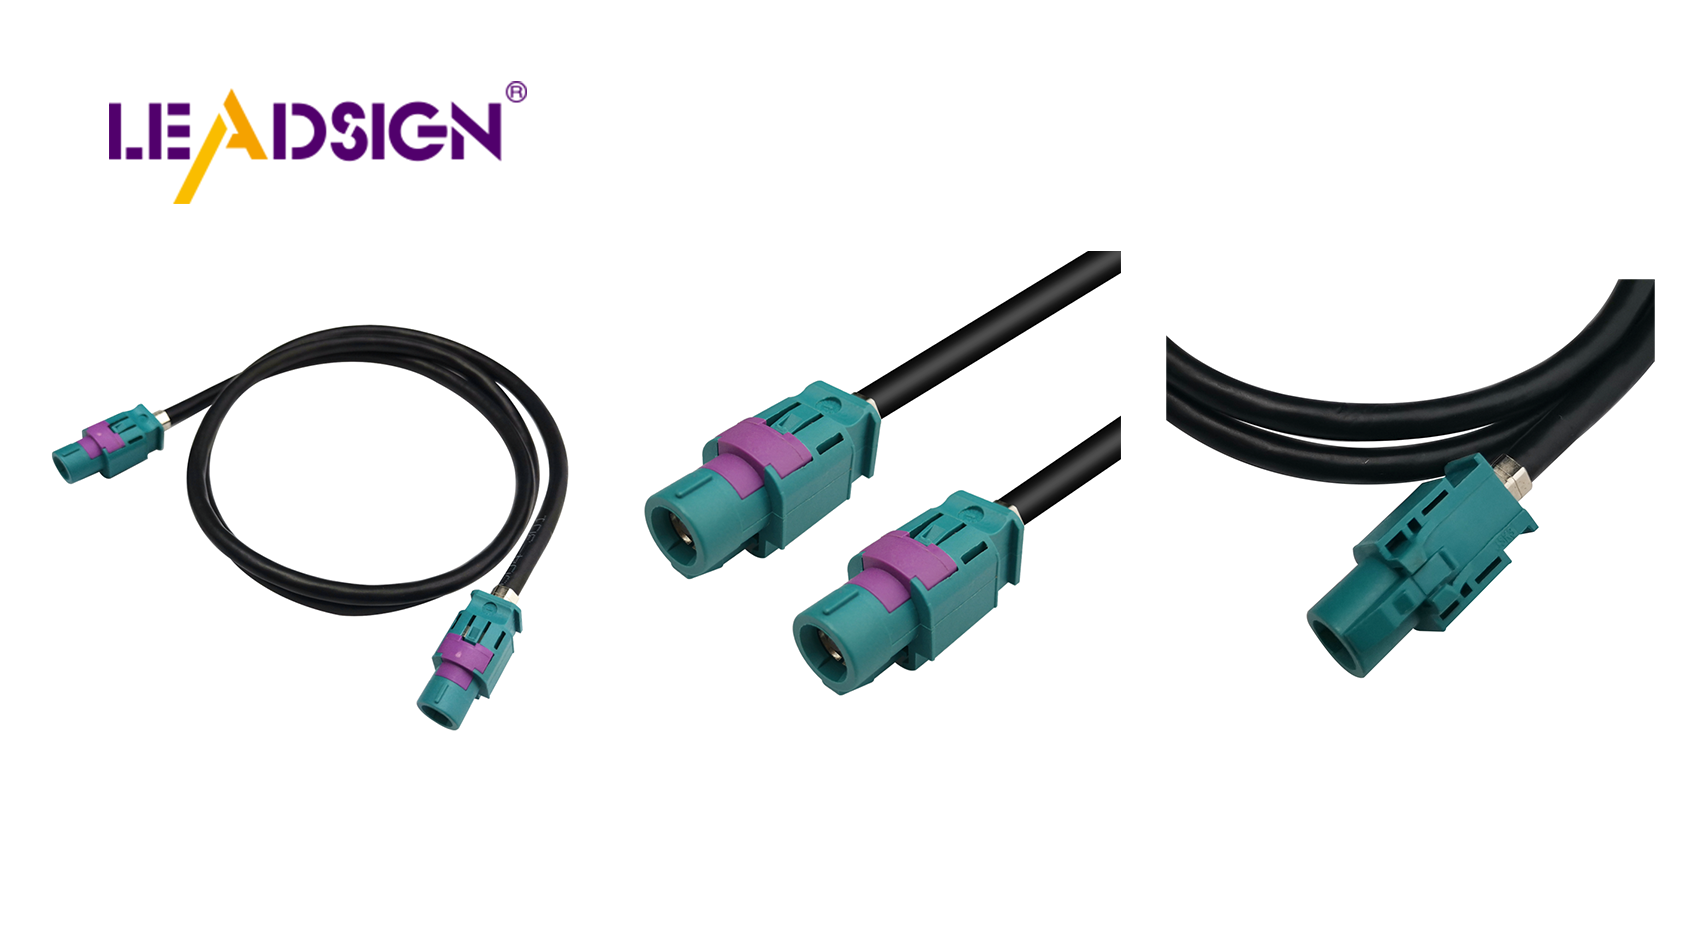
Wire Harness Plug Connector Applications in Vehicles
Wire harness plug connectors are all over your car. They link parts like stereos and sensors. They also connect tools for repairs. Sometimes, they replace other devices temporarily. This keeps your car working while waiting for fixes. A wire harness is key to your car’s electrical system.
Knowing about these connectors makes fixing them easier. With this, you’re closer to doing your own car repairs.
Diagnosing Connector Issues
If your car’s electronics act strange, the connector might be bad. Finding the problem is the first step to fixing it. Let’s make it simple.
Checking for Damage, Rust, and Wear
Look closely at the plug for problems. A quick check can show its condition. Watch for these signs of bad connectors:
The car has trouble starting.
The dashboard doesn’t respond.
Search for rust, cracks, or broken wires. Wet weather can cause rust, making the plug weak. Strong shaking can also damage it over time. If you see these problems, it’s time to check and maybe replace the connector.
Testing to Find Bad Connections
Sometimes, you can’t see the issue. That’s when testing helps. Use tools like:
Multimeter: Finds bad plugs by checking voltage and resistance.
Voltmeter: Tests battery voltage to rule out battery trouble.
OBD-II Scanner: Reads error codes from your car’s computer.
These tools make fixing connectors easier. If unsure, try moving the plug gently. See if the connection gets better or worse.
Signs of Broken Connectors
Good connectors keep your car working well. When they fail, you might notice:
Headlights or signals flicker.
A burning smell near wires.
Things like the stereo or USB ports stop working.
These signs often mean the plug is damaged. Replacing it can fix the problem and stop more issues. Check your wire harness often to catch problems early and keep your car running great.
Steps to Replace Car Electrical Connectors
Changing a broken plug might seem hard, but it’s doable. Follow these simple steps to fix it yourself.
Getting Ready (Tools and Safety First)
Safety is important! Disconnect the car battery before starting. Use a wrench to loosen the battery terminals. Remove the negative terminal first, then the positive one. Wear gloves and safety glasses to stay safe. Work in a bright, clean area to avoid mistakes.
Gather all the tools you’ll need. These include a multimeter, wire cutters, crimping tool, soldering kit, and the new connector. Having tools ready makes the job easier and faster.
Taking Out the Old Connector
Find the broken plug first. Use a multimeter to check if it’s bad. Remove it gently without pulling too hard on the wires. Twist it softly to take it out. If the wires are damaged, cut them neatly with wire cutters. This helps the new connector fit securely.
Putting in the New Connector
Place the wires into the right slots of the new plug. Use a crimping tool to secure them tightly. Push the connector into place until it clicks. Be careful not to bend or break the pins or wires. A tight connection keeps your car working well.
Testing After Replacement
Once done, test if the new connector works. Use a multimeter to check voltage and connections. Lightly pull on the wires to ensure they’re tight. Look for any loose parts in the wire harness. Testing makes sure everything is fixed properly.
Fixing car connectors isn’t too hard. With the right tools and steps, you can do it yourself!
Taking care of your car’s plugs keeps it running well. Check them often to stop rust, shaking, or heat damage. Be gentle when handling plugs to prevent breaking them. Fixing problems early means steady power and fewer troubles. Keep learning DIY fixes—they save money and teach useful skills!
FAQ
How do I know which connector to buy for my car?
Check your car’s manual or the old connector’s part number. Match the shape, pins, and keyways for compatibility.
Can I replace a connector without special tools?
You can, but tools like a crimping tool or multimeter make the job easier and ensure a secure connection.
What’s the best way to prevent connector damage?
Inspect connectors regularly. Keep them clean and dry. Avoid pulling on wires when disconnecting to prevent wear or damage.
See Also
Essential Insights on Ford Fakra Connectors Explained
Comprehensive Overview of Honda's Fakra Connectors
Significance of Fakra Connectors for Honda Cars
Crucial Role of Fakra Connectors in Today's Cars
Transforming Vehicle Connectivity: Benefits of HFM Connectors
