Essential Maintenance Tips for Long‑Lasting Auto Electrical Connectors Plugs – Professional B2B Guide (2026)

Intro: Regular Maintenance Prevents Costly Failures and Extends Vehicle Life
Auto electrical connector plugs are critical for every system in a vehicle – from engine controls and lighting to ADAS and infotainment. Dirt, moisture, vibration, and heat gradually degrade connectors, leading to corrosion, loose connections, and intermittent failures. A simple, regular maintenance routine saves thousands in callbacks and keeps vehicles reliable. This guide covers common connector problems, cleaning and protection techniques, inspection schedules, and troubleshooting – all from a professional B2B perspective.
1. Common Problems with Automotive Connectors – What to Look For
Problem | Cause | Symptom | Prevention |
|---|---|---|---|
Corrosion (green/white powder) | Water ingress, road salt | Intermittent signal, high resistance, dim lights | Use sealed (IP67) connectors; apply dielectric grease to seals |
Loose or broken connections | Vibration, poor crimp, no secondary lock | Flickering lights, intermittent operation, DTCs | Use connectors with CPA; perform pull test after crimping |
Heat damage (melted plastic) | Engine bay high temperature, high resistance | Discoloured housing, burnt smell | Use high‑temp rated connectors (-40°C to +125°C) |
Water and dirt ingress | Unsealed connectors in exterior/underbody | Corrosion, short circuits, complete failure | Use sealed connectors; inspect seals regularly |
Pro tip: During routine service, wiggle each connector while the circuit is powered. If the device flickers, the connection is loose or corroded.
2. Step‑by‑Step Maintenance Procedures
🔹 Cleaning Connectors – Professional Method
Tools needed: Electrical contact cleaner (plastic‑safe), soft brush, compressed air.
Disconnect battery (negative first).
Separate connector halves – release locks with a pick tool.
Blow out loose debris with compressed air.
Spray contact cleaner on terminals and inside housing.
Gently brush terminals to remove oxidation.
Blow dry with compressed air (no residue).
Inspect – if corrosion remains, repeat or replace connector.
Do not use: Water, WD‑40, brake cleaner, vinegar, or baking soda – they damage plastic or leave conductive residue.
🔹 Applying Dielectric Grease – Seal Protection Only
Where to apply: Rubber seals, grommets, and housing mating surfaces.
Where NOT to apply: Directly on electrical contact surfaces (grease is an insulator).
Benefit: Prevents moisture ingress, stops seal hardening, reduces corrosion.
Application: Squeeze a small amount into the seal area before mating. Reapply annually or after water exposure.
🔹 Inspecting for Damage – Checklist
Inspection point | What to check |
|---|---|
Housing | Cracks, melted plastic, discolouration |
Terminals | Green/white powder (corrosion), bent or pushed‑back pins |
Locking mechanism | Click engagement, secondary lock / CPA intact |
Seals | Torn, hardened, or missing grommets |
Strain relief | Wires not pulled out of crimp; zip ties secure |
Frequency: Every 6 months or 20,000 km; after off‑road use or pressure washing.
3. Handling and Storage – Extend Connector Life
Action | Do | Don’t |
|---|---|---|
Disconnecting | Grasp the connector body, use pick tool to release lock | Pull by wires |
Handling | Use proper depinning tools | Force mismated connectors |
Storage | Keep in dry, labelled containers; use dust caps | Store in humid areas, stack heavy items on top |
Spare connectors | Keep in anti‑static bags with silica gel | Expose to sunlight or extreme heat |
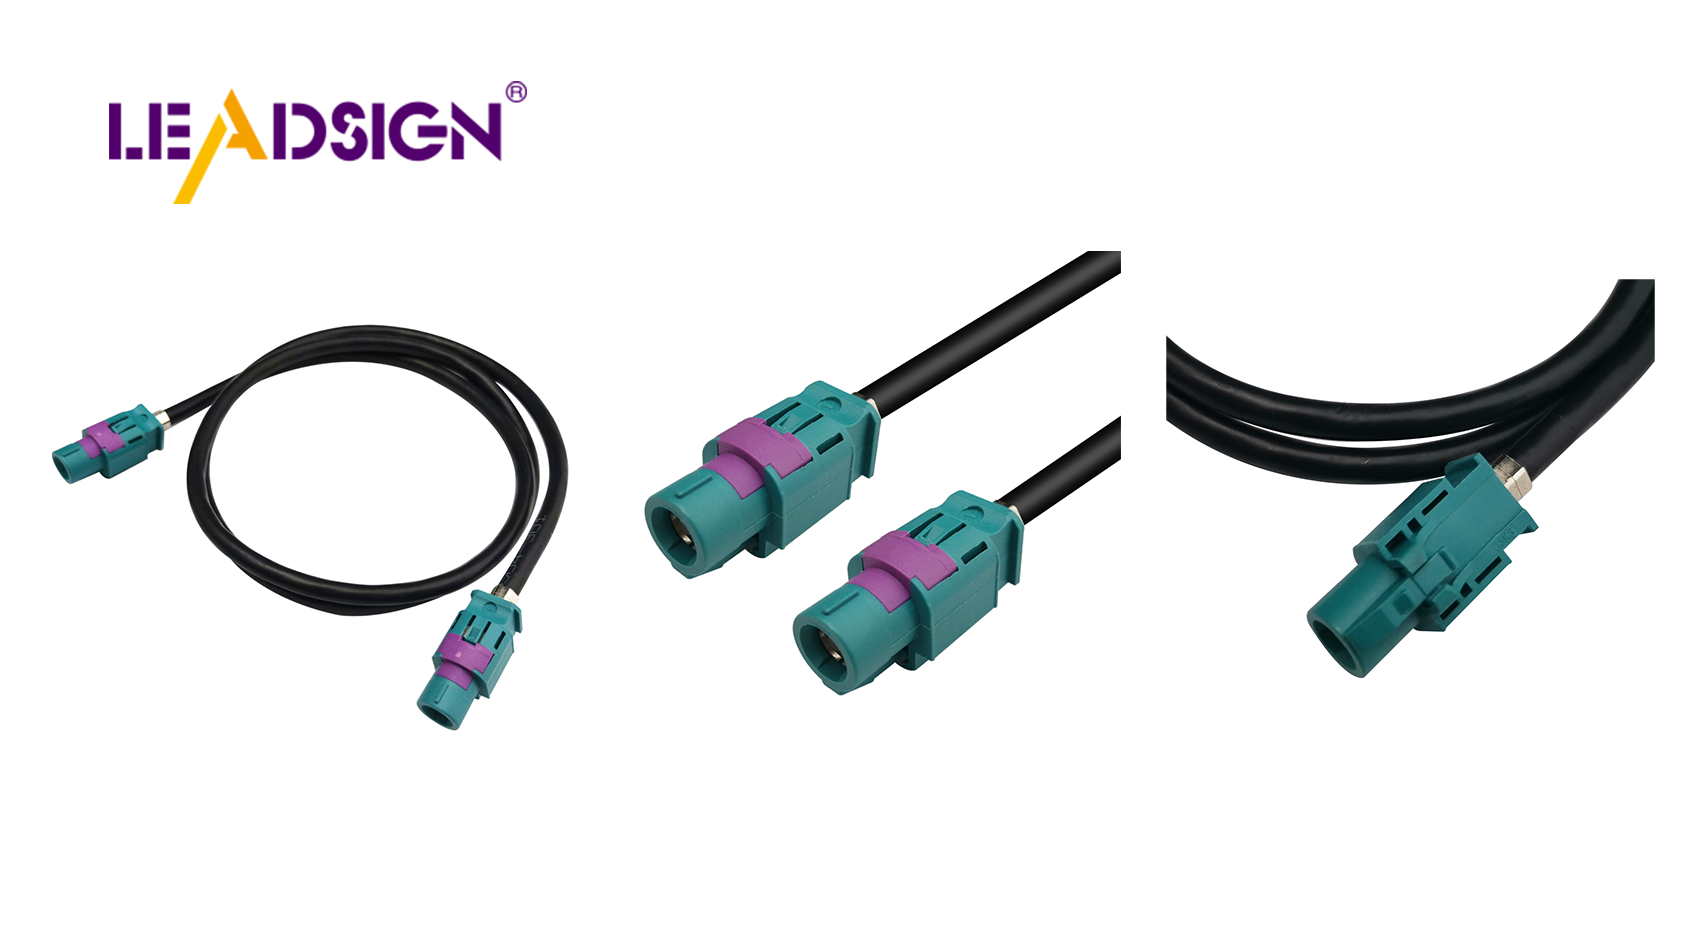
Pro tip: For data connectors (FAKRA, HSD), store with protective caps on the cable ends – the centre pin is fragile.
4. Tools and Materials for Professional Maintenance
Tool / material | Purpose |
|---|---|
Electrical contact cleaner | Degreasing, removing corrosion |
Soft brush / connector brush | Gentle scrubbing of terminals |
Compressed air | Blowing out loose debris |
Dielectric grease | Sealing rubber seals (not contacts) |
Multimeter | Testing continuity, voltage drop, resistance |
Heat gun | Shrinking adhesive‑lined heat‑shrink tubing |
Depinning tool | Removing terminals from housing |
Replacement terminals / pigtails | For damaged connectors |
For data lines (FAKRA, HSD): Use pre‑terminated LEADSIGN cables – no field crimping, no cleaning of internal contacts.
5. Troubleshooting Common Connection Problems
Symptom | Likely cause | Fix |
|---|---|---|
Intermittent operation | Loose terminal, corrosion | Clean, retension female terminal, or replace connector |
No power / open circuit | Broken wire, pushed‑back pin | Replace terminal or entire pigtail |
Overheating / burnt smell | High resistance (corrosion or poor crimp) | Replace connector and check for root cause (undersized wire) |
Camera flicker / GPS drop | FAKRA centre pin bent or shield broken | Replace entire pre‑terminated LEADSIGN cable |
USB‑C not recognised | Non‑HSD cable or poor termination | Use LEADSIGN HSD USB‑C pre‑terminated |
6. Preventive Measures – Long‑Term Reliability
Keep moisture out: Use sealed connectors (IP67/IP69K) for any exterior/underbody application. Apply dielectric grease to seals.
Regular inspection schedule: Every 6 months – visual, tug test, multimeter check.
Avoid overloaded circuits: Use correct wire gauge; do not add high‑current devices without upgrading wiring.
Use high‑quality connectors: OEM or OEM‑grade (LEADSIGN for data) – cheap unbranded connectors will fail.
7. Why LEADSIGN – For Data Connector Maintenance
Traditional power connectors can be cleaned and re‑crimped. However, high‑speed data connectors (FAKRA, HSD) are impedance‑sensitive. Field cleaning of centre pins is not recommended – replacement with a pre‑terminated cable is the professional approach.
What LEADSIGN offers:
✅ FAKRA (standard & Mini) – all 14 colours, 50Ω, up to 20 GHz, IP67 optional
✅ HSD (USB‑C, Ethernet, LVDS) – 100Ω, locking, up to 5 Gbps
✅ Pre‑terminated cables – any length 0.3m – 20m, no field crimping
✅ Low‑loss, double‑shielded coax – for long runs and EV environments
✅ Bulk pricing – for shops, fleets, and distributors
For your business: Instead of cleaning a corroded FAKRA connector, simply replace the entire pre‑terminated LEADSIGN cable – faster, more reliable, no callback.
Final Recommendations – Connector Maintenance Checklist
Task | Frequency | Action |
|---|---|---|
Visual inspection | Every 6 months | Look for cracks, corrosion, melted plastic, loose locks. |
Clean with contact cleaner | Annually or after water exposure | Spray, brush, blow dry. |
Apply dielectric grease | Annually | Squeeze onto seals – not contacts. |
Pull test | Every service | Gently tug each wire – should not move. |
Replace damaged FAKRA/HSD cables | Immediately | Use LEADSIGN pre‑terminated cable. |
Remember: A 10‑minute connector maintenance routine can prevent a 1‑hour diagnostic and a costly callback.
Ready to simplify your connector maintenance with pre‑terminated data cables?
[Request a free LEADSIGN FAKRA/HSD sample kit] | [Get bulk pricing]
See Also
Why FAKRA Connectors Matter in Vehicle Technology
Boosting Automotive Performance with HFM Connectors
Improving Vehicle Data Flow with Advanced Connectors
