Your Guide to Using Car Wiring Wire for Tacoma Accessory Installation

Car wires are important for adding Toyota Tacoma accessories. They help your accessories work safely and correctly. Using wrong wires can harm your car or cause danger. Learning about wiring can prevent expensive errors. This guide will teach you to wire confidently. It will make your DIY project easy and successful.
Key Takeaways
Choose the right type of car wiring wire for your Tacoma accessories to ensure safe and effective installation.
Always disconnect the battery before starting any wiring work to prevent shocks and short circuits.
Use quality tools like wire strippers, multimeters, and heat guns to make the installation process smoother and safer.
Plan your wiring route carefully to avoid tangles and ensure a neat setup, utilizing existing channels when possible.
Test each connection with a multimeter before finalizing the installation to catch any issues early.
Secure and protect your wiring with zip ties and heat-shrink tubing to enhance durability and prevent damage.
Follow safety precautions, including wearing gloves and goggles, to protect yourself during the installation process.
Understanding Car Wiring Wire
What Is Car Wiring Wire?
Car wiring wire is key to your car's electrical system. It sends power and signals to make parts work properly. Without it, your car's electrical features won't function. These wires come in different sizes and materials for specific jobs. Thicker wires carry more power, while thinner ones handle smaller tasks.
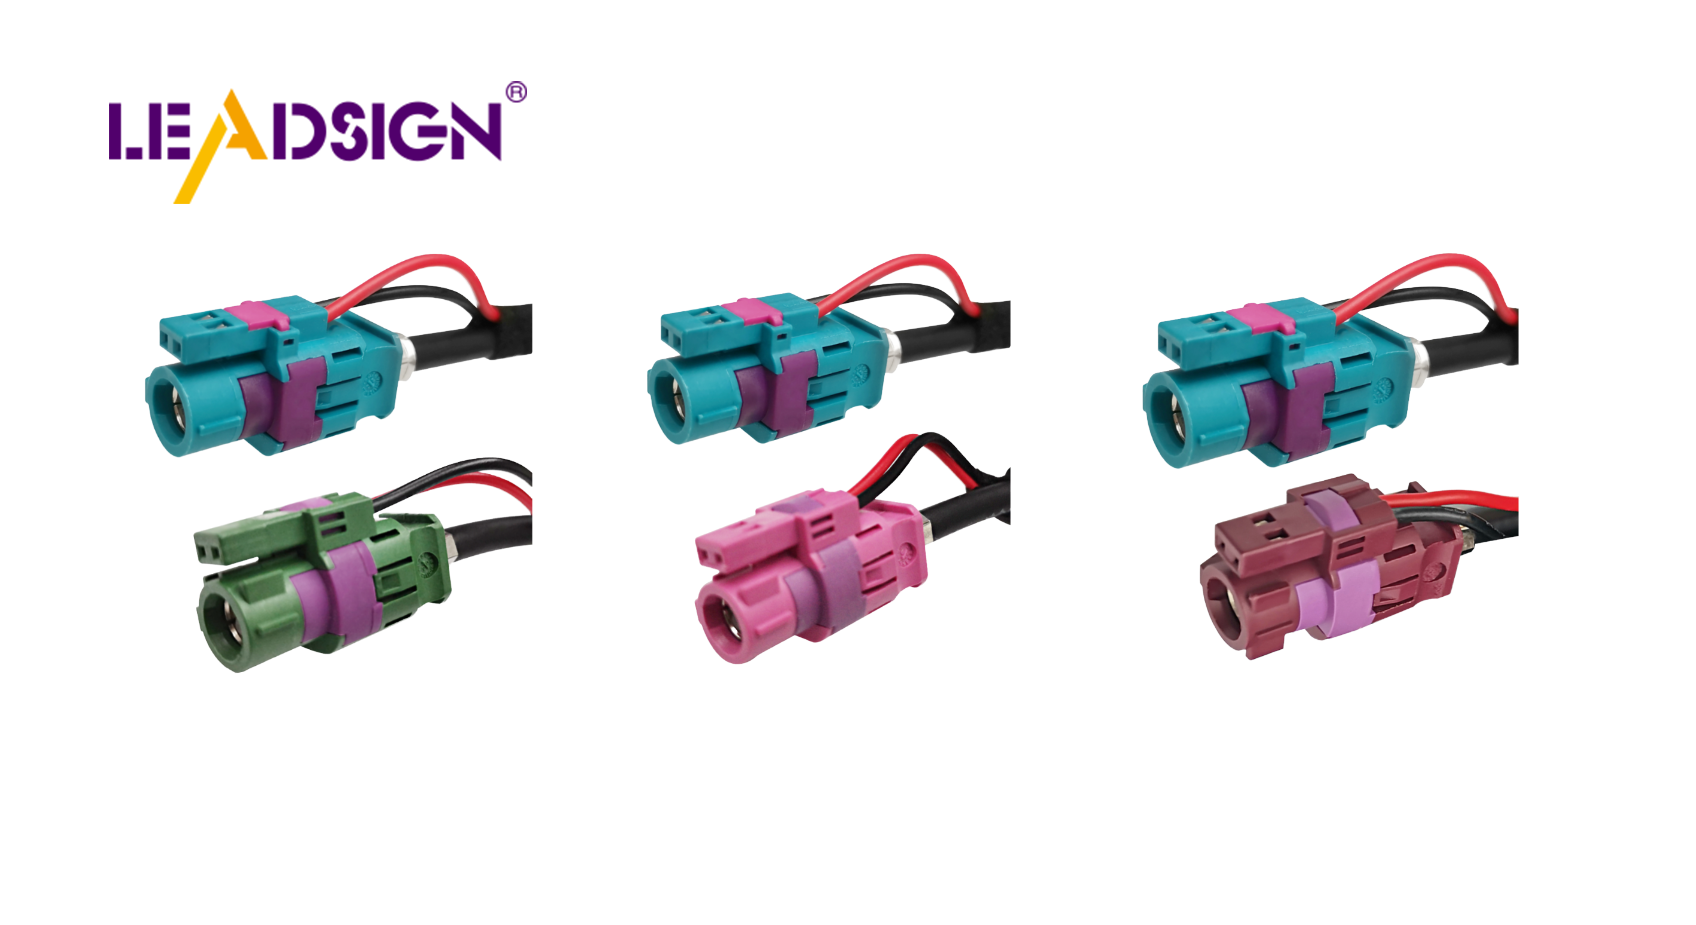
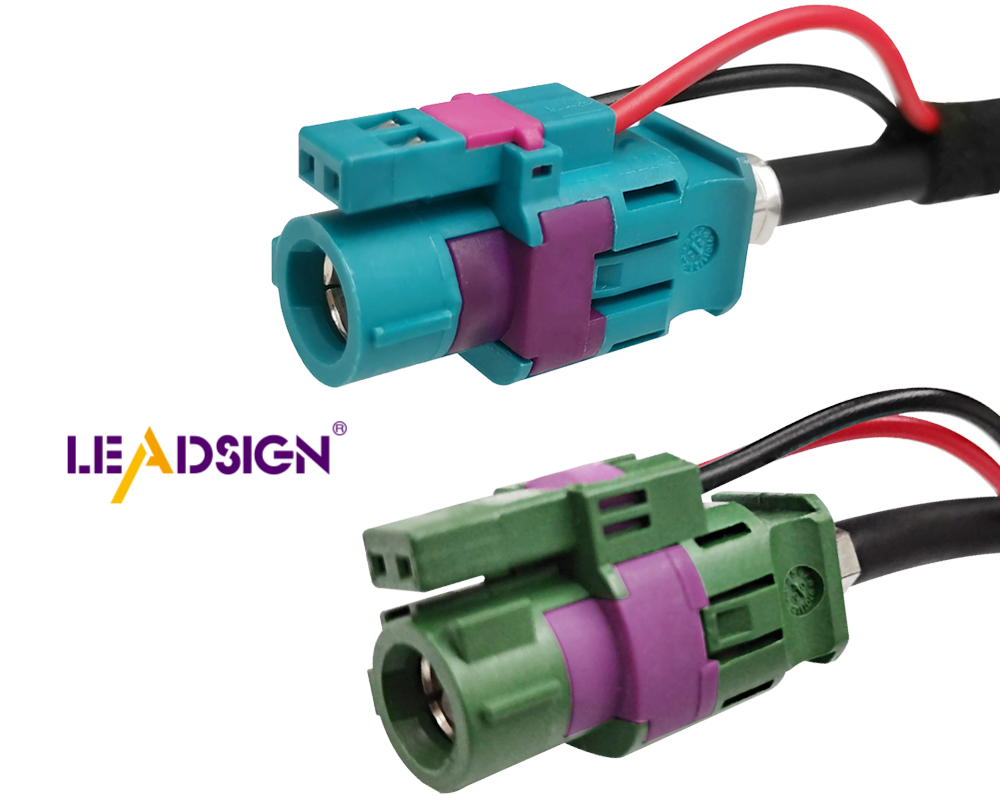
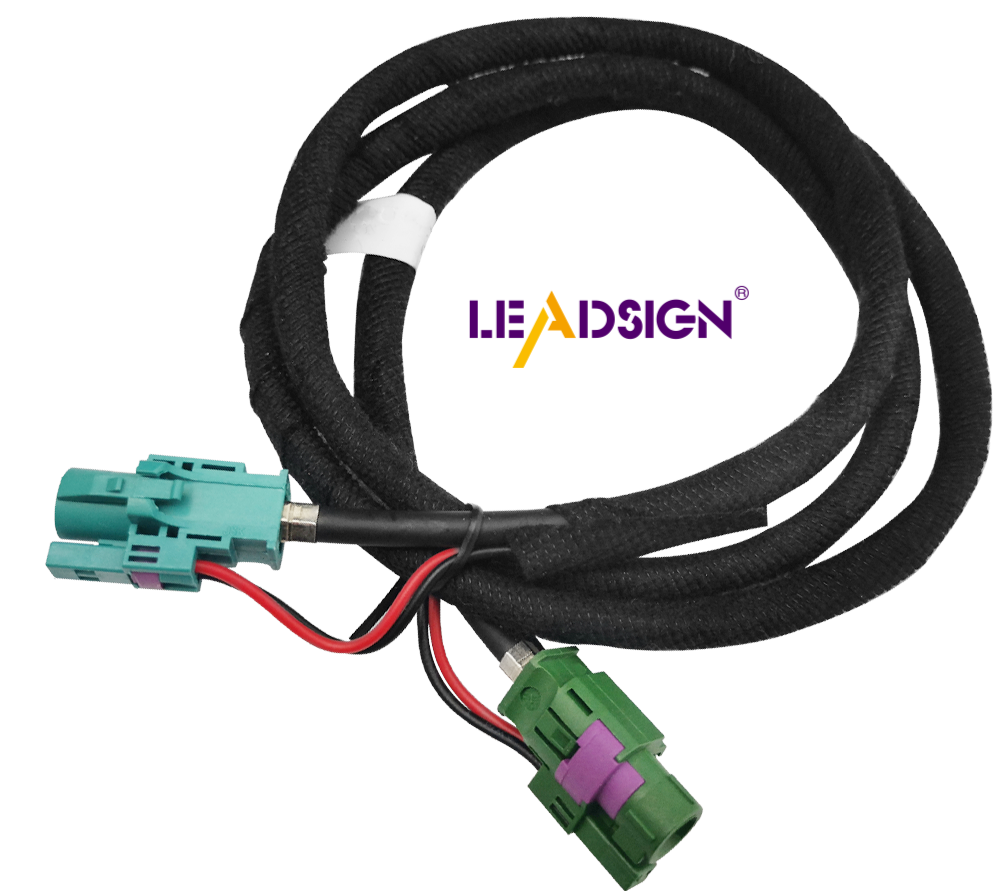
When adding Tacoma accessories, you must know how wires work. They link your new accessory to the car's power or controls. For example, a custom wiring harness like the CURT Custom Wiring Harness makes this easier. It connects smoothly to your Tacoma's taillights. This gives a safe and strong link for trailer wiring or other add-ons.
Types of Car Wiring Wire for Toyota Tacoma Accessories
Picking the right wire is important for a good setup. Here are the main types you might use:
Primary Wires: These are all-purpose wires for most car needs. They are strong, bendable, and come in sizes to fit power needs.
Ground Wires: These wires link your accessory to the car's frame. This completes the circuit and helps everything work right.
High-Speed Data (HSD) Wires: For advanced gadgets like cameras, you may need HSD wires. They send data fast and keep digital tools running smoothly.
Custom Wiring Harnesses: Items like the CURT Custom Wiring Harness are made for certain cars, like the Tacoma. They are easy to use with plug-and-play parts, lowering wiring mistakes.
Each wire type has a special job. Choosing the right one keeps your Tacoma accessories working well and protects your car's electrical system.
Tools and Materials Needed
Upgrading your Tacoma with new accessories is easier with the right tools. This section lists what you need for a smooth installation.
Tools You’ll Need for Tacoma Accessories
To install Tacoma accessories, basic tools are very helpful. These tools save time and make the job simpler. Here’s what you should have:
Wire Strippers and Crimpers: These cut and connect wires safely. They make sure wires are neat and secure for good connections.
Multimeter: This tool checks voltage and electrical flow. It helps ensure your wiring works before finishing the job.
Screwdrivers and Wrenches: Keep different sizes ready. These are needed for removing panels, tightening bolts, and attaching items like lights or racks.
Heat Gun or Soldering Iron: Use these to seal wires with heat-shrink tubing. They also help solder wires for a stronger connection.
Electrical Tape and Zip Ties: These keep wires organized and safe. They stop wires from tangling or getting damaged.
You don’t need a fancy garage setup. A jack and jack stands work fine for most Tacoma projects. Many people finish their upgrades with these simple tools.
Materials You’ll Need for Wiring
Good materials are key to a safe and lasting installation. Using quality items makes your project better. Here’s what you’ll need:
Car Wiring Wire: Pick the right type and size for your accessory. For example, primary wires are great for general use, while HSD wires are best for advanced gadgets like cameras.
Connectors and Terminals: Use connectors like spade or ring terminals to join wires. These make it easy to link your accessory to the Tacoma’s system.
Heat-Shrink Tubing: This protects wire connections from water and wear. It also makes your wiring look neat and professional.
Custom Wiring Harness: A harness made for Tacoma accessories is very handy. It reduces mistakes and makes wiring easier.
Mounting Hardware: You might need screws, brackets, or clamps. For example, installing a bed rack may require special mounting kits.
Check that you have everything before starting. Missing items can slow you down and cause frustration. With the right tools and materials, you’ll feel ready to complete your project.
Preparation Steps
Safety Tips Before You Start
Before adding accessories to your Tacoma, think about safety first. Working with wires can be dangerous if you're not careful. Follow these tips to stay safe and protect your truck.
Unplug the Battery: Always remove the negative cable from your Tacoma’s battery. This stops shocks or short circuits from happening.
Use Safety Gear: Wear gloves to protect your hands from sharp tools. Safety glasses keep your eyes safe from sparks or flying bits.
Check Your Tools: Make sure your tools are in good shape. Broken tools can cause accidents or mess up your wiring.
Stay Dry: Work in a dry place. Water and electricity are a bad mix and can harm your truck.
Follow Instructions: Read the manual that comes with your accessory. The guide helps you install it the right way.
Pro Tip: Cover wire connections with heat-shrink tubing or rubber caps. This keeps them safe from water and damage over time.
By following these steps, you’ll work safely and avoid costly mistakes.
Getting Your Workspace Ready for Tacoma Accessories
A tidy workspace makes installing accessories easier and faster. Setting up your area well saves time and avoids stress.
Park on Flat Ground: Place your Tacoma on a level spot. This keeps it steady, especially if you need to lift it.
Gather Tools and Supplies: Collect everything you need, like wire cutters and screws. Keeping tools close makes the job smoother.
Use Good Lighting: Bright light helps you see small things, like wires. A portable lamp is great if your space is dark.
Sort Your Wires: Keep wires neat and grouped by type. This helps you find the right one quickly.
Clean Your Area: Clear away clutter from your workspace. A clean spot stops you from losing parts or damaging items.
Quick Tip: Use zip ties to keep wires neat as you work. This stops tangles and makes your setup look tidy.
Preparing your workspace well makes the job easier and better. A safe, clean area helps you feel ready to install your Tacoma accessories.
Step-by-Step Installation Guide
Planning the Wiring Route for Your Tacoma Accessory
Before starting, plan where the wires will go. This helps your setup look neat and work well. First, find where your accessory will be and the closest power source. For example, if adding a lighting system to your rack, trace a path from the bed to the battery or fuse box.
Use factory grommets or existing wire channels in your 3rd gen Tacoma. This avoids drilling holes and keeps your truck's structure safe. If installing a bumper accessory like LED lights, look for pre-drilled holes or mounting spots. These make the job easier and reduce mistakes.
Pro Tip: Secure wires with zip ties along the path. This keeps them tidy and stops them from dangling or breaking during off-road trips.
Connecting the Wires Safely and Effectively
After planning, start connecting the wires. Use a wire stripper to remove the ends of the wires. Attach connectors like spade or ring terminals for a tight fit. For a lighting upgrade, match positive and negative wires to avoid problems.
For advanced Toyota Tacoma accessories, like a programmable switch system, follow the instructions carefully. These guides show how to connect wires to the control panel. If adding a rack with built-in lights, seal connections with heat-shrink tubing. This protects wires from water and damage.
Quick Tip: Test each connection with a multimeter before moving on. This checks if everything works and saves time fixing issues later.
Testing the Installation for Proper Functionality
Once wires are connected, test the system to ensure it works. Reconnect the battery and turn on the accessory. For lighting systems, check if all bulbs light up evenly. If installing a bumper accessory like a winch, test it with a light load.
If something doesn’t work, check your steps and connections again. Loose wires or wrong polarity are common problems. For rack accessories with multiple features, test each one separately. This ensures everything works as it should.
Pro Tip: After testing, secure wires with zip ties or clamps. This stops them from moving or getting damaged during use.
By following this guide, you can finish your installation confidently. Whether it’s a tonneau cover installation guide, a suspension upgrade, or a modification for better performance, these steps help you get great results.
Keeping Your Wiring Safe for Long-Term Use
Making sure your wiring is secure helps your Tacoma accessories work well for a long time. Loose or uncovered wires can cause problems, especially on rough roads or in bad weather. Follow these tips to keep your wiring safe and strong.
Use Zip Ties Smartly
Place zip ties along the wire path to stop wires from moving or tangling. Attach them to mounts or the frame of your 3rd gen Tacoma. For racks with built-in lights, keep wires tight to the rack. This prevents them from getting caught during off-road trips.Protect Wires with Covers
Put wires inside protective tubes or conduits. These covers stop damage from rubbing or sharp edges. For example, when running wires through the Tacoma bed, tubes protect them from heavy tools or items stored there.Seal Wire Connections Well
Cover all wire ends with heat-shrink tubing or waterproof caps. This keeps out water and dirt, especially for bumper-mounted LED lights. Sealed connections help your lights work even in rain or mud.Secure Wires Under the Truck
If wires go under your Tacoma, use clamps or brackets to hold them. Don’t let wires hang loose, as they can get caught on rocks or debris. For suspension or bumper upgrades, check that wires don’t touch moving parts.Organize Extra Wire
Wrap extra wire neatly and tie it with zip ties. Place the coil in a safe spot, like behind the rack or under the bed liner. This keeps your setup tidy and avoids damage.
Pro Tip: Use a switch panel to control multiple accessories. It keeps your lighting, rack, or bumper systems organized and wiring neat.
By following these steps, you’ll protect your Tacoma’s wiring from damage. A secure setup looks good and ensures your accessories work well, whether on highways or rough trails.
Common Mistakes to Avoid
When adding Tacoma accessories, avoid mistakes to save time and money. Let’s look at errors to prevent for a smooth installation.
Picking the Wrong Wire Size for Tacoma Accessories
Using the wrong wire size can cause big problems. Thin wires may overheat or fail to power your accessory. For example, adding lights to your rack or bumper with thin wires can cause flickering or damage. Thick wires, however, can make installation harder and cost more.
To prevent this, check your accessory's power needs. For lights or suspension upgrades, use the manufacturer’s guide to pick the right wire size. A multimeter can also check current flow for compatibility. The correct wire size keeps your Tacoma’s system safe and working well.
Quick Tip: Label wires during installation. This helps you find them later for fixes or upgrades.
Ignoring Safety Steps During Installation
Skipping safety steps is risky and can cause accidents. Not disconnecting the battery may lead to shocks or short circuits. For example, wiring a bumper light or rack lighting without unplugging the battery can harm your Tacoma’s system.
Always wear gloves and goggles to stay safe from sharp tools or sparks. Work in a dry area to avoid water-related accidents. Following safety steps makes your installation safe and effective.
Pro Tip: Check all connections before reconnecting the battery. This avoids mistakes and ensures everything works properly.
Bad Planning of Wiring Routes
Poor wiring plans can make your setup messy and cause problems later. Dangling wires or those rubbing on sharp edges wear out fast, especially on rough roads. For example, wires for bed or suspension upgrades can get damaged if not secured.
Plan the best path for wires before starting. Use factory grommets or channels in your Tacoma to protect them. Secure wires with zip ties or clamps. For bed or rack accessories, keep wires neat and away from moving parts.
Quick Tip: Use protective tubing to shield wires from dirt and damage. This helps your wiring last longer and work better.
By avoiding these mistakes, your installation will be easier and more reliable. Whether adding rack lights, upgrading suspension, or mounting a bumper, careful planning ensures your Tacoma is ready for adventures.
Choosing the correct car wires and staying safe is important. This helps your Tacoma upgrades work well and last longer. Work carefully during installation and check each connection twice. Plan wire routes to avoid errors that could cost money. Whether adding accessories to a 2nd gen Tacoma or improving its performance, being patient and precise matters.
Share your stories or ask questions about your upgrades. Your tips might help others with their projects. Use this guide to make your installation easy and successful.
FAQ
What wire gauge should I use for my Tacoma accessories?
The wire size depends on your accessory's power needs. Small items like LED lights work with 16-18 gauge wires. Bigger devices like winches need thicker wires, such as 10-12 gauge. Always check the manual for exact recommendations. Using the wrong size can cause overheating or poor performance.
Pro Tip: Use a multimeter to check current flow. This ensures your wire gauge is correct.
How do I avoid damaging my Tacoma’s electrical system during installation?
Disconnect the negative battery terminal before starting. This stops shocks or short circuits. Use tools like wire strippers to handle wires safely. Follow the instructions to avoid mistakes. For example, one Tacoma owner fixed crossed wires in their brake light harness using a voltage meter and terminal tool.
Key Takeaway: Check all connections twice before reconnecting the battery. This prevents costly errors.
Can I install accessories without drilling into my Tacoma?
Yes, many accessories don’t need drilling. Use factory grommets or existing wire paths to route wires. This keeps your truck’s structure safe. Accessories like racks or lights often include no-drill mounting kits.
Quick Tip: Check your Tacoma’s model year to ensure no-drill accessories fit properly.
What’s the best way to protect wires from damage?
Cover wires with protective tubing to stop wear and cuts. Secure them with zip ties along the frame or mounts. For outdoor items like bumper lights, seal connections with heat-shrink tubing to block water and dirt. Protected wires last longer and work better.
Pro Tip: Keep wires away from moving parts or hot surfaces to avoid damage.
How do I test my wiring before finishing the installation?
Reconnect the battery and use a multimeter to check voltage. Turn on the accessory to see if it works. For lights, make sure all bulbs light up evenly. If something fails, recheck your wiring and connections.
Quick Tip: Test each feature of multi-functional accessories separately. This helps find problems faster.
What should I do if my accessory doesn’t work after installation?
First, check for loose or mismatched wires. Use a multimeter to test voltage. If the problem continues, read the manual for troubleshooting tips. One Tacoma owner fixed crossed wires by carefully rewiring the harness.
Lesson Learned: Fixing wiring errors ensures your accessory works properly.
Can I install multiple accessories at the same time?
Yes, but plan wire routes to avoid tangles or overloads. Use a switch panel to manage accessories easily. Label wires during installation for future upgrades or repairs. This keeps your setup neat and reduces mistakes.
Pro Tip: Group wires by function and secure them with zip ties. This makes your setup look clean and professional.
How do I choose the right custom wiring harness for my Tacoma?
Pick a harness made for your Tacoma’s model and accessory. For example, a trailer light harness offers a plug-and-play connection. This reduces errors and makes installation easier. Always check compatibility before buying.
Quick Tip: Choose harnesses with safety features like fuses or relays for extra protection.
What safety gear should I use during installation?
Wear gloves to protect your hands from sharp wires and tools. Use safety glasses to shield your eyes from sparks or debris. Work in a dry, bright area to stay safe. These steps help you avoid injuries and complete the job smoothly.
Key Reminder: Always follow safety steps, even for small projects. It’s better to be safe than sorry.
How can I keep my wiring neat and organized?
Use zip ties to bundle wires and secure them to the frame. Label each wire to know its purpose later. Store extra wire neatly under the bed liner or behind the rack. A tidy setup looks better and makes maintenance easier.
Quick Tip: Get a wire management kit for a clean and durable finish.
See Also
Understanding Fakra Connectors for Honda Cars
Exploring Fakra Connectors Used in Ford Models
Why Fakra Connectors Matter for Honda Vehicles
