How to Replace Broken Automotive Electrical Connector Plugs


A damaged car connector plug can affect how your car works. It might cause power issues, flickering lights, or a burning smell. For example, a bad fuel pump plug can make the car stop. Fixing the connector plug keeps your car running well and avoids big repair costs later.
Key Takeaways
Fixing a broken plug stops power problems and saves money.
Use proper tools, like cutters and crimpers, for easier repairs.
Check the new connection with a voltage meter to ensure safety.
Tools and Materials for Replacing a Car Connector Plug
Essential Tools for Repairing Automotive Electrical Connectors
Having the right tools makes repairs easier. Start with wire cutters and strippers. These help remove old wires and prepare new ones. A soldering iron is needed to attach wires to the plug. Use wire crimpers to make strong wire connections. A wiring station keeps your workspace neat when handling many wires. Screwdrivers are useful for tightening or loosening screws. Fish tapes help secure wires and keep them safe. A voltage meter checks circuit levels before and after fixing.
Materials Needed for Wire Harness Plug Connector Replacement
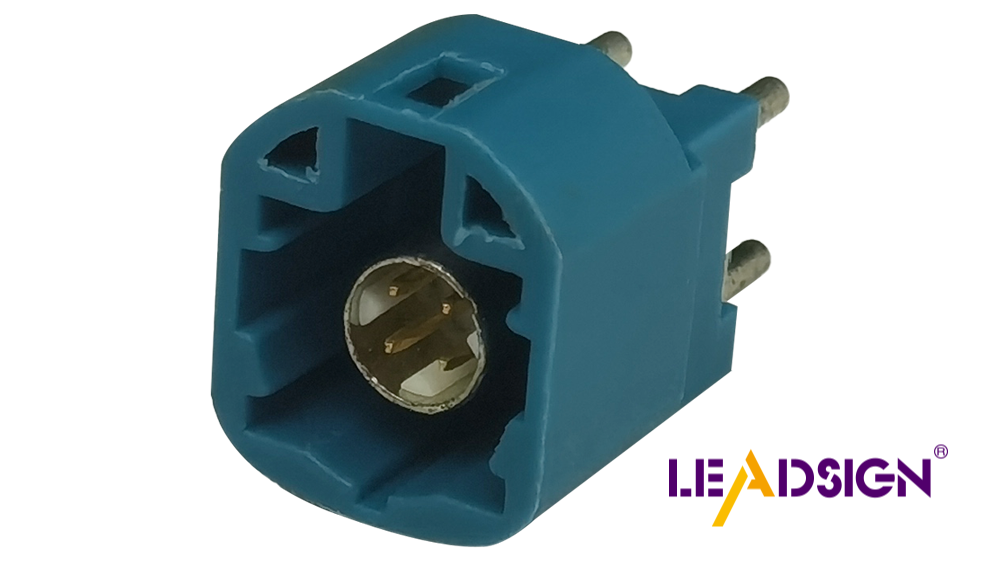
To fix a broken plug, get a matching replacement connector. Check the damaged one to find the right match. A wire harness plug connector secures wires properly. A wire connector set offers different connectors for various fixes. Heat shrink tubing protects wires and makes connections last longer. Electrical tape adds insulation and stops short circuits.
Optional Tools for Enhanced Efficiency
Some extra tools can speed up the repair process. A test light shows if a wire has power. A multi-meter measures resistance and other details. T-tap wire connectors let you join wires without soldering. These tools save time and improve accuracy.
🛠️ Tip: Always ensure your tools and materials fit your car's electrical system. This keeps repairs safe and effective.
Step-by-Step Guide to Fix Car Electrical Connectors
Getting Your Car Ready for Repair
Park your car on level ground. Turn off the engine completely. Disconnect the battery to avoid shocks or short circuits. Use a flashlight to find the broken plug. Keep your workspace clean and bright to see clearly. Gather tools like wire cutters, crimpers, and the new connector. Being prepared makes the repair easier.
Taking Out the Broken Connector Plug
Look closely at the damaged plug to see how it connects. Cut off the old plug with wire cutters, leaving extra wire. If there are locking tabs, press them to release the plug. Use a small screwdriver to gently loosen stuck connectors. Do not pull wires directly to avoid breaking them. Clean the exposed wires to get them ready for the new plug.
Putting in the New Wire Harness Plug Connector
Here’s how to attach the new plug:
Remove the wire coating to show the metal inside.
Match each wire to the correct spot on the new plug.
Use crimpers to tightly connect the wires to the terminals.
Place the terminals into the connector housing carefully.
Cover the connections with heat shrink tubing or tape.
Check that everything is secure and in the right place.
This ensures the new plug is attached properly.
Checking if the Connection Works
Reconnect the battery and test the new plug. Use a voltage meter to see if electricity flows correctly. Gently pull the wires to make sure they are tight. Test the car’s electrical system to confirm it works well. If everything runs smoothly, the repair is done.
🔧 Tip: Always test the connection carefully. A good test prevents future problems.
Troubleshooting and Ensuring a Secure Connection
Common Problems When Replacing Automotive Electrical Connectors
Replacing a car plug can come with challenges. Sometimes, car parts lose power completely. You might see lights flicker or smell something burning. Damaged connectors, like melted or rusty ones, are also common. These issues often happen because of loose wires, overheating, or the wrong plug. Spotting these problems early keeps your car working well.
Tips for Achieving a Reliable and Safe Connection
Follow these steps to make a strong connection:
Use crimpers to attach male pins tightly to the wires.
Add a seal to block out water and dirt.
Pick weatherproof connectors for tough conditions.
These steps help secure the wire harness plug safely. Always check that the terminals are tightly in place.
Final Checks to Ensure Long-Term Functionality
After replacing the plug, test everything carefully. Use a voltmeter to check for any voltage drops. Test grounding with an ohmmeter to ensure it works. Gently move wires to find loose connections. Reconnect the battery and test the car’s systems. Make sure all parts work as they should. These checks help the new plug last a long time.
🔍 Note: Check your car’s electrical connectors often to avoid problems later.
Changing a car connector plug is easy with steps. First, get the car ready. Next, take out the broken plug. Then, put in the new plug and test it. Safety is very important since the electrical system powers key parts like lights and brakes. Problems can lead to dangers, like brakes not working. By doing these steps, you fix your car and save money.
FAQ
What if the new connector doesn’t fit?
Make sure the connector matches your car’s type and size. Check your vehicle manual or ask a professional for help if needed.
Can connectors be replaced without soldering?
Yes, crimp or T-tap connectors work without soldering. These tools make strong connections and save time during repairs.
How often should car electrical connectors be checked?
Check them twice a year for rust, damage, or wear. Regular inspections stop problems and keep your car working well.
💡 Tip: Keep extra connectors and tools in your car for quick fixes.
See Also
Exploring Ford's Fakra Connectors: A Comprehensive Overview
Enhancing Vehicle Data Flow: Innovative Connectors and Cables
Harnessing FAKRA-Mini Connectors for Automotive Speed and Efficiency
Understanding Fakra Connectors for Honda Automotive Systems
Significance of FAKRA Connectors in Modern Automotive Technologies
