The Ultimate Guide to Repairing Auto Harness Connectors

Auto harness connectors are important for your car's safety and use. Broken connectors might cause power loss, short circuits, or even fires. Fixing them yourself can save money and stop problems. Repairing wires or connectors is cheaper and easier than replacing the whole harness.
Key Takeaways
Use proper tools like wire cutters, crimpers, and multimeters. These help make repairs safe and effective.
Check your car's wires often for damage like fraying or rust. This can stop bigger, expensive problems later.
Always unplug the battery before fixing anything. This prevents shocks and keeps your car parts safe.
Tools and Materials for Fixing Wiring and Connectors
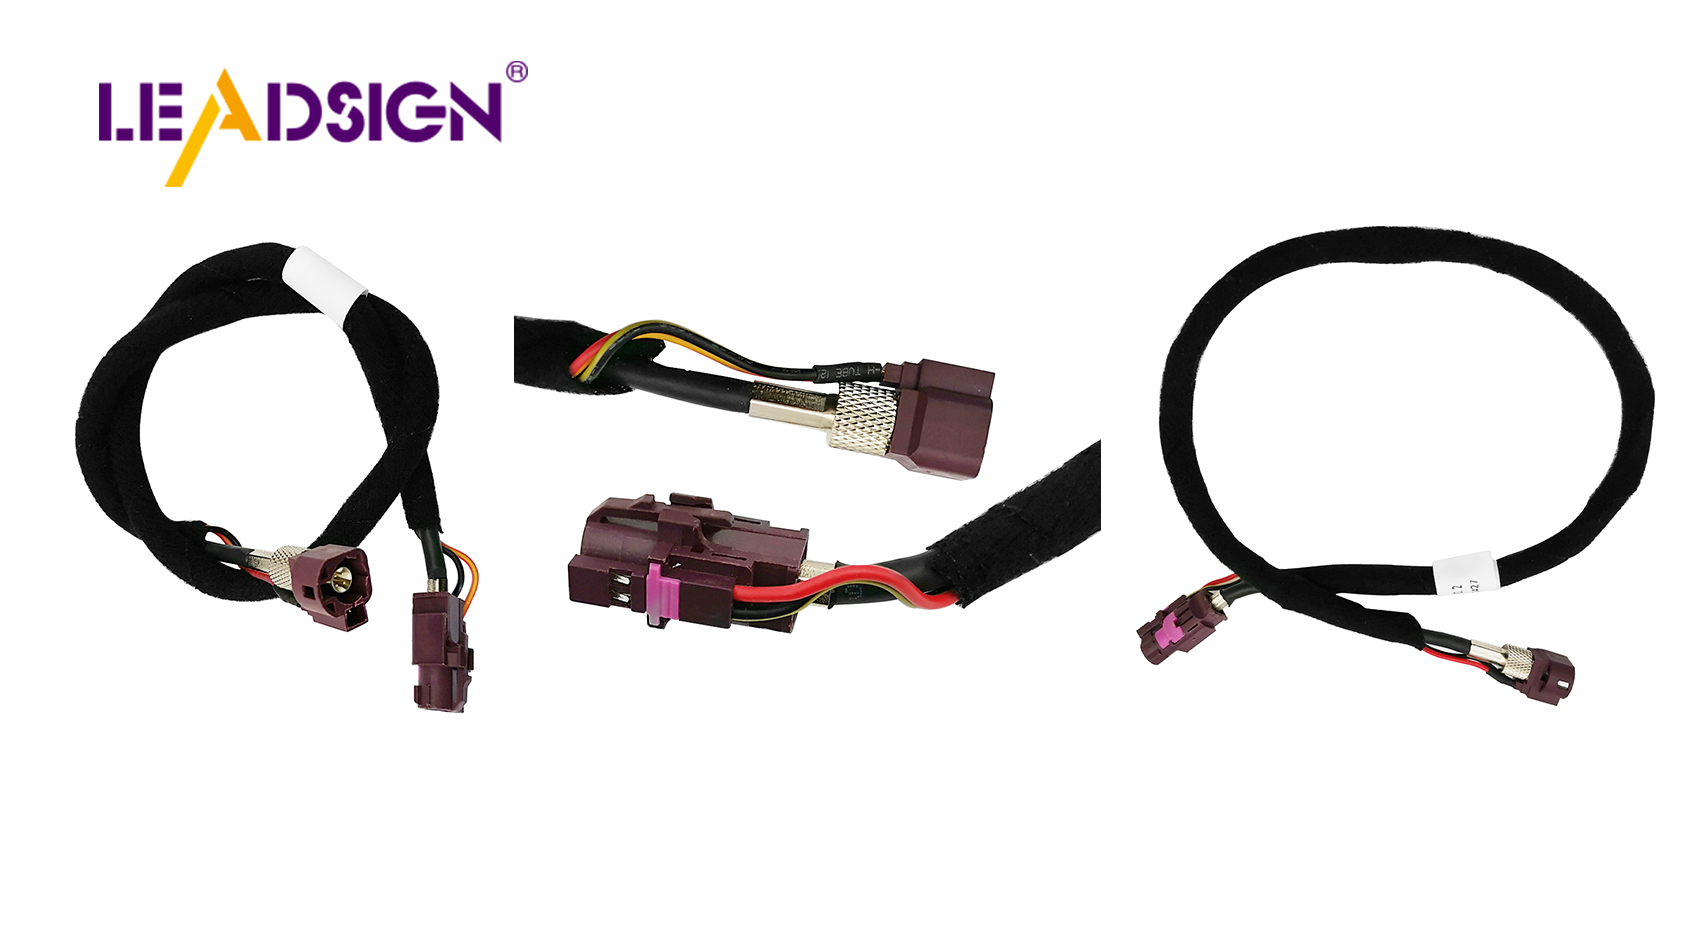
Fixing auto harness connectors needs the right tools and supplies. These make sure your repairs are safe, work well, and last long. Let’s look at what you’ll need to begin.
Important Tools for Auto Harness Repairs
You’ll need different tools for various repair tasks. Here’s a simple list:
Use wire cutters and strippers to trim and prep wires.
Crimping tools help secure terminals tightly to wires.
Screwdrivers are needed to open or close connector covers.
A soldering iron and solder join wires with strong bonds.
Heat guns shrink tubing to protect fixed wire areas.
Each connector type needs specific terminals and matching crimpers. Good crimpers often have replaceable parts and locking systems. These features stop bad crimps that can cause loose connections. For thick wires, like battery cables, use special impact tools for better results.
Key Materials for Wiring Harness Fixes
The materials you pick are important for strong, lasting repairs. Here’s a simple table of common materials and their uses:
Material Type | Features | Use Case |
|---|---|---|
Copper | Bendable, conducts electricity, resists rust | Best for car wiring harnesses |
Stranded Wire | Flexible, handles bending well | Great for car wiring |
PVC Insulation | Comes in different types (GPT, HDT, TWP) | Fits various circuit needs |
Cross-linked Insulation | Handles high heat | Perfect for tough, lightweight jobs (GXL) |
Copper and stranded wires are the best for car wiring fixes. They stay flexible and conduct electricity well, avoiding future problems. Cross-linked insulation is great for heat resistance, making it ideal for tough conditions.
Using the right tools and materials helps you fix connectors easily. This saves money and stops electrical issues from bad connections.
Finding Problems in Car Wiring Harnesses
Spotting wiring harness problems early can save money and trouble. Here’s how to check and test your car’s connectors.
Checking Auto Harness Connectors for Damage
First, look closely at the wires and connectors. Check for any damage or wear.
Signs of problems include flickering lights, broken wires, or warning lights.
Follow these steps to check connectors:
Look for cracks or melted parts on the connectors.
Check for wires that are frayed or showing copper.
See if there’s green or white residue, which means corrosion.
Inspect battery terminals for rust or buildup.
If you find these issues, the connectors may need fixing. Broken connectors can cause lights to fail, battery issues, or engine trouble.
Testing Wires with a Multimeter
A multimeter is helpful for finding electrical problems in wires. It checks if electricity flows through the wires properly.
To test wires:
Turn the multimeter to the continuity or resistance (Ω) mode.
Put one probe at one end of the wire and the other at the opposite end.
A reading near zero ohms means the wire works. If it shows "OL" or high resistance, the wire is broken.
Testing continuity ensures electricity flows without breaks. This step is key for finding connector problems.
By using both visual checks and a multimeter, you can find the problem and fix it.
Step-by-Step Guide to Fix a Broken Wire or Connector
Step 1: Disconnect the Battery for Safety
Before fixing wires, disconnect the car battery first. This stops shocks and protects your car’s parts. Follow these safety tips:
Take off jewelry to avoid touching live wires.
Wear gloves and goggles to stay safe from battery acid.
Keep flames or smoking away from the battery area.
Always disconnect the negative terminal first to reduce risks.
Skipping this step can cause shocks, fires, or damage to parts. Always stay safe when working on car wiring repairs.
Step 2: Remove the Broken Connector or Wire
Check the wires and find the damaged part. Use wire cutters to remove only the broken section. Be careful not to cut too much. If the connector has a lock, open it gently to avoid breaking it further.
Step 3: Get the Wires Ready for Fixing
Strip about 1/4 inch of insulation from the wire ends. Make sure the copper is clean and not rusty. If the wire is badly corroded, cut it back and strip fresh insulation. Twist the wire strands tightly to make a strong base for the repair.
Step 4: Attach the New Connector
Pick a connector that fits your car’s wiring. Use a crimping tool to attach it to the wire. For special connectors like HSD, make sure the crimp is exact for good signals. Check that the connector is tight and locked in place.
Step 5: Cover and Protect the Fixed Area
Use heat-shrink tubing or tape to cover the repaired spot. Slide the tubing over the connection and heat it until it shrinks tightly. For extra strength, use materials like XLPE for heat resistance or TPE for flexibility. Proper covering keeps water and dirt out, stopping future problems.
Step 6: Test the Fixed Wiring Harness
After fixing, test the wiring to make sure it works. Use a multimeter to check for a good connection:
Set the multimeter to Continuity Test mode.
Place the probes on the fixed wire ends.
Listen for a beep, which means the connection is good.
If it doesn’t work, check for loose wires or bad insulation. Testing ensures the fix is solid and avoids replacing the whole harness.
Using the correct tools and steps keeps your car’s wiring reliable. It helps you find and fix electrical problems more easily.
Regular checks stop expensive repairs and keep your car running safely. Neat wiring makes finding problems easier and boosts performance.
Check your wiring harness often to catch issues early. Don’t use electrical tape or wires that don’t match in size. Share your tips or ask questions in the comments below!
FAQ
What is the best way to prevent auto harness connector damage?
Check connectors often for rust or damage. Use heat-shrink tubing to protect wires from water, dirt, and heat.
Can I repair connectors without professional tools?
You can, but using tools like crimpers and multimeters works better. Homemade tools might cause weak fixes or bad connections.
How do I know if a connector needs replacement?
Look for breaks, melted spots, or rust. Replace connectors that don’t lock well or fail tests to stop electrical problems.
See Also
Understanding Ford Fakra Connectors: A Complete Overview
An In-Depth Look at HSD Connectors Explained
Fundamentals of HSD Connectors for Automotive Use
