Best Practices for PCB Board Wire Connectors Installation


Correctly installing PCB board to wire connectors is very important for safety. These connectors are key parts that link wires to the PCB. Good installation prevents problems like loose wires or short circuits. These issues can cause systems to fail or become dangerous. Following proper steps makes connections last longer and stay strong. It also helps protect other parts from heat damage or factory mistakes.
Key Takeaways
Proper installation of PCB board to wire connectors is crucial for preventing issues like loose wires and short circuits, which can lead to device failure.
Always gather the necessary tools and check both the PCB and connectors for damage before starting the installation process to ensure a smooth setup.
Correctly strip and measure wire lengths to avoid weak connections; too much exposed wire can cause short circuits, while too little can lead to loose connections.
Securely attach connectors using appropriate methods, whether soldering or tightening screws, and always verify that connections are tight to enhance reliability.
Regularly inspect and clean PCB connections to prevent dust and moisture buildup, which can compromise performance and lead to failures.
Double-check polarity and connection diagrams before powering on the PCB to avoid damaging components due to incorrect wiring.
Conduct continuity testing after installation to ensure all connections are functioning properly, preventing future issues and ensuring device reliability.
Overview of PCB Board to Wire Connectors
PCBs need connectors to link wires to the board. These pcb board to wire connectors are important for electronic systems to work well. Knowing their purpose, types, and uses helps in making better choices.
What Are PCB Board to Wire Connectors?
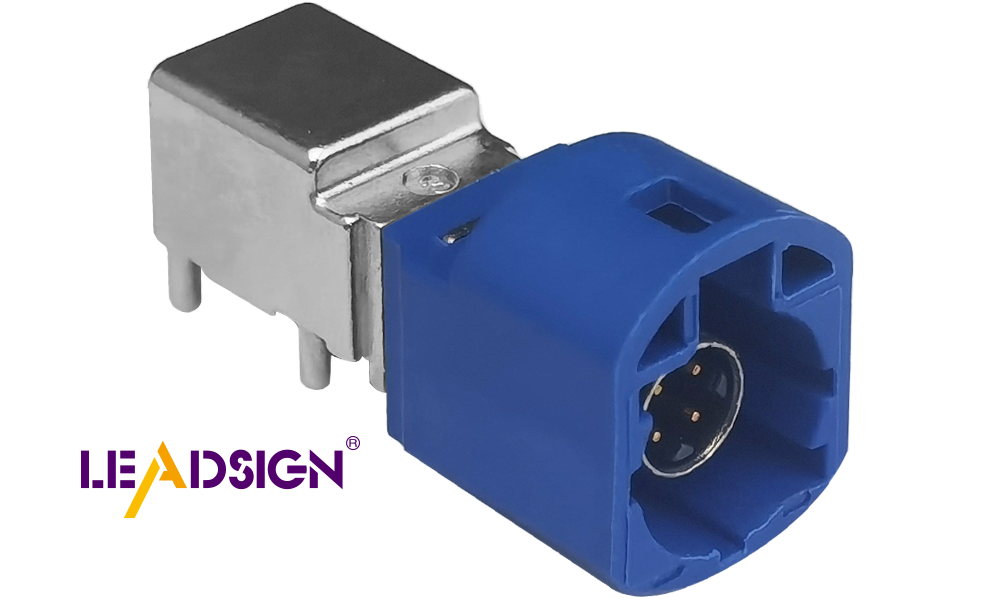
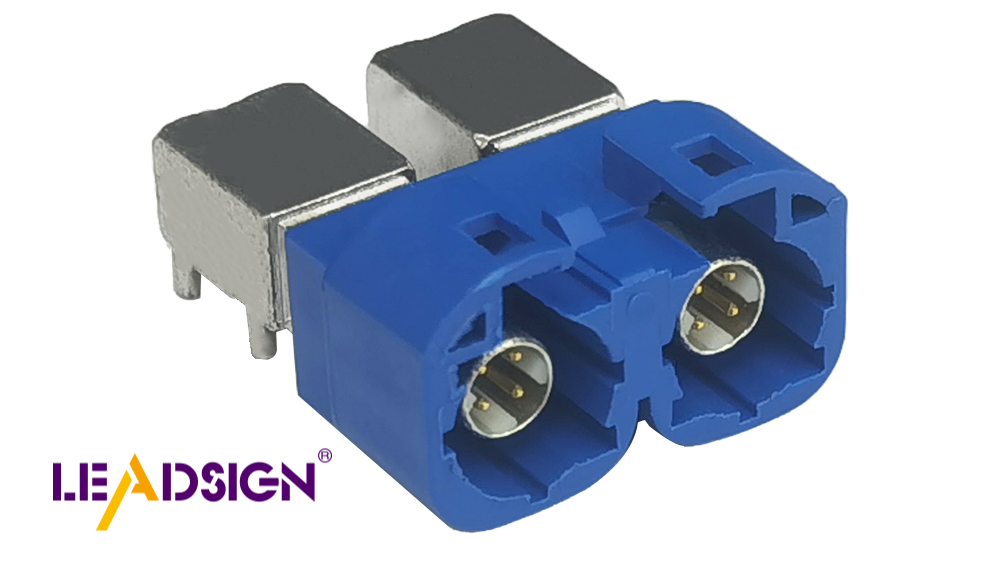
PCB board to wire connectors join wires or cables directly to a PCB. They connect electrical signals from wires to the circuits on the board. These connectors are used for power, data transfer, and sensor links. They ensure strong and steady connections for your devices.
Common Types of PCB Board to Wire Connectors
There are different types of PCB board to wire connectors for various needs:
Pin Headers and Sockets
Pin headers and sockets are simple and widely used. They have pins (male) that fit into receptacles (female). These connect two PCBs or link a PCB with an external device.
Screw Terminals
Screw terminals have plastic housing with metal parts secured by screws. You place the wire in the slot and tighten it with a screw. They are durable and used in electronics or industrial tools.
IDC (Insulation Displacement Connectors)
IDC connectors don’t need you to strip wires first. The wire is pushed into the connector, cutting through insulation for contact. They are quick and often used for data transfer.
Spring-Loaded Connectors
Spring-loaded connectors use springs for contact between wires and PCBs. They work well when frequent connecting or disconnecting is needed.
Applications of PCB Board to Wire Connectors
These connectors can be used in many fields:
Power Supply Connections: Delivering stable power.
Data Transmission: Fast data sharing in gadgets like USBs.
Sensor Interfaces: Linking sensors for accurate readings.
Automotive Electronics: Found in car systems like navigation.
Industrial Equipment: Reliable links in machines or controls.
Choosing the right connector improves how your devices perform over time.
Step-by-Step Guide to Installing PCB Board to Wire Connectors
Getting Ready Before Installation
Good preparation makes installation easy and smooth. Follow these steps:
Collecting Tools and Supplies
Gather all tools and supplies before starting. You will need screwdrivers, pliers, crimping tools, and a soldering iron. Make sure the connector matches your pcb type. Having everything ready saves time and avoids delays.
Checking PCB and Connectors
Look closely at the pcb and connector for damage. Check for cracks or bent pins that could cause problems. Damaged parts can lead to bad performance or failure. Ensure the connector fits your circuit design needs.
Understanding Circuit Design
Study the circuit design to know where connectors go. Check polarity and ensure the layout is correct. This helps avoid mistakes during installation so circuits work properly.
Preparing Wires for Connection
Getting wires ready is important for strong connections. Follow these steps:
Stripping Wires Correctly
Use a wire stripper to remove insulation from wires carefully. Strip just enough length to expose the conductor for connection. Be careful not to cut wire strands, as it weakens connections.
Measuring Wire Length Properly
Cut wires to match what the connector needs. Too much exposed wire may cause short circuits; too little may make loose connections. Trim wires neatly for a secure fit.
Connecting the Connector to PCB
Attaching connectors needs care and accuracy. Do these steps carefully:
Placing the Connector Rightly
Put the connector on the pcb where it belongs in your design. Align its pins with holes or pads on the board correctly. Misalignment can break connections or damage pcbs.
Securing or Soldering Connector
Attach connectors using soldering or screws/clips firmly in place. If soldering, heat evenly and use just enough solder for strong joints without bridges between pins.
Connecting Wires to the Connector
Inserting and Securing Wires
To connect wires well, insert them carefully into the connector. First, make sure the wire ends are stripped to the right length. Place each wire into its correct slot in the connector. Push it firmly so it touches the inside parts properly. This step helps make a strong connection between the wire and pcb.
Do not force wires into the connector. Misaligned wires can break or cause weak connections. Take your time to align each wire before securing it. A properly inserted wire works better and lowers chances of disconnection later.
Tightening Screws or Crimping
Once wires are inserted, secure them based on your connector type. For screw terminals, use a screwdriver to tighten screws gently but firmly. Don’t over-tighten as this might harm the wire or connector. For crimp connectors, use a crimping tool to lock the wire in place tightly.
Secured wires last longer and stay connected well. Check every connection again to ensure all wires are held tightly. This step keeps your circuit working safely on the pcb.
Final Checks
Verifying Polarity and Placement
Before finishing, check that all connections are correct. Make sure positive and negative wires go to their proper spots on the connector. Wrong polarity can damage circuits or stop them from working right. Use a wiring diagram if needed for accuracy.
Look at where you placed the connector on the pcb too. Ensure it’s in its correct position with all connections secure. Proper placement avoids problems between pcb and wires.
Testing for Stability and Continuity
Finally, test how stable and connected everything is. Gently pull each wire to check if it stays attached securely without coming loose.
Use a multimeter to test if electricity flows through correctly without breaks in connection points on pcb or connector parts. A good test confirms everything works fine before turning power on.
Tips for Making Strong PCB Board to Wire Connections
Tightening and Securing Wires
Make sure wires are tight and secure for good performance. Loose wires can cause devices to fail or work poorly. When using screw terminals, tighten screws firmly but not too hard. Over-tightening can harm the wire or damage the connector. For crimp connectors, use a good crimping tool to attach wires strongly. Secure connections help your PCB work well and avoid problems.
After securing wires, gently pull them to check if they stay in place. This test ensures they won’t come loose during use. Check these connections often as part of regular maintenance for long-lasting results.
Checking Polarity and Direction
Always connect wires with the correct polarity and direction. Wrong polarity can break your circuit or stop it from working. Before connecting, find the positive and negative ends on both the PCB and connector. Use a wiring diagram if you have one for guidance.
Review your work before turning on power to avoid mistakes. Double-checking saves time and prevents damage to your device. If unsure, ask an expert or follow instructions from the manufacturer.
Adding Insulation or Heat Shrink Tubing
Covering connections with insulation makes them safer and stronger. Bare wires can touch other parts and cause short circuits. Heat shrink tubing protects wires by covering them tightly.
To use heat shrink tubing, slide it over the wire first before connecting it to the PCB. After securing the wire, heat the tubing so it shrinks around it snugly. This keeps moisture and dust away from connections, especially in tough environments like cars or factories.
By following these steps, you’ll create strong, safe connections for your PCB board that last a long time.
Thinking About Environmental Effects
Environmental conditions can affect how well your PCB works and lasts. By handling these issues, you can keep it running smoothly even in tough situations.
Keeping Moisture and Dust Away
Moisture and dust are big problems for PCBs. Water can cause rust, short circuits, or even make the board stop working. Dust can pile up on connectors and block electrical signals.
To protect against water, use special coatings that shield the board. These coatings stop water from touching important parts. For dust, put your PCB in a closed case to keep dirt out. This helps the connectors work properly.
Clean your PCB often too. Use soft tools like brushes or air cans to remove dust gently without harm. Regular cleaning keeps connections strong and avoids future trouble.
Experts say regular care is key to making PCBs last longer. Taking steps now to guard against moisture and dust will save time and money later.
Handling Heat and Vibrations
Extreme heat or constant shaking can damage PCB connections. High heat might melt solder joints, while cold makes parts crack easily. Shaking can loosen screws or connectors, causing bad connections.
To deal with temperature changes, pick materials made for your environment. For example, car electronics need parts that handle both hot summers and freezing winters. Adding heat-resistant covers or tubing also gives extra safety.
For shaking problems, secure connectors tightly using locks or clips so they stay in place. Crimping wires works well where movement happens a lot. Check your PCB regularly to fix any loose parts caused by vibrations.
By preparing for these environmental challenges, you make your PCB stronger and more reliable. Good planning and upkeep help it work well even under tough conditions.
Common Mistakes to Avoid During Installation
Screws Too Tight or Too Loose
When tightening screws, use the right amount of force. If screws are too tight, they can crush wires or damage connectors. This can cause bad electrical contact. If screws are too loose, wires might disconnect or fail.
To fix this, use a screwdriver that fits the screw head well. Tighten until the wire is held firmly but not crushed. After securing, gently pull the wire to check if it stays in place. This quick test ensures a strong connection.
"Screws that are too tight or loose weaken connections. Careful tightening makes them last."
Choosing Wrong Connectors
Using connectors that don’t match your PCB or wires causes trouble. Bad connectors may not fit right, carry enough current, or work with signals properly. These problems can break circuits or harm devices.
Before starting, make sure the connector fits your wire size and PCB needs. For example, high-speed data tasks need special connectors like HSD ones. Always check manufacturer details to pick the correct type.
Tip: The right connector improves how long and well your device works.
Stripping Wires Incorrectly
Cutting insulation wrong weakens connections and leads to failures later. Removing too much exposes extra wire that might short-circuit parts. Removing too little leaves not enough metal for a good link.
Use a proper wire stripper to remove just enough insulation neatly. Don’t use scissors or knives since they can cut wire strands accidentally. Damaged strands lower current flow and may snap over time. Check stripped wires carefully before connecting them.
"Good wire preparation makes strong links that last longer."
By avoiding these mistakes, you’ll have an easier time installing and stronger connections in your projects.
Ignoring Polarity or Connection Diagrams
Polarity and diagrams are very important for correct installation. Not using them can damage circuits or make devices stop working. Always check positive and negative ends before connecting wires. Wrong polarity can permanently harm your parts.
Connection diagrams help you know where each wire should go. Skipping this step can cause wrong connections. Misaligned wires may lead to short circuits or poor performance. Always use the diagram from the manufacturer or designer.
Tip: Check polarity and connection spots before securing wires. This avoids big mistakes.
Without a diagram, you might guess where wires go. Guessing often causes errors. For example, someone once replaced a connector without checking polarity. This ruined the PCB and needed costly repairs. Avoid such problems by reviewing your board’s layout carefully.
Skipping Continuity Testing
Continuity testing checks if connections work properly. Skipping this test hides problems that could cause failures later. A multimeter is an easy tool to check if electricity flows through connections. Without testing, faulty circuits may fail or become dangerous.
To test continuity, set your multimeter to its continuity mode. Touch both ends of the connection with the probes. If it works, the meter will beep or show a reading. This simple test ensures all wires and connectors are linked correctly.
Pro Tip: Test every connection after installing it to avoid issues later.
Some people skip testing to save time but regret it later. For instance, a technician skipped testing after fixing a PCB connector. The device failed, forcing them to take everything apart again to find the issue. Testing first would have saved time and effort.
Making continuity tests part of your process ensures safe and reliable connections every time.
Maintenance and Fixing Problems for PCB Connectors
Taking care of your PCB connectors keeps them working well. Regular checks stop problems like loose wires or rust that can cause issues. Follow these steps to keep everything in good shape.
Checking Connections Often
Looking at your connections often helps find problems early. This saves time and money on repairs.
Finding Loose or Rusty Connections
Loose wires make electricity flow poorly and cause failures. Gently pull wires to check if they are tight. Rust, caused by water, can damage metal parts of connectors. Look for rust spots, discoloration, or powdery buildup on the connectors. If you see any of these, clean or replace the damaged parts quickly.
"Water causes rust that harms PCB connections."
Spotting Worn-Out Parts
Over time, wires may fray or pins might bend. Check for cracks, broken pieces, or bent pins on the connectors. Damaged parts weaken connections and should be replaced right away. Regular checks help avoid sudden breakdowns.
Cleaning PCBs and Connectors
Dust and dirt can build up on PCBs and connectors over time. Cleaning them keeps them working properly.
Using Safe Cleaning Tools
Use tools made for electronics like soft brushes or air cans. Avoid water or rough materials that could harm the PCB. Carefully remove dust from surfaces and contact points with a brush or cotton swab dipped in isopropyl alcohol. Clean regularly to keep connections clear of dirt.
"Dust blocks signals and lowers how well PCBs work."
Solving Common Problems
When something goes wrong, fixing it fast stops bigger issues later.
Fixing Unsteady Connections
Unsteady connections happen when wires are loose or don’t touch well inside the connector. Check each wire to ensure it’s tightly connected. Tighten screws gently or re-crimp wires as needed. If this doesn’t fix it, look for damage inside the connector and replace it if necessary.
Swapping Out Broken Parts
Broken connectors or burnt wires stop your PCB from working right. Find the bad part and carefully take it out without harming other pieces nearby. Replace it with a new part that fits your PCB perfectly. Test after replacing to make sure everything works again.
"Fixing broken parts quickly makes PCBs reliable again."
By following these steps, you’ll make your PCB last longer and work better over time! Regular care prevents big problems later on.
Installing PCB wire connectors the right way keeps devices safe. Following steps carefully helps make strong connections that avoid problems. Loose wires or short circuits can be prevented this way. Checking for damage and cleaning connectors often makes your PCB last longer. Fixing small issues early saves money and time later. Always work carefully and safely when installing connectors. These habits make your connections stronger and help your electronics work better overall.
FAQ
What mistakes should I avoid in PCB design?
Don’t forget to add test points in your design. Test points help you check and fix problems during assembly or later. Without them, finding issues becomes harder. Plan the layout carefully too. A bad layout can cause poor performance or make assembly tricky. Make sure your design allows easy testing and smooth building.
How do I pick the right PCB connector?
Choose a connector based on wire size, current needs, and use. For example, fast data devices like USB need special connectors such as HSD ones. Match the connector type to your PCB’s purpose and design for best results.
Why is stripping wires important for connections?
Stripping wires removes insulation so they touch connectors properly. If done wrong, it weakens connections or causes short circuits. Use a wire stripper to take off just enough insulation without cutting strands. This ensures strong and stable links.
How can I stop loose connections?
To avoid loose wires, secure them tightly in the connector slots. For screw terminals, tighten screws firmly but not too hard. For crimp connectors, use a crimping tool to lock wires well. After securing, gently pull each wire to check if it stays tight.
What tools are needed for installing PCB connectors?
You’ll need basic tools like pliers, screwdrivers, and wire strippers. For soldered parts, use a soldering iron with solder material. Crimping tools are also handy for crimp connectors.
How do I protect PCB connections from damage?
Cover exposed wires with heat shrink tubing or insulation wraps for safety. To guard against water or dust, use cases or apply protective coatings on PCBs.
What should I check before turning on a PCB?
Check that all positive and negative wires are connected correctly first. Use a multimeter to test if electricity flows smoothly through circuits without breaks.
How often should I inspect my PCB connections?
Inspect often if your device faces moisture or shaking regularly. Look out for rust spots, loose wires, or broken parts during checks.
Can damaged connectors be fixed?
Yes! Remove broken connectors carefully without harming nearby components on the board itself then replace them with matching new ones.
Why is continuity testing necessary during installation?
It ensures electricity flows properly through every connection point made earlier avoiding hidden faults later causing failures unexpectedly!
See Also
Exploring FAKRA Connectors for Enhanced Automotive PCB Use
Key Benefits of FAKRA Connectors in Automotive Systems
FAKRA PCB Mount Connectors: Advantages for Automotive and RF
