A Beginner's Guide to PCB Board Wire Connectors Installation

Connecting a PCB board to wire connectors may seem challenging, but it’s easier than you think with the right tools. With some practice, you can master this important task. PCBs are essential components of modern gadgets like phones and cars. Understanding this process helps you repair or create devices on your own, while also introducing you to the exciting world of electronics. A tidy workspace, steady hands, and patience are all you need.
Key Takeaways
Gather essential tools like a soldering iron, wire stripper, and multimeter to ensure a smooth installation process.
Prepare your workspace by keeping it clean and organized, which helps you work efficiently and avoid mistakes.
Carefully strip and twist wire ends to prevent fraying and ensure strong connections with connectors.
Always double-check the alignment of connectors on the PCB to avoid damaging components and ensure proper functionality.
Test your connections with a multimeter before powering on your project to catch any issues early.
Practice soldering on spare materials to build confidence and improve your skills before working on your actual project.
Stay patient and calm during the installation process; troubleshooting becomes easier with practice and experience.
Tools and Materials Needed
Before starting, gather the right tools and materials. This saves time and makes work easier. Here’s what you’ll need.
Essential Tools
You’ll need a few basic tools to begin:
Soldering iron and solder
A soldering iron helps make strong electrical connections. Pick one with adjustable heat for better control. Use good-quality solder for reliable results.Wire stripper and cutter
A wire stripper removes insulation without harming the wire. The cutter trims wires to the correct size.Screwdriver set (if applicable)
Some connectors use screws to hold wires in place. A small screwdriver set will help you tighten these easily.Multimeter for testing connections
A multimeter checks if your connections work properly. It finds problems before turning on your circuit.
Required Materials
After tools, collect the materials for your project:
PCB board
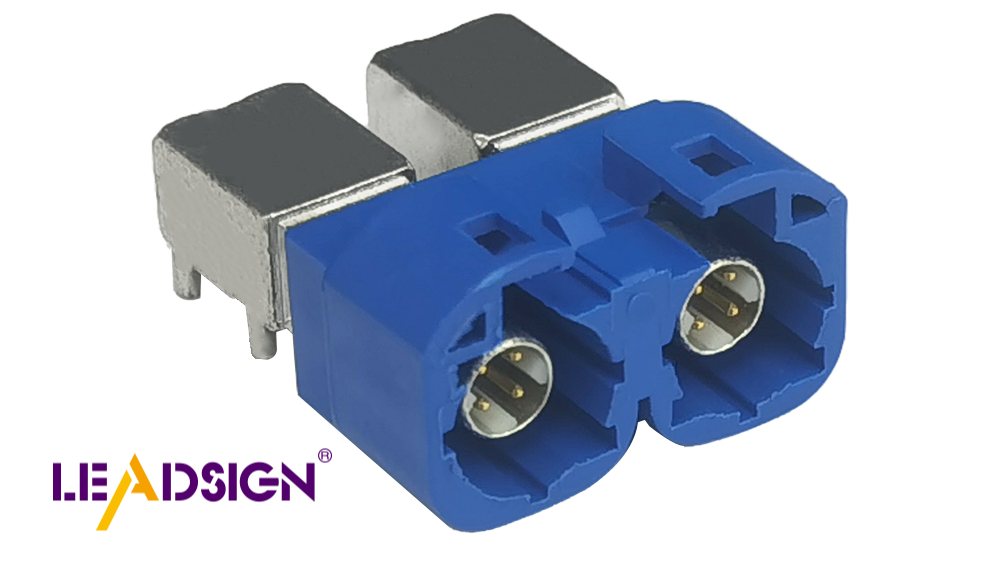
The PCB board is where everything connects. Make sure it’s clean before starting.Wire-to-board connectors (e.g., terminal blocks, pin headers)
These connectors link your PCB to outside wires. Choose ones that fit your project needs.Wires (pre-cut or spooled)
Wires carry electricity in your circuit. Pre-cut wires are ready to use; spooled wires give more options. Ensure they match your connectors.Heat shrink tubing or electrical tape (optional)
Cover exposed parts with tubing or tape for safety. This step is optional but helpful for lasting results.
Pro Tip: Label wires if working on a big project to avoid mistakes later.
Having these items ready makes installation simpler and more fun!
Preparation Steps
Getting ready before starting is very important. Being prepared makes the work easier and helps avoid errors. Let’s go through the steps.
Getting the PCB Board Ready
A clean PCB board is needed for a good setup. Here’s how to prepare it:
Check if the PCB is clean and free of dirt.
Look closely at your PCB board. Check for dust, dirt, or leftover bits from old work. A dirty board can mess up connections later. Use a soft brush or toothbrush with 90% isopropyl alcohol to clean it gently. This removes dirt and shows any bad solder spots. Dry it with a paper towel and repeat if needed. A clean board works better!
Find where connectors go on the PCB.
Find the spots on your PCB where connectors will attach. These are often marked on the board layout. If there are labels or marks, use them to guide you. Double-check these points to match your project plan. This step avoids mistakes during assembly.
Pro Tip: Add marks or labels if they’re missing on your PCB. It helps during testing later.
Getting Wires Ready
Wires connect everything in your circuit, so they need proper prep.
Remove insulation from wire ends to show metal parts.
Use a wire stripper to take off insulation from wire ends carefully. Expose only about 1/4 inch of metal for connecting wires properly. Cutting too much weakens wires, so be careful.
Twist wire strands together to stop fraying.
After stripping insulation, twist the loose strands together neatly. Twisting stops fraying and prevents short circuits in your circuit setup. Twisted wires also fit into connectors better and make work easier.
Quick Tip: Strip and twist all wires at once if using many wires—it saves time!
Organizing Your Workspace
A neat workspace makes everything faster and more enjoyable! Here’s how:
Pick a clean area with good lighting.
Choose a bright spot so you can see clearly while working. Clean up clutter around you to stay focused without distractions or losing small parts.
Place tools and materials within easy reach.
Put all tools and items close by for quick access while working—use mats with compartments for organizing tools neatly in one place! This keeps things tidy and saves time searching mid-project!
Pro Tip: Keep trash bins nearby for waste like cut wires—it keeps spaces cleaner!
By following these steps now, you’ll have an easier installation process later!
Step-by-Step Installation Process
Installing pcb board to wire connectors needs care and focus. Follow these steps for a smooth process.
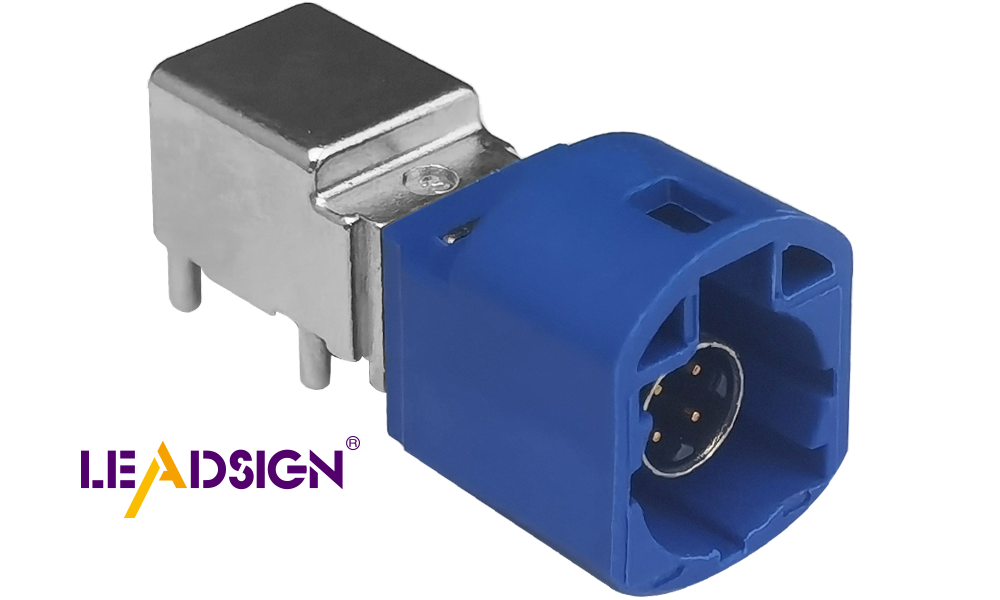
Attaching the Wire Connectors to the PCB
Match the connector with the correct holes on the PCB.
Find where your wire-to-board connector should go. These spots are usually marked on the PCB. Hold it steady and line up its pins with the holes. Correct alignment keeps it secure and avoids damage.
Pro Tip: Check that the connector matches your layout or plan. Wrong placement can cause bad connections.
Attach the connector using screws or solder, as needed.
After aligning, attach the connector. For screw types, use a small screwdriver to tighten it. For a soldered connection, heat your soldering iron and add solder carefully. It should flow smoothly for a strong bond.
Expert Insight: Soldered joints are long-lasting but need careful handling. Use a temperature-controlled soldering iron to avoid overheating.
Connecting Wires to Connectors
Place stripped wire ends into connector terminals properly.
Take prepared wires and insert stripped ends into terminals of your wire-to-board connector. Make sure metal parts touch fully for good contact.
Quick Tip: Label wires if you have many, so you don’t mix them up later.
Tighten screws or solder wires securely in place.
For screw connectors, tighten screws firmly around wires. For soldered connections, apply solder neatly at wire-terminal points without blobs forming. Smooth joints last longer and work better.
Did You Know? Crimping is great for high-reliability setups like cars but soldering is still common because it’s strong and permanent.
Testing Connections
Check connections with a multimeter before turning on power.
Test everything using a multimeter set to continuity mode. Touch probes to connected spots; beeping or numbers show working connections.
Pro Tip: If no beep or reading appears, check alignments again or tighten loose parts carefully.
Fix any weak spots before moving forward with your project.
Fix problems like loose wires by re-tightening them or reheating bad solders until they’re solid again. Strong connections prevent future issues in your cable assembly setup.
Final Check: Look over everything closely now—check for stray bits or extra solder messes that could cause trouble later!
By following these steps, you’ll build reliable and efficient cable assemblies easily! Whether small DIY projects or big jobs, learning this helps make work fun too!
Troubleshooting and Tips
Even if you prepare well, problems can happen. Don’t panic—most issues are simple to fix. Let’s look at common problems and ways to solve them.
Common Problems and Fixes
Loose connections: Tighten screws or re-solder carefully.
Loose wires are a common issue in cable assembly. If wires slip out or don’t connect well, check screws or solder points. Tighten screws firmly but not too much to avoid damage. For soldered parts, reheat the joint and add a little solder for strength. Make sure everything feels secure before continuing.
Quick Tip: Test fixed connections with a multimeter to ensure they work.
Overheating during soldering: Use a controlled-temperature soldering iron.
Too much heat can harm your PCB or connectors. Burn marks or melted plastic mean your iron is too hot. Use a temperature-controlled iron set around 350°C (662°F). Work quickly but carefully to avoid overheating parts. Practice on extra materials first to improve your skills.
Pro Tip: Protect sensitive PCB areas with heat-resistant tape while soldering.
Beginner-Friendly Tips
Practice soldering on spare materials before using the real PCB.
If you’re new, practice helps you get better at soldering. Use old wires and an extra PCB to learn how to make smooth joints without gaps or blobs. Practicing saves time by reducing mistakes later on your actual project.
Did You Know? Practicing also helps you feel more comfortable using tools like the wire stripper and soldering iron.
Double-check wire placement and polarity for accuracy.
Putting wires in the wrong place is a beginner mistake. Always double-check that each wire goes where it should and has the correct polarity. Wrong placements can cause short circuits or damage parts of your project. Label wires if working on something complicated—it keeps things organized!
Final Tip: Follow your project diagram closely so you don’t get lost.
By fixing these issues and following these tips, your cable assembly will be better and stronger! Troubleshooting might seem hard at first, but it gets easier with time. Keep practicing, stay calm, and enjoy learning as you go!
Connecting PCB boards to wires might feel hard at first, but don’t worry! By getting your tools ready, keeping your workspace neat, and carefully attaching and testing wires, you’re already doing great. Begin with small projects to gain confidence and improve your skills. Each time you try, you’ll get better and quicker.
Don’t forget—experts were beginners once too. With practice and patience, you’ll learn this skill and explore fun DIY electronics projects. So, gather your tools and start building something cool today!
FAQ
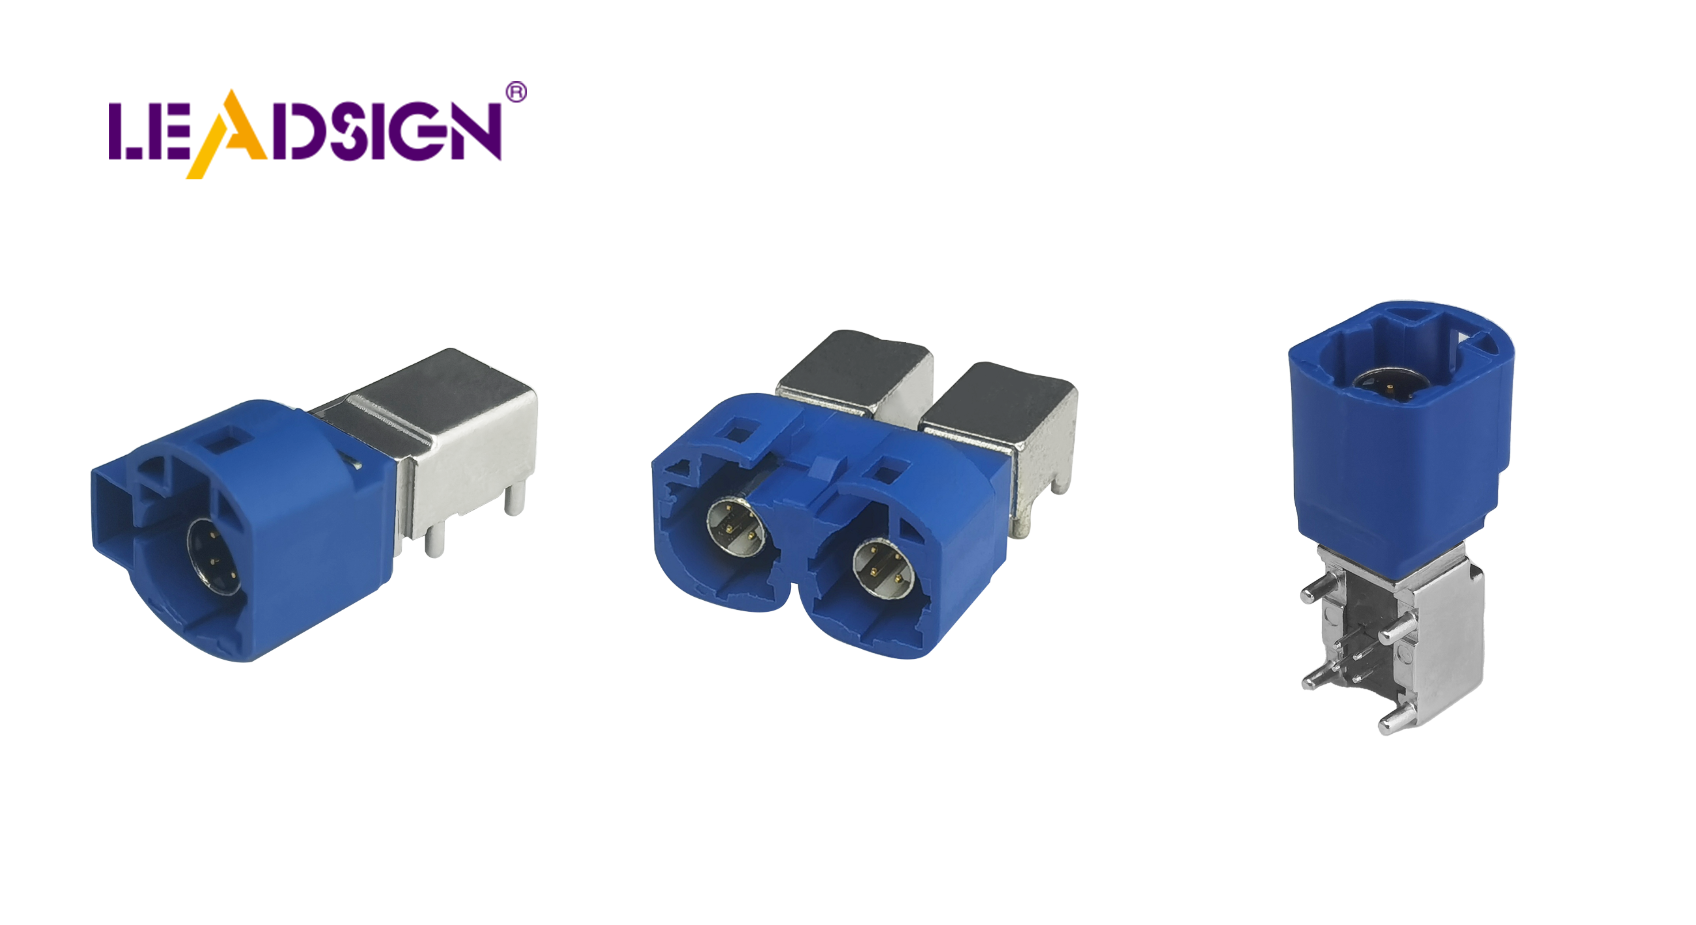
What are the different types of PCB connectors?
There are many kinds of PCB connectors for different uses. Two common ones are:
Cable-to-board connectors: These join a cable straight to the PCB.
Wire-to-board connectors: These use crimping to securely attach wires to the PCB.
Pick the right type based on your project’s needs. Always check if it fits your PCB and wires before starting.
How do I know which connector to use for my project?
First, figure out what your project needs. Think about whether you need a temporary or permanent connection, how much current and voltage it will handle, and how big your PCB is. For strong connections that last, soldered wire-to-board connectors work well. If you want easy removal, choose cable-to-board connectors instead.
Pro Tip: Look at your project plan or read the connector’s datasheet for help.
Do I need to solder all PCB connectors?
Not always! Some like screw terminal blocks don’t need soldering. You just tighten screws to secure wires. But soldering makes stronger connections, especially if there’s movement or vibrations in your setup.
What tools are essential for beginners?
Beginners only need a few basic tools:
Soldering iron with adjustable heat
Wire stripper and cutter
Screwdriver set (for screw-type connectors)
Multimeter for testing connections
These tools help you finish most beginner projects easily.
How can I avoid overheating my PCB while soldering?
Too much heat can ruin your PCB or parts. Use a temperature-controlled soldering iron set around 350°C (662°F). Work fast but carefully. Practice on extra materials first if you’re new—it helps build confidence!
Remember: Patience and steady hands prevent mistakes while working.
Why is wire twisting important before connecting?
Twisting keeps wire strands neat and stops fraying. Frayed wires may cause short circuits or bad connections. Twisted wires also fit better into connectors, making installation easier.
How do I test my connections after installation?
Set your multimeter to continuity mode and touch its probes to connected points. A beep or reading means the connection works fine! If not, check for loose wires or bad solder joints and fix them.
Can I reuse connectors from old PCBs?
Yes! Old PCB connectors can be reused if they’re still good. Clean them well and check for damage first. Reusing saves money and reduces waste but make sure they still connect securely.
What should I do if my connections are loose?
Loose connections happen often but are simple to fix! Tighten screws on screw-type ones or re-solder any weak joints carefully. Test fixed spots with a multimeter afterward to ensure they’re solid again.
Are there safety tips I should follow?
Yes! Here are some key safety tips:
Work in an airy space so fumes don’t bother you.
Wear goggles to protect eyes from accidents.
Keep things tidy so nothing gets lost or broken.
Unplug tools like soldering irons when not using them.
Safety First: Being careful keeps things safe while working!
See Also
Essential Insights Into HSD Connectors You Need
Exploring Fakra Connectors: Benefits, Uses, and Setup Advice
Understanding Fakra Female Connectors: A Detailed Overview
Unraveling Fakra HSD LVDS 4 Pin Connector Wiring
Fakra Connectors Explained: Fundamentals, Varieties, and Uses
