PCB Board to Wire Connectors Made Easy

Good electrical connections are key to any PCB board to wire connectors system. Proper crimping and inserting connectors help electricity flow smoothly. They also stop short circuits and block moisture or vibrations. Bad connections can cause failures and ruin your project or device. Learning this process helps you make strong, lasting connections. Crimping tightly joins the wire and terminal together. Placing connectors correctly keeps them stable and secure. These steps are important for making reliable PCB board to wire connections.
Key Takeaways
Use the right tools, such as wire strippers and crimp tools, to ensure accurate and durable connections.
Always match wire sizes with terminal sizes to prevent weak or unsafe connections.
Carefully align connectors with PCB sockets to avoid damaging pins and ensure a secure fit.
Test your connections with a multimeter to confirm proper electrical flow and avoid future issues.
Choose high-quality connectors and terminals to enhance the longevity and reliability of your connections.
Regularly inspect and clean your connections to prevent dirt buildup and ensure optimal performance.
Follow proper crimping techniques to create strong bonds without damaging the wire or terminal.
Tools and Materials for Connecting Wires to PCB Boards
To make strong connections, you need the right tools. Using good tools makes your work accurate and long-lasting. Below are the important tools and materials needed for this job.
Important Tools
Wire stripper
A wire stripper helps get wires ready. It removes the plastic cover without harming the wire inside. Be careful not to strip too much or too little. Pick a wire stripper that fits the size of your wire.
Crimp tool
A crimp tool is used to attach connectors securely. It presses the connector onto the wire tightly. Good crimp tools give even pressure, which keeps connections strong. Use a crimp tool that matches your connector type.
Multimeter for testing
A multimeter checks if your connection works properly. After attaching connectors, use it to test if electricity flows well. This step helps avoid problems later on.
Needed Materials
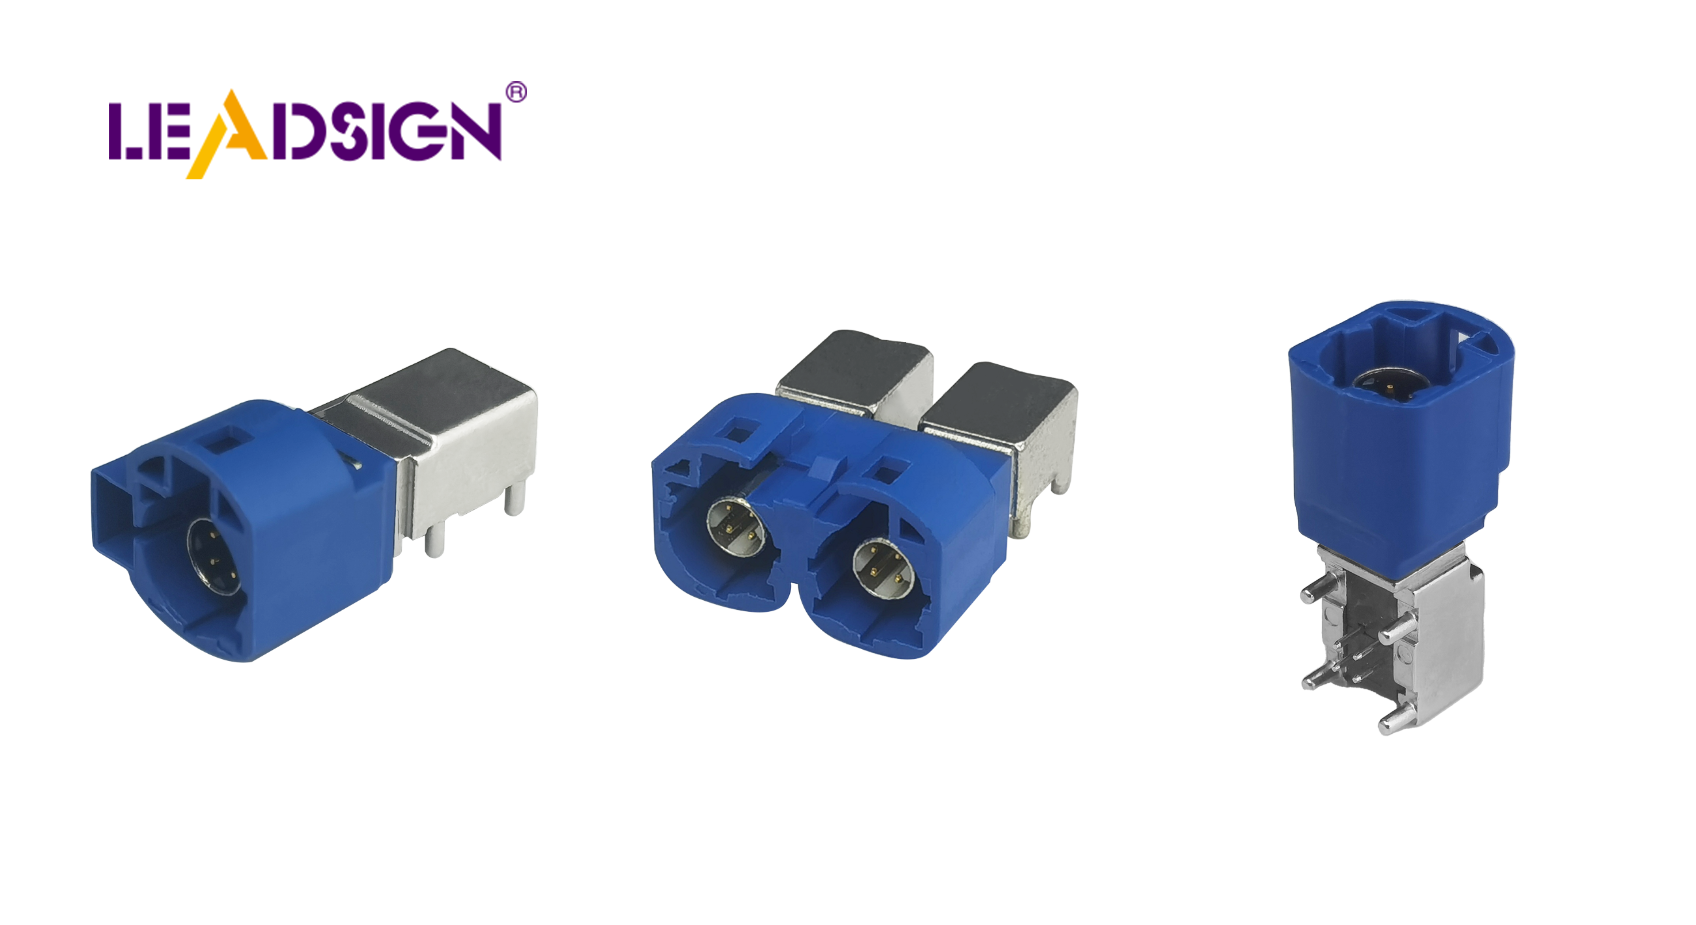
Wire-to-board connectors
These connectors link wires to the PCB board. They make assembly and repairs easier for devices. Choose ones that fit your project’s needs for best results.
Crimp terminals
Crimp terminals are metal pieces at the end of wires. They connect wires firmly to connectors. Make sure they match your wire size for a tight fit.
Correct-sized wires
The right wire size is very important. The size decides how much electricity it can handle safely. Wrong sizes may overheat or fail, so check before choosing.
Heat shrink tubing (optional)
Heat shrink tubing protects connections from damage like moisture or dust. It also adds strength and durability over time, though it’s optional.
"Good tools last forever and do things right." – A broadcast engineer at Fox.
By using these tools and materials, you can build strong connections easily! Each item helps make sure your work is safe, stable, and lasts long.
Step-by-Step Guide to Crimping Wires for Connectors
Getting the Wire Ready
Strip the wire carefully to avoid damaging it.
Use a wire stripper to take off the insulation. Place the wire in the right slot of the tool. Make sure it matches the size of your wire. Squeeze gently and pull off the insulation smoothly. Do not cut into the strands, as this weakens them. Doing this step properly makes a strong base for crimping.
"Bad connections cause many issues, but good crimping prevents problems." – Expert in Boat Wiring
Match the wire size with the terminal size.
Check your wire gauge and compare it to the terminal specs. Using mismatched sizes can make loose or weak connections. Most terminals show which wire sizes they fit best. Matching these ensures a tight grip and avoids electrical issues.
Crimping with Tools
Put the terminal in place inside the crimp tool.
Insert the terminal into its correct spot on your crimp tool. The open end should face outward and align with its jaws. A good crimp tool gives strong leverage and proper alignment for secure connections.
"A quality crimp tool has strong jaws and great leverage, ensuring firm connections." – Expert in Crimping
Insert stripped wire into terminal and press firmly.
Push your stripped wire all the way into the terminal. Hold it steady while squeezing your crimp tool tightly. Apply even pressure to lock everything together securely. This creates a solid bond that keeps electricity flowing well.
Check if everything is tight without loose wires showing.
Look closely at your finished connection. Gently tug on it to ensure it's secure. Check for any loose strands or gaps between parts. A good crimp looks neat, with no damage visible on either part of it. This final check confirms your work is reliable.
"Good crimps are neat, keep electricity flowing, and block moisture." – Expert in Boat Wiring
Follow these steps for dependable PCB board-to-wire connections! Each part helps make sure your system works well and lasts long.
Adding Wire-to-Board Connectors to the PCB
Connecting wires to a PCB needs care and accuracy. Aligning parts properly makes sure your device works well. Follow these steps to connect wire-to-board connectors easily.
Lining Up the Connector
Match how the connector fits with the PCB socket.
Before inserting, check how the connector lines up. Look for marks or guides on both parts. These help you place them correctly. Wrong alignment can harm pins or damage the PCB. Always double-check before connecting to avoid mistakes.
Make sure pins line up straight to stop bending.
Carefully position the connector so its pins match the PCB socket holes. Bent pins can break if forced in wrong. Use steady hands and look closely while placing it in position. Good alignment ensures a smooth connection.
"Good alignment stops damage and keeps connections strong." – Electronics Expert
Locking It In Place
Push firmly until it clicks or locks securely.
Press the connector into place with steady pressure. You might hear a click or feel it lock when secure. This shows it's connected properly. Don’t push too hard, as this could break parts.
Check by gently pulling on wires after connecting.
After locking, lightly tug on wires to test strength. A good connection won’t move or come loose during use. This step makes sure everything stays in place while working.
Testing Your Connection
Use a multimeter to confirm everything works right.
Check your work using a multimeter set to continuity mode. Touch its probes to points on both the PCB and connector ends. A beep or reading means electricity flows correctly through them, showing your connection is solid.
"A multimeter helps ensure all connections are done right." – Electrical Engineer
By following these steps, you’ll connect wires safely and securely every time! Proper setup and testing make sure your device runs smoothly without problems.
Common Mistakes and Fixes for PCB Board to Wire Connectors
Mistakes can happen, even with good tools. Knowing common errors and fixing them keeps connections safe and strong.
Common Errors
Stripping too much or too little insulation
Taking off the wrong amount of insulation is a common problem. Too much exposes extra wire, which can cause short circuits. Too little leaves insulation in the way, stopping a proper crimp. Measure carefully and use the right tool for your wire size.
"Bad connections cause many issues, but good crimping prevents problems." – Expert in Boat Wiring
Using terminals that don’t match the wire size
Wrong terminal sizes make weak or unsafe connections. A big terminal won’t grip tightly, while a small one may damage the wire. For example, one person had a wire burn when using the wrong terminal with 5A current. Always pick terminals that fit your wires well.
Misplacing connectors during insertion
Putting connectors in wrong can bend pins or break parts. This happens if you rush or skip checking alignment first. Take your time to line up connectors properly with the PCB socket to avoid mistakes.
"Good alignment stops damage and keeps connections strong." – Electronics Expert
Fixing Problems
Re-crimp loose or bad terminals
If a crimp feels loose or has gaps, redo it right away. Remove the terminal, strip the wire again if needed, and crimp it tightly. A good crimp holds firmly without any loose strands showing.
Replace broken connectors or wires
Broken parts weaken your system’s safety and function. If you see bent pins, damaged wires, or cracked parts, replace them immediately. Broken pieces increase failure risks and might harm your PCB.
Check alignment before reinserting connectors
Before putting a connector back in place, check its position carefully. Look for marks on both the connector and PCB to guide placement correctly. This step avoids damage and ensures everything fits securely.
"A multimeter helps ensure all connections are done right." – Electrical Engineer
By avoiding these mistakes and following these fixes, you’ll keep your PCB board-to-wire connections working well! Careful checks save time and prevent future problems.
Tips for Making Crimped Connections Last Longer
To make crimped connections last, follow these simple tips. These steps help keep your connections strong and working well.
Making Strong Connections
Pick good-quality connectors and terminals.
Always use connectors and terminals made from strong materials. Good parts last longer and stay stable under pressure. Cheap ones might rust or break, causing problems. Spending more on quality saves time and trouble later.
Don’t crimp too hard or too soft.
Use the crimp tool correctly to secure the connection. Pressing too hard can harm the wire or terminal. Pressing too lightly makes a loose connection. Apply just enough force to hold everything tightly without damage. A good crimp keeps electricity flowing smoothly.
"Neat crimps stop moisture and keep electricity moving." – Expert in Boat Wiring
Protecting Your Connection
Add heat shrink tubing for extra safety.
Heat shrink tubing shields your connection from water, dust, and shaking. Slide it over before crimping, then heat it to fit snugly. This makes your connection stronger, especially in tough environments.
Keep connectors clean and dirt-free.
Dust can mess up how your connections work. Use a soft brush or air blower to clean them often. Clean connectors ensure steady electricity flow without failures.
Checking Your Work Regularly
Look at connections for damage over time.
Even great connections wear out eventually. Check them often for rust, cracks, or other issues. Fixing small problems early stops bigger ones later.
Test with a multimeter during check-ups.
A multimeter helps you see if connections are working right. Set it to test continuity and check each one carefully. Regular testing finds weak spots so you can fix them quickly.
"Electronics need care over time to work their best." – LinkedIn
By following these tips, your crimped connections will last longer! Taking care of them now prevents costly fixes later on.
To make strong PCB wire connections, follow clear steps. First, collect the needed tools and materials. Crimp wires tightly so they attach well to terminals. Place connectors carefully to prevent any damage or misalignment. Then, check each connection with a multimeter to ensure it works. Using these methods helps create reliable and lasting connections. Stay focused and use proper techniques for success every time.
FAQ
What are the factors to consider when choosing the right PCB connector?
When picking a PCB connector, think about your project’s needs. First, check the application requirements. Decide what it will do and the signals it carries. Then, look at its electrical specifications like current, voltage, and resistance. These ensure it handles electricity safely.
Next, think about mechanical considerations, such as how strong it is and how often you’ll use it. Consider the size and space constraints on your board; smaller designs need smaller connectors. Don’t forget about environmental factors, like moisture or heat exposure. Pick materials that can handle tough conditions.
Finally, focus on reliability and durability, making sure it's compatible with other parts. Also, check if it's future-proof for upgrades later on. Balancing these with your budget helps you choose wisely.
See Also
Exploring FAKRA Connectors' Advantages for PCB Use
A Complete Guide to Mini FAKRA Connector Benefits
Improving Vehicle Communication Through FAKRA PCB Connectors
