Maintaining Automotive Plugs and Connectors Made Easy – Professional B2B Guide (2026)

Intro: A Few Minutes of Care Can Save Hours of Comebacks
Automotive plugs and connectors are the critical links between your car’s electrical systems – brakes, sensors, lights, ECUs, and cameras. When they fail, small issues become big problems: flickering lights, intermittent sensors, or even a no‑start condition. Regular maintenance is simple, inexpensive, and pays off immediately. This guide provides step‑by‑step instructions for inspecting, cleaning, protecting, and installing connectors – keeping your fleet or shop vehicles safe and reliable.
In this guide, you will learn:
Common types of automotive connectors (blade, pin/socket, weatherproof)
How to inspect for loose or damaged connectors, corrosion, and dirt
Proper cleaning and protection techniques (contact cleaner, dielectric grease)
Best practices for installation (crimping vs. soldering, grounding)
Troubleshooting common problems (loose connections, corrosion, broken connectors)
Essential tools and accessories
Why LEADSIGN pre‑terminated FAKRA/HSD cables reduce maintenance effort
1. Understanding Automotive Plugs and Connectors
🔹 Common Types
Connector Type | Description | Typical Use |
|---|---|---|
Blade connectors | Flat male terminal inserts into female receptacle | Fuse boxes, interior lights, low‑current circuits |
Pin & socket connectors | Round pin inserts into socket; secure and durable | Engine control units, transmission sensors, airbag systems |
Weatherproof connectors | Sealed with rubber grommets, IP67/IP69K rating | Exterior lights, GPS antennas, underbody sensors |
🔹 Applications in Vehicle Systems
Lighting & sensors: Headlights, tail lights, parking sensors, ABS sensors.
Engine & transmission: Fuel injectors, cam/crank sensors, gearbox actuators.
Infotainment & communication: Radio antennas, GPS, USB‑C, Bluetooth modules.
Key insight: Using the correct connector type for each application (sealed vs. unsealed, high‑current vs. signal) is the first step to long‑term reliability.
2. Maintenance Tips – Step by Step
✅ Regular Inspection (Every 6 months or 20,000 km)
Look for loose or damaged connectors: Wiggle each connector – if it moves, the lock may be broken or not engaged.
Check for corrosion: Look for green/white powder on metal terminals.
Inspect for dirt or debris: Dust and grime can prevent full mating.
Pro tip: Use a bright light and magnifying glass – tiny cracks and early corrosion are often invisible to the naked eye.
✅ Cleaning Connectors
Tools needed: Electrical contact cleaner (plastic‑safe), soft brush, compressed air.
Procedure:
Disconnect battery (negative first).
Separate connector halves.
Blow out loose debris with compressed air.
Spray contact cleaner on terminals and inside housing.
Gently brush terminals to remove oxidation.
Blow dry with compressed air.
Allow to air dry for 1‑2 minutes.
Reconnect – push until click, engage secondary lock.
Test circuit.
Do not use: Water, vinegar, baking soda, WD‑40, or brake cleaner – they damage plastic or leave conductive residue.
✅ Protecting Connectors – Dielectric Grease
Apply to: Rubber seals, grommets, and housing mating surfaces.
Do NOT apply to: Electrical contact surfaces (grease is an insulator).
Benefit: Prevents moisture ingress, stops corrosion, keeps seals flexible.
Pro tip: Reapply dielectric grease once a year or after pressure washing.
✅ Preventative Measures for Longevity
Weatherproof covers and seals: Use sealed connectors (IP67/IP69K) for any exterior or underbody location.
Proper storage: Keep spare connectors in a dry, labelled parts bin with dust caps.
Avoid overloading circuits: Use relays for high‑current accessories; undersized wires cause overheating.
3. Best Practices for Installation
🔹 Preparing for Installation
Clean and strip wires correctly: Use a wire stripper, not a knife. Strip only 5‑8 mm of insulation. Do not nick copper strands.
Match connector to wire gauge: Red (22‑18 AWG), blue (16‑14 AWG), yellow (12‑10 AWG). Mismatched sizes cause loose connections or overheating.
🔹 Crimping vs. Soldering
Method | Pros | Cons |
|---|---|---|
Crimping | Fast, no heat, excellent vibration resistance | Requires quality crimp tool; poor crimp leads to failure |
Soldering | Very low resistance, permanent | Slow, heat can damage insulation, brittle in vibration |
Recommendation for automotive: Crimping is preferred for most applications (except delicate signal wires in low‑vibration areas).
Pull test: After crimping, pull the wire with 5‑10 lbs force – it should not move.
🔹 Ensuring Proper Grounding
Clean the grounding point to bare metal (no paint, rust).
Use a ring terminal and star washer, tighten to spec.
Test ground resistance with multimeter – should be <0.2Ω.
Common grounding mistakes:
Grounding to painted or rusty surfaces.
Using undersized wire.
Loose or corroded ground straps.
4. Troubleshooting Common Problems
Problem | Cause | Fix |
|---|---|---|
Loose connection | Worn connector lock, poor crimp, no secondary lock | Replace connector or terminal; ensure lock engages |
Corrosion (green/white powder) | Water ingress, unsealed connector | Clean with contact cleaner; replace if pitted; use sealed connector |
Broken / melted connector | Overcurrent, high resistance, poor contact | Replace connector; find root cause (undersized wire, overload) |
Intermittent signal | Fretting corrosion, loose terminal | Clean and retension female terminal; replace if worn |
No power | Broken wire, corroded terminal, open circuit | Use multimeter to trace continuity; repair or replace |
For FAKRA / HSD data connectors: If centre pin is bent or corroded, replace the entire pre‑terminated cable (LEADSIGN). Field repair is not reliable.
5. Essential Tools & Accessories
Tool | Use |
|---|---|
Electrical contact cleaner | Removes dirt, oil, light corrosion |
Soft brush | Scrubbing terminals without damage |
Compressed air | Blowing out debris |
Multimeter | Testing continuity, voltage drop, resistance |
Ratcheting crimper | Consistent, gas‑tight crimps |
Soldering kit | For low‑vibration interior signal wires |
Heat shrink tubing | Insulating and sealing splices (adhesive‑lined for moisture) |
Dielectric grease | Protecting seals and grommets |
Weatherproof covers / seals | For exterior/underbody connectors |
Pro tip: Keep a small “connector emergency kit” in your service vehicle – a few common pigtails, dielectric grease, contact cleaner, and a multimeter.
6. Why LEADSIGN – Pre‑Terminated Cables Simplify Maintenance
Many connector problems come from field‑crimped FAKRA or HSD cables. LEADSIGN pre‑terminated cables eliminate this variable.
What LEADSIGN offers:
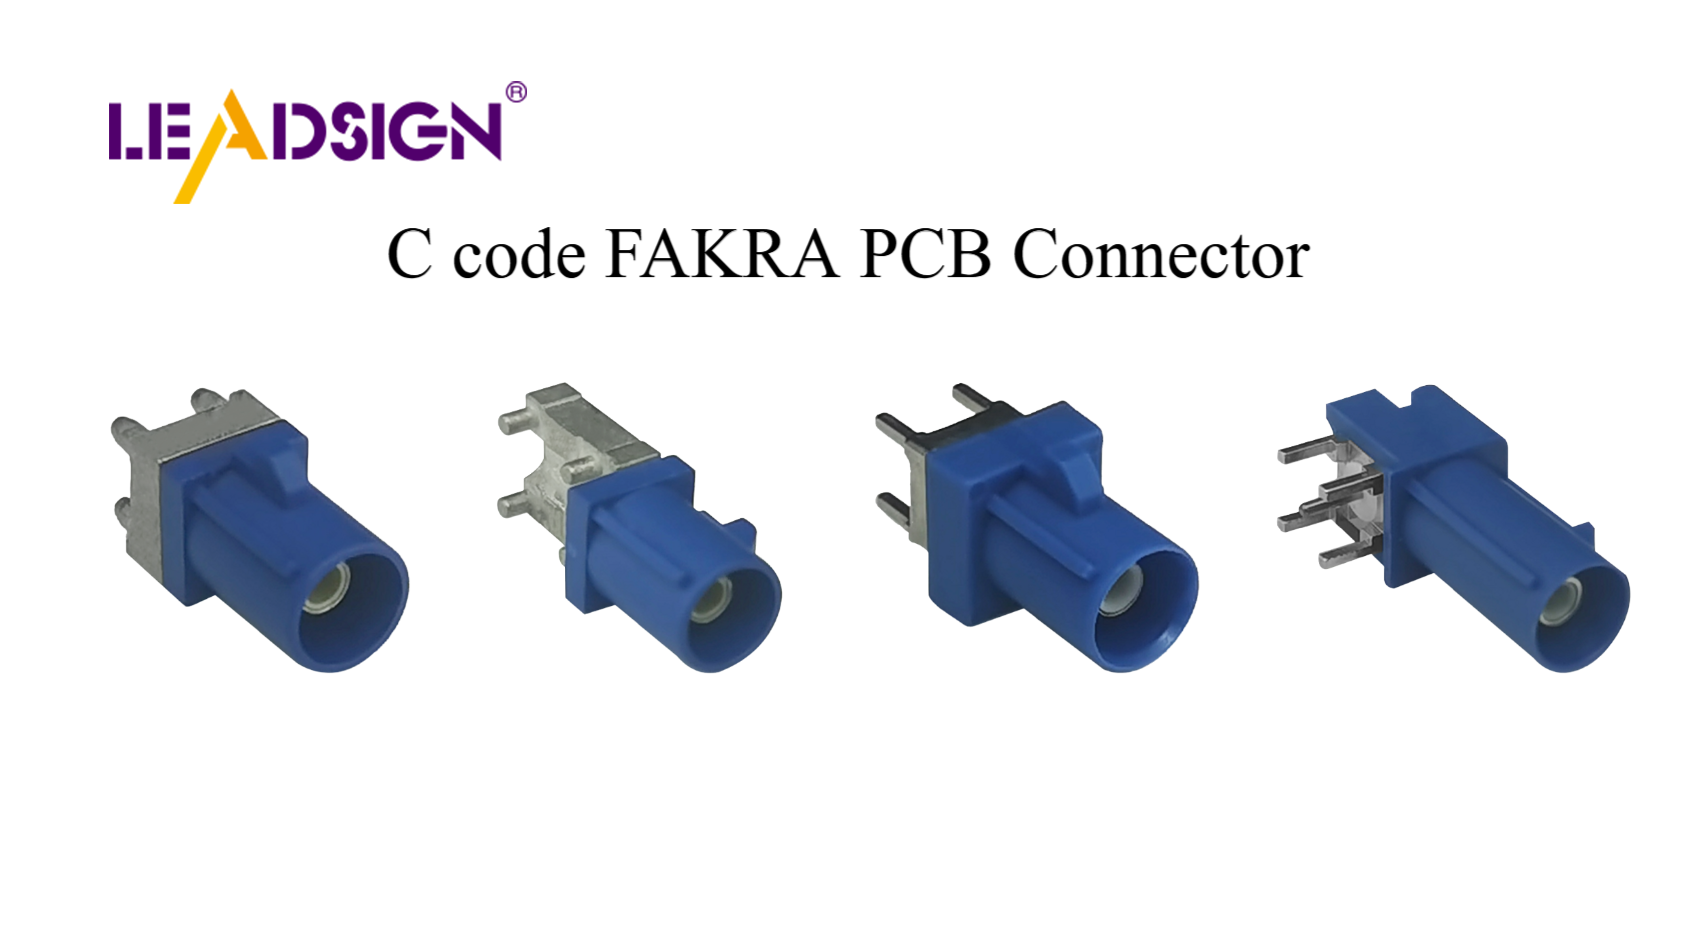
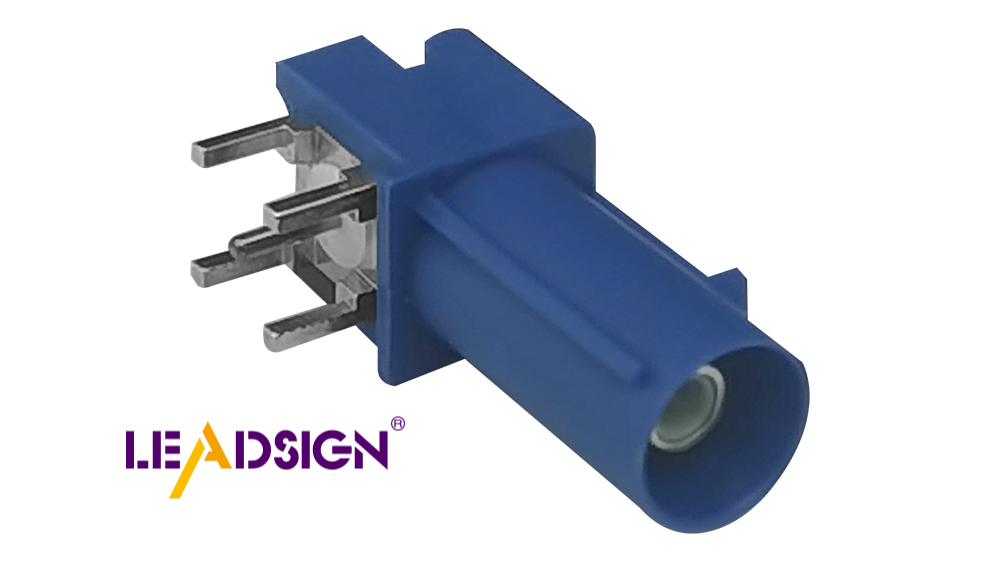
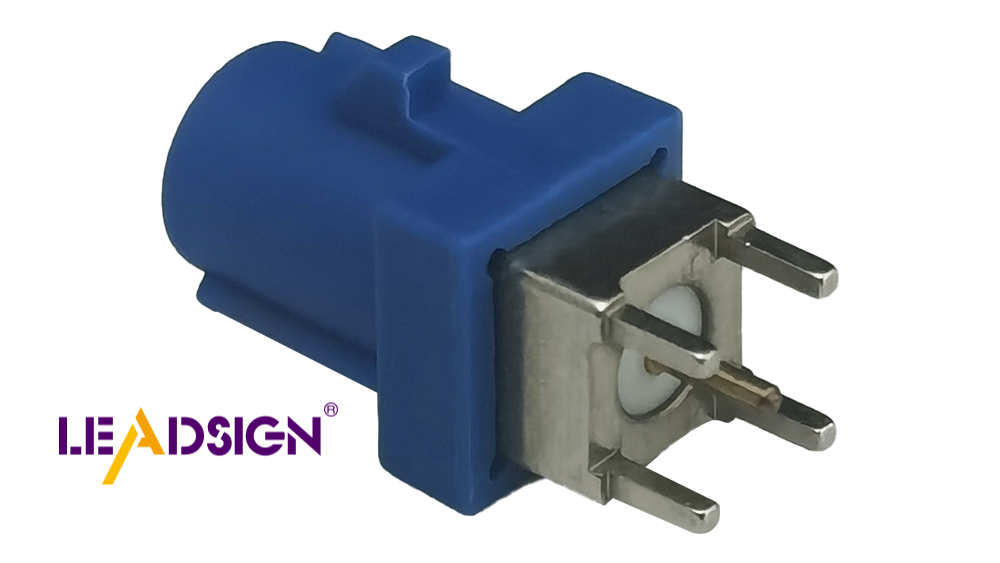
✅ FAKRA (standard & Mini) – all 14 colours, 50Ω, up to 20 GHz, IP67 optional
✅ HSD (USB‑C, Ethernet, LVDS) – 100Ω, locking, up to 5 Gbps
✅ Pre‑terminated cables – custom lengths 0.3m – 20m, no crimping
✅ Low‑loss, double‑shielded coax – for long runs and EV environments
✅ Bulk pricing – for shops, fleets, and distributors
For your business: Instead of cleaning or repairing a corroded FAKRA connector, simply replace the entire LEADSIGN pre‑terminated cable – faster, more reliable, and no callback.
Final Recommendations – Maintenance Checklist
Task | Frequency |
|---|---|
Visual inspection (cracks, corrosion, loose locks) | Every 6 months / 20,000 km |
Clean with contact cleaner; apply dielectric grease to seals | Annually or after exposure to water |
Perform tug test on critical connectors (battery, camera, ECU) | Every service |
Replace any connector with bent pins, broken lock, or deep corrosion | Immediately |
For FAKRA/HSD data lines, use pre‑terminated LEADSIGN cables | Always – no field crimping |
Remember: A 10‑minute connector check can prevent a 1‑hour diagnostic and a costly callback.
Ready to simplify your connector maintenance with pre‑terminated data cables?
See Also
Why Fakra Connectors Are Essential for Today's Vehicles
Enhancing Vehicle Data Flow with Advanced Connectors
Key Role of FAKRA Connectors in Car Technology
