Simple Steps to Maintain Your Car Harness Connectors

Intro: A Few Minutes of Care Can Save Hours of Comebacks
Auto harness connectors are small components, but they carry critical power and signals to lights, sensors, ECUs, and cameras. Neglecting them leads to corrosion, loose connections, and intermittent failures – all of which cost diagnostic time and customer trust. Regular maintenance is simple, inexpensive, and pays off immediately.
In this guide, you will learn:
Why connector maintenance matters (safety, longevity, cost savings)
Step‑by‑step inspection, cleaning, and protection procedures
How to apply dielectric grease correctly (seals only, not contacts)
Common problems (corrosion, loose wires, damaged connectors) and their fixes
Pro tips for preventing future issues
Why LEADSIGN pre‑terminated FAKRA/HSD cables reduce maintenance headaches
1. Why Connector Maintenance Matters
Benefit | Explanation |
|---|---|
Prevents electrical failures | Corrosion and dirt increase resistance, causing voltage drops and intermittent signals. |
Extends connector life | Clean, protected connectors last the life of the vehicle. |
Saves money | Regular inspection catches small problems before they become expensive repairs. |
Improves safety | Reliable connections ensure airbags, brakes, and lights work when needed. |
Common causes of connector failure:
Corrosion (green/white powder) from moisture ingress
Loose terminals from vibration
Dirt and debris blocking contact surfaces
Melted plastic from overheating (high resistance or overload)
2. Simple Maintenance Steps – A Professional Routine
✅ Step 1: Visual Inspection (Every 6 months or 20,000 km)
Look for cracks, discolouration, or melted plastic on the housing.
Check for green/white powder (corrosion) on terminals.
Inspect seals and grommets – torn or hardened seals allow water ingress.
Ensure secondary locks / CPA are intact and engage properly.
✅ Step 2: Cleaning (When dirt or light corrosion is present)
Tools needed:
Electrical contact cleaner (plastic‑safe)
Soft brush (toothbrush size)
Compressed air (can or regulated shop air)
Lint‑free cloth
Procedure:
Disconnect battery (negative first).
Separate the connector – do not pull by wires.
Blow out loose debris with compressed air.
Spray contact cleaner on terminals and housing.
Gently brush terminals to remove oxidation.
Blow dry with compressed air.
Inspect again – if corrosion remains, repeat or replace.
Reconnect and test.
Do not use: Water, vinegar, baking soda, WD‑40, or acetone – they damage plastic and wick into wires.
✅ Step 3: Apply Dielectric Grease (to seals only)
Where to apply: Rubber seals, silicone grommets, and housing mating surfaces.
Where NOT to apply: Directly on electrical contact surfaces (grease insulates).
How to apply: Squeeze a small amount into the seal area before mating.
Pro tip: Dielectric grease prevents moisture ingress and stops seals from hardening.
✅ Step 4: Ensure Connections Are Tight & Secure
Push connector until audible click and secondary lock engages.
Perform a tug test – the connector should not separate.
Zip‑tie wires within 5‑10 cm of the connector back for strain relief.
3. Common Problems & Fixes
Problem | Cause | Fix |
|---|---|---|
Corrosion (green/white powder) | Water ingress, unsealed connector | Clean with contact cleaner; if pitted, replace connector. Use sealed (IP67) for future. |
Loose connection / intermittent signal | No secondary lock, worn terminals | Replace housing or terminal; always use CPA. |
Bent or pushed‑back pin | Forced mismating | Carefully straighten with pick tool; if loose, replace terminal. |
Melted plastic | High resistance, overload | Replace connector and find root cause (undersized wire, poor crimp). |
Broken lock / latch | Rough handling, brittle plastic | Replace housing – do not use tape. |
For FAKRA / HSD data connectors: If corrosion or bent centre pin is found, replace the entire pre‑terminated cable (LEADSIGN). Field repair is not reliable.
4. Pro Tips for Long‑Term Connector Health
Use dielectric grease on every exterior or underbody connector during service.
Avoid over‑loading circuits – add relays for high‑current accessories.
Inspect after off‑road use or pressure washing – water can force into unsealed connectors.
Use sealed connectors (IP67/IP69K) for any location exposed to moisture: Deutsch, Weather Pack, sealed FAKRA.
Keep spare connectors in dry, labelled storage – protect terminals with dust caps.
5. Why LEADSIGN – Pre‑Terminated Cables Reduce Maintenance
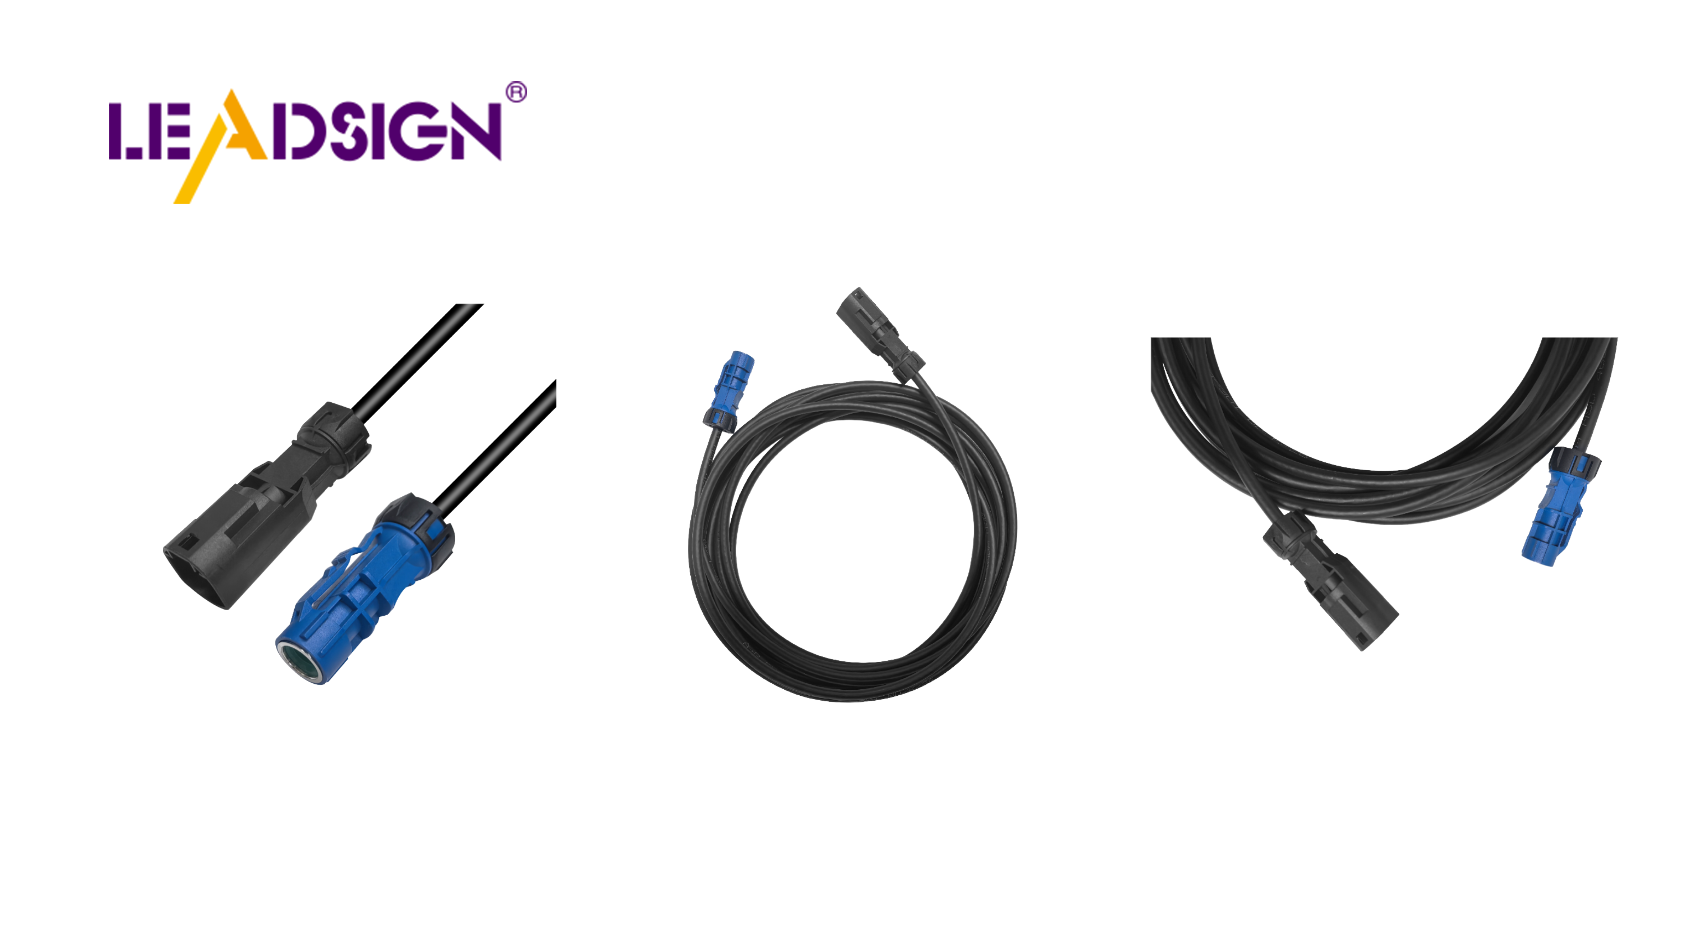
Many connector problems come from field‑crimped terminals or damaged data cables. LEADSIGN pre‑terminated FAKRA and HSD cables eliminate these variables.
What LEADSIGN offers for easier maintenance:
✅ FAKRA (standard & Mini) – all 14 colours, 50Ω, up to 20 GHz, IP67 optional
✅ HSD (USB‑C, Ethernet, LVDS) – 100Ω, locking, up to 5 Gbps
✅ Pre‑terminated cables – custom lengths 0.3m – 20m, no field crimping
✅ Low‑loss, double‑shielded coax – for long runs and EV environments
✅ Bulk pricing – for shops, fleets, and distributors
For your business: Instead of cleaning a corroded FAKRA connector, simply replace the entire pre‑terminated LEADSIGN cable – faster, more reliable, and no callback.
Final Recommendations – Connector Maintenance Checklist
Task | Frequency |
|---|---|
Visual inspection (cracks, corrosion, loose locks) | Every 6 months / 20,000 km |
Clean with contact cleaner; apply dielectric grease to seals | As needed (or annually) |
Perform tug test on critical connectors (battery, camera, ECU) | Every service |
Replace any connector with bent pins, broken lock, or deep corrosion | Immediately |
For FAKRA/HSD, use pre‑terminated LEADSIGN cables | Always – no field crimping |
Remember: A 10‑minute connector check can prevent a 1‑hour diagnostic and a costly callback.
Ready to simplify your connector maintenance with pre‑terminated data cables?
See Also
Understanding Fakra Connectors' Role In Honda Cars
A Comprehensive Overview Of Fakra Connectors For Honda
Enhancing Automotive Performance With HFM Connectors
