Mastering the Basics of Vehicle Connectors

Learning about vehicle connectors is important for DIY car repairs. It helps you fix problems easily and save money. Well-kept connectors make sure your car's electronics work properly. This lowers the chance of sudden breakdowns. Knowing this skill also helps your car parts last longer. With proper tools and tips, it’s simple to learn, even for beginners. Experts say, "Good quality prevents problems and keeps you safe." This makes it a must-know for all car owners.
Key Takeaways
Understanding vehicle connectors is essential for DIY car repairs, helping you save money and prevent breakdowns.
Always use the right tools, such as crimping tools and multimeters, to ensure strong and reliable connections.
Prepare thoroughly by reviewing your vehicle's wiring diagram and inspecting connectors before starting any work.
Safety first: disconnect the battery and maintain a clean workspace to avoid accidents and mistakes.
Label wires with colored tape to simplify reassembly and reduce errors during installation.
Test connections with a multimeter after installation to ensure they work properly and avoid future issues.
Practice makes perfect: with time and attention to detail, working with vehicle connectors will become easier and more intuitive.
Tools and Materials for Vehicle Connectors
Using the right tools makes working with connectors easier. Being prepared saves time and ensures strong connections.
Important Tools
Wire Crimping Tool
A crimping tool helps make strong wire connections. It presses the connector onto the wire tightly. Pick a tool that fits your connector size for better results.
Terminal Removal Tool
This tool removes old terminals without damaging wires. It is precise and makes replacing terminals simple.
Multimeter for Testing
A multimeter checks if your connections work properly. It tests voltage and continuity to avoid future electrical problems.
Heat Shrink Tubing and Heat Gun
Heat shrink tubing protects and insulates connections. Slide it over the joint and heat it to seal. It keeps out dirt and moisture. Lightweight tubing allows wires to bend easily.
"Adhesive-lined tubing seals tightly when heated, adding extra strength."
Materials You Need
Replacement Connectors
Keep spare connectors to replace broken ones. Use connectors that match your car's wiring for a good fit.
Electrical Tape
Electrical tape adds protection and holds wires in place. It prevents wear and tear.
Wiring Diagrams
A wiring diagram shows your car's electrical layout. It helps you find the right wires and avoid mistakes.
Safety Gear
Wear gloves to protect your hands from sharp wires. Use safety glasses to keep debris out of your eyes.
Having these tools and materials makes connector work easier. Each item helps ensure the job is safe and successful.
Getting Ready for Installation
Preparing before working on connectors makes the job easier. Good preparation avoids mistakes and saves time.
Learning About Your Vehicle’s Wiring
Find your vehicle's wiring diagram.
Look for the wiring diagram for your car model. This diagram is like a map showing wires and connectors. It helps you find the right connections and avoid errors.
"Modern cars use complex wiring for sensors, cameras, and systems."
Check the connectors and wires you’ll work on.
Inspect the connectors and wires you need to fix or replace. Look for damage like broken wires or rusty terminals. Knowing what you’ll handle helps you pick the right tools.
Staying Safe
Unplug the car battery to prevent shocks.
Always disconnect the battery before working on wires. This stops electrical shocks or short circuits. Remove the negative terminal first for safety.
Keep your workspace clean and bright.
Work in a clean area with good lighting. A tidy space helps you avoid losing small parts. Bright light makes it easier to see the wires.
"A clean workspace reduces mistakes and saves time."
Organizing Your Tools
Arrange tools and materials for easy use.
Place your tools and materials neatly on a table. Keep them close so you don’t waste time searching. This keeps you focused and speeds up the job.
Mark wires to avoid mix-ups later.
Use labels or colored tape to mark wires before removing them. This step helps you reconnect wires correctly. Proper labeling prevents mistakes during reassembly.
By following these steps, you’ll work smoothly. Knowing your car’s wiring, staying safe, and being organized make the job simple and stress-free.
Step-by-Step Guide to Install Butt Connectors

Installing connectors needs care and focus. Follow these steps for a strong connection.
Taking Out the Old Connector
Use a tool to remove the old connector.
Carefully take out the old connector with a special tool. Insert the tool to release the pins without breaking wires. This makes removing connectors easy and safe.
"Watch videos to see how to remove connectors step by step."
Check wires for damage and cut if needed.
Look at the wires for rust, wear, or breaks. Cut off damaged parts to show clean copper. This helps make a strong connection with the new connector.
Getting Wires Ready
Remove wire covering to show clean copper.
Use a wire stripper to take off the wire’s outer layer. Be careful not to cut the copper strands. Clean copper makes better connections.
Put heat shrink tubing on the wire first.
Slide heat shrink tubing onto the wire before adding the connector. This tubing will protect the connection from dirt and water later. Don’t skip this step to keep the connection safe.
Adding the New Connector
Place the wire in the connector and crimp it tight.
Put the stripped wire into the new connector. Use a crimping tool to press it tightly. A tight crimp keeps the connection strong even if the car shakes. Pick the right tool for your connector size.
"Learn crimping and sealing tricks for professional-looking results."
Test the connection with a multimeter.
After crimping, check the connection with a multimeter. Make sure it has the right voltage and works well. This step finds problems before you finish the job.
Follow these steps to install butt connectors easily. Careful work and good prep make it simple for anyone.
Finishing the Installation
Cover the connection with heat shrink tubing and heat it.
After attaching the connector, slide heat shrink tubing over it. Make sure it covers the wire and connector completely. This protects the connection from water, dirt, and shaking. Use a heat gun to shrink the tubing. Hold the gun a few inches away and move it around evenly. Don’t overheat, or you might damage the wire or connector. The tubing will seal tightly, making the connection strong and long-lasting.
"Heat shrink tubing keeps the connection safe and strong for years."
You can watch online videos to learn heat shrinking. These videos show how to do it step by step.
Reconnect the battery and check if the connection works.
When the tubing cools, reconnect the car battery. Attach the positive terminal first, then the negative one. Tighten them so they stay secure. After reconnecting, test the new connector. Use a multimeter to check voltage and continuity. Turn on the car and test the system connected to the wire. Make sure everything works properly.
If something doesn’t work, go back and check your steps. Online videos can help you fix mistakes. They show clear instructions for installing connectors correctly.
Following these steps gives you a strong connection. With practice, you’ll get better at making reliable connections and fixing similar problems.
Tips for Success When Working with Vehicle Connectors
Mistakes to Avoid
Picking the wrong size connector or terminal.
Always choose the right size connector for your wires. Using the wrong size can make connections loose. Loose connections might cause electrical problems or damage wires. Match the connector to the wire size and car needs. Check your wiring diagram or product details to pick correctly.
"The right connector size makes a strong and lasting connection."
Skipping the testing step after installation.
Not testing connections can hide problems that show up later. After installing, use a multimeter to check voltage and continuity. Testing makes sure the connection works as it should. It also helps you find mistakes before finishing. This step saves time and avoids doing the work again.
Helpful Tips for a Neat Job
Label wires with colors for easy identification.
Use colored tape or tags to label wires. This makes reassembly faster and easier. Assign colors to systems, like red for power and black for ground. Labels keep your work neat and reduce errors. It also makes future repairs simpler.
"Color labels help with troubleshooting and fixing issues later."
Review the wiring diagram carefully to avoid mistakes.
Before starting, study your car’s wiring diagram closely. Double-check the wires and connections you’ll work on. This step helps you avoid errors and ensures everything is correct. Knowing the layout well makes your work better and more accurate.
"Careful review of diagrams prevents costly and time-wasting errors."
By avoiding mistakes and using these tips, you can do a great job with vehicle connectors. Good planning and careful work make the process easier and more successful.
Learning about vehicle connectors has many advantages. You can save money by fixing your car yourself. This also helps you feel more confident about car care. Good connectors keep your car running smoothly and prevent sudden problems. By following these steps, you can finish the job well. With practice, this skill becomes easy and natural. Always use the right tools and focus on details for great results.
FAQ
What are vehicle connectors, and why do they matter?
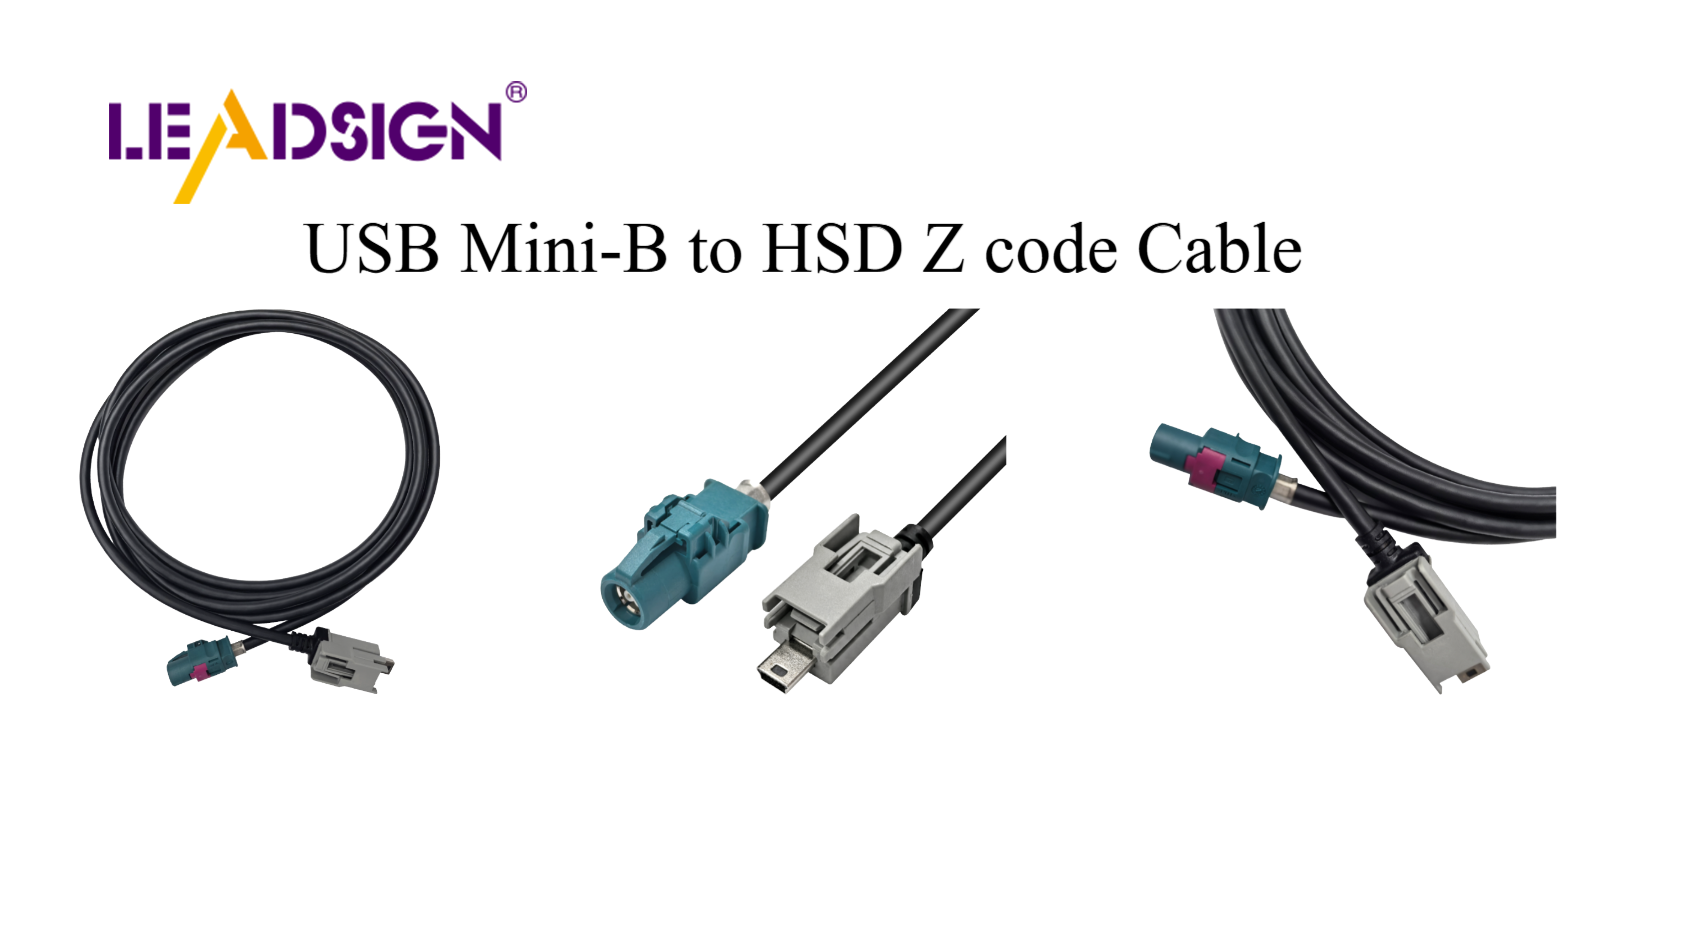
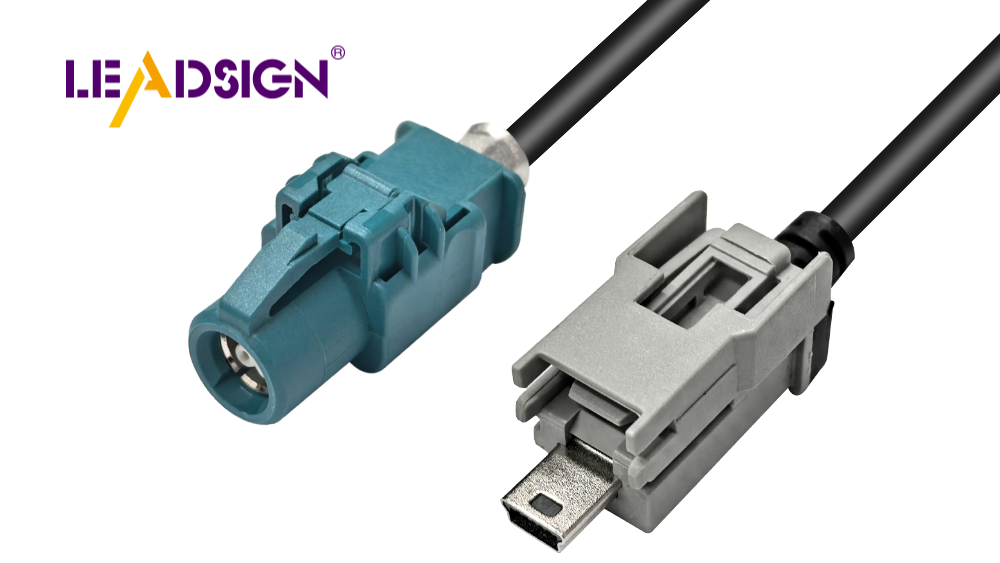
Vehicle connectors join electronic parts in your car. They help power and data move smoothly between systems like cameras and sensors. Good connectors stop problems and keep your car working well. They also make sure safety systems work properly.
"Connectors are key to modern cars, keeping systems running smoothly."
How do I pick the right connector for my car?
Check your car’s wiring diagram to choose the right connector. Match the size and type to your car’s wires. Using the wrong one can cause loose connections or failures. Always pick strong, high-quality connectors for better results.
Why unplug the battery before working on connectors?
Unplugging the battery stops shocks and short circuits. It keeps you safe when handling wires. Always remove the negative terminal first to lower risks.
How can I know if a connector needs replacing?
Look for damage like rust, cracks, or loose pins. Bad connectors can cause electrical problems or system failures. Replacing them keeps your car working well and avoids bigger issues.
What tools do I need for working with connectors?
You’ll need a crimping tool, removal tool, multimeter, and heat shrink tubing. These tools help you make strong connections and test them. The right tools make the job faster and easier.
How do I protect connectors after installing them?
Use heat shrink tubing to cover the connection. This keeps out water, dirt, and vibrations. Electrical tape adds extra protection. Clean and dry connectors last longer.
"Sealing connectors well makes them last and work better."
Can I fix connectors myself, or should I get help?
You can fix connectors with the right tools and steps. Follow clear instructions and use good materials. For tricky systems or if unsure, ask a professional to avoid mistakes.
What mistakes should I avoid with connectors?
Don’t use the wrong size connector or skip testing. Loose or bad connections can cause problems. Label wires before removing them to reconnect them correctly later.
How do I test a connector after installing it?
Use a multimeter to check voltage and continuity. This shows if the connection works. Testing helps find and fix problems before finishing.
Why is taking care of connectors important?
Good connectors keep your car’s electronics working well. They stop problems, make parts last longer, and improve driving. They’re also key for safety systems like airbags and lights.
"Taking care of connectors keeps your car safe and running well."
See Also
Understanding HSD Connectors Essential for Automotive Applications
Enhancing Automotive Performance Using HFM Connectors Effectively
Uncovering Advantages of Fakra Connectors in Vehicles
Significance of Fakra Connectors in Today's Automotive Design
Transforming Vehicle Connectivity with HFM Connector Benefits

