Effective Methods for Installing Automotive Wiring Harness Connectors

Properly installing car harness connectors keeps your car safe. Bad wiring may cause overheating, dead batteries, or broken lights. Loose connections or wrong wire setup often lead to problems. Fixing wiring correctly stops these issues and makes it last longer. Using the right tools and being careful helps you repair wires easily.
Key Takeaways
Get tools like wire cutters, strippers, and a multimeter first. A clean workspace helps you work safely and quickly.
Pick the right connector materials. Use plastic for light strength, metal for good electricity flow, and ceramic for hot areas to last longer.
Test your work with a multimeter. Wiggle and pull wires to check if they stay connected and work well.
Preparation for Wiring Harness Repair
Tools Needed for Car Harness Connectors
Before fixing car harness connectors, gather all needed tools. Work in a clean and bright area for safety. Use wire cutters and strippers to trim and strip wires. A soldering iron helps make strong and secure wire connections. Test the electrical flow with a multimeter to check if it works. Heat shrink tubing and a heat gun protect wires and add insulation. These tools make repairs easier and more dependable.
Also, have extra connectors and automotive pigtails ready. These help replace broken parts or make removable connections. Terminals are important because they let electricity flow between wires. Protective sleeves keep wires safe from heat or rubbing damage. With these tools, you can confidently fix or replace a wire harness connector.
Materials for Repairing Automotive Electrical Connectors
Picking the right materials makes repairs last longer. Plastic is light, strong, and doesn’t rust, so it’s great for most connectors. Metal carries electricity well but needs protection from rust. Ceramic handles high heat, so it works well in hot areas.
Material | Purpose |
|---|---|
Plastic | Light, strong, and doesn’t rust. |
Metal | Carries electricity well but can rust. |
Ceramic | Handles high heat without melting. |
When fixing connectors, match the material to its job. This keeps it working well for a long time.
Safety Precautions for Wiring Harness Repair
Safety is very important when fixing car wiring harnesses. Disconnect the battery to avoid shocks or short circuits. Check wires for damage before starting the repair. Don’t over-solder or splice too much, as it can cause overheating. Use the right wire size for the job to stop power surges. Learn the circuit to avoid mistakes while repairing. Following these steps keeps you safe and helps fix wiring harnesses properly.
Evaluating and Fixing Car Harness Connectors
Finding Problems in Wiring Harness Connectors
To fix a wiring harness, find the problem first. Clean and check the connectors carefully. Look for broken parts or wiring errors to fix. Use tools like a multimeter or test lights to check electricity flow. Your car’s repair manual can help locate connectors and relays. Remove trim panels to check wires for damage or bare spots. Test voltage with the accessory on and off. Continuity tests can find hidden wire issues.
Pro Tip: Gently move wires to see if data changes. Pull wires lightly to check for weak spots or rusted connections.
These steps help you find and fix problems in your car’s wiring harness.
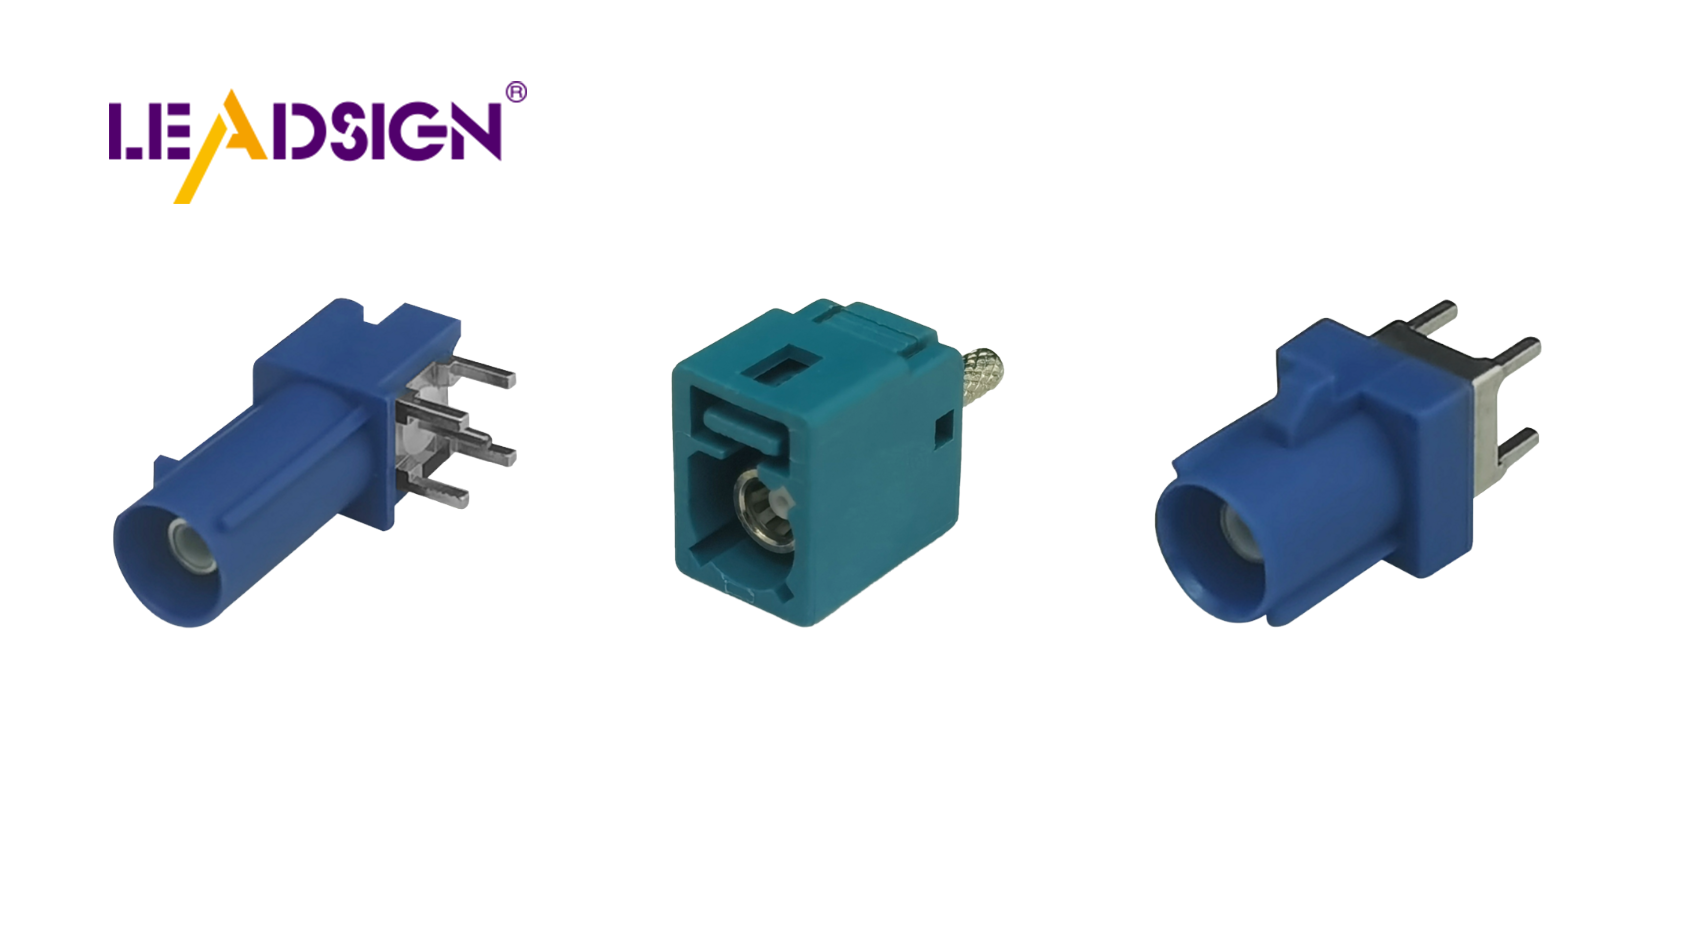
Knowing Connector Types and Uses
Car connectors come in different types for specific jobs. Common ones include bullet, Deutsch, AMP, and weather-pack connectors. Plug connectors fit together securely with male and female ends. Blade connectors have flat pieces that slide into slots. Ring and spade connectors have insulated parts for safe wiring.
For special uses, try terminal blocks for upgrades or rack connectors for fixed systems. Each type has its own features, so pick the right one for your wiring harness.
Choosing to Fix or Replace a Wiring Harness Connector
Check how bad the damage is to decide what to do. Small issues like loose wires or rusted ends can be fixed. If important parts like airbags are affected, replacing is safer. Compare repair costs with replacement costs. For things like GPS or radios, make sure the connector fits the job. Always choose safety and reliability when deciding.
Step-by-Step Guide to Install or Fix a Wiring Harness
Taking Out the Old Connector
Start by carefully removing the old connector. Follow these steps:
Press the small button on the connector and gently pull it apart.
Lift the front lock to release the pins. Pull the pins out while holding the lock up.
Check the wires for any damage. If wires are broken, strip the ends and attach them to a new connector.
Be patient to avoid damaging the wiring harness or connectors.
Getting Wires Ready for Installation
Preparing wires properly helps make strong connections. Follow these tips:
Cut wires to the right length. They should not be too short or too long.
Remove the insulation carefully to show the metal core without breaking it.
Use crimping tools to attach terminals tightly. Don’t crimp too hard, as it can weaken the connection.
Slide heat shrink tubing over the crimped parts. Heat it to seal and protect the connection from water and strain.
Place the crimped terminals into the connector housing. Make sure they fit and lock in place.
This step is important for a good and lasting connection.
Putting in the New Connector
After preparing the wires, install the new connector. Follow these steps:
Match the wires with the connector slots and insert them.
Use crimping tools to attach the terminals securely to the wires.
Heat shrink tubing around the connections to keep them safe from water and damage.
Lock the connector housing in place. Make sure it clicks for a secure fit.
Check the alignment and locking to avoid future problems. A well-secured connector keeps the system working smoothly.
Testing and Troubleshooting Wiring Harness Repairs
Checking if Car Harness Connectors Work
After fixing a connector, test if it works well. Start with a wiggle test. Move the wire harness plug gently and watch for changes. This shows if wires are loose or connections are bad. Next, do a tug test. Pull wires lightly to find weak spots or rust. These simple checks help you see if repairs are good.
Use a multimeter to check voltage and continuity. This tool shows if power flows correctly. Test with the car on and off to be sure. Testing stops future problems and makes sure your repair is strong.
Solving Common Wiring Harness Problems
Wiring harnesses often have common problems. Loose wires or bad connections cause intermittent issues. Rust or corrosion can make connectors look discolored. Cracked parts or frayed wires are also common problems.
Follow these steps to fix them:
Get tools and replacement parts ready.
Fix broken wires or change the damaged connector.
Test the repair for proper power flow.
Secure wires to stop future damage.
Wrong wire setup or bad layouts can also cause trouble. Always arrange wires neatly and check your work twice.
Knowing When to Ask for Help
Some wiring problems need expert help. If your car has a dead battery, engine trouble, or strange electrical issues, call a professional. Signs like dim lights, hard starts, or broken gadgets mean bigger problems. Experts can fix these safely and make sure everything works well.
Tip: If you’re unsure, ask for help. Safety matters most.
Getting ready, checking, and installing correctly helps your wire harness work well. Begin by cleaning your area and arranging your tools neatly. Look for problems like rust or broken parts. Swap bad connectors with ones that match the original type. Follow each step closely to fix or change your wire harness. Regular checks and repairs stop problems and make your connector last longer.
Tip: Test your fixes to ensure they work and prevent issues later.
FAQ
How can you tell if a wire harness connector needs replacing?
Look for cracks, rust, or wires that are frayed. Use a multimeter to check if it works properly. Replace it if it fails the test.
Can you repair a wire harness without special tools?
Yes, simple tools like wire cutters and strippers can work. A multimeter also helps check connections. But professional tools make repairs stronger and more accurate.
How do you keep connectors safe from damage?
Cover them with heat shrink tubing and protective sleeves. These protect against water, heat, and wear. This keeps the wire harness working longer.
See Also
Enhancing Automotive Performance Through HFM Connector Usage
Why HSD Connectors Matter in Automotive Applications
Understanding HSD Connectors for Automotive Fundamentals
