Step‑by‑Step Guide to Install a Car Wiring Wire in Old Vehicles – Professional B2B Guide (2026)

Intro: Replace the Old Harness – Improve Safety and Enable Modern Upgrades
Old vehicle wiring harnesses are prone to cracking, corrosion, and insulation breakdown, leading to intermittent electrical issues, shorts, and even fire hazards. Replacing the harness not only restores reliability but also allows you to add modern features – brighter LED lighting, GPS navigation, backup cameras, and USB‑C charging. With proper tools and a systematic approach, this job is achievable for both beginners and experienced enthusiasts. This guide provides a professional step‑by‑step procedure, safety precautions, and tips for a successful installation.
1. What Is a Wiring Harness and Why Replace It?
A wiring harness is the organised bundle of wires, connectors, and terminals that distributes power and signals throughout the vehicle. In old cars, the original harness often suffers from:
Cracked insulation – moisture ingress, shorts.
Corroded terminals – high resistance, intermittent operation.
Inadequate gauge – cannot handle modern accessories (high‑power stereos, fans, auxiliary lights).
Previous poor repairs – splices, twisted wires, electrical tape “fixes”.
Benefits of replacement:
Eliminates electrical fire risk.
Restores factory‑reliability (or better).
Enables upgrades: halogen/LED headlights, infotainment, GPS, backup cameras, USB‑C.
Increases vehicle value (especially for classic cars).
2. Tools and Materials You Will Need
Tool / material | Purpose |
|---|---|
Screwdrivers (flathead, Phillips) | Removing panels, screws |
Wire strippers and cutters | Preparing wire ends |
Ratcheting crimper (with interchangeable dies) | Installing crimp terminals |
Multimeter | Continuity, voltage drop, resistance testing |
Soldering iron & rosin‑core solder (optional) | Low‑vibration interior splices |
Heat gun | Shrinking adhesive‑lined heat‑shrink tubing |
Electrical tape | Temporary insulation (not for permanent splices) |
Zip ties | Securing wire bundles |
Wiring diagram (vehicle‑specific) | Roadmap for connections |
New wiring harness kit (e.g., American Autowire, Painless, etc.) | Complete replacement harness |
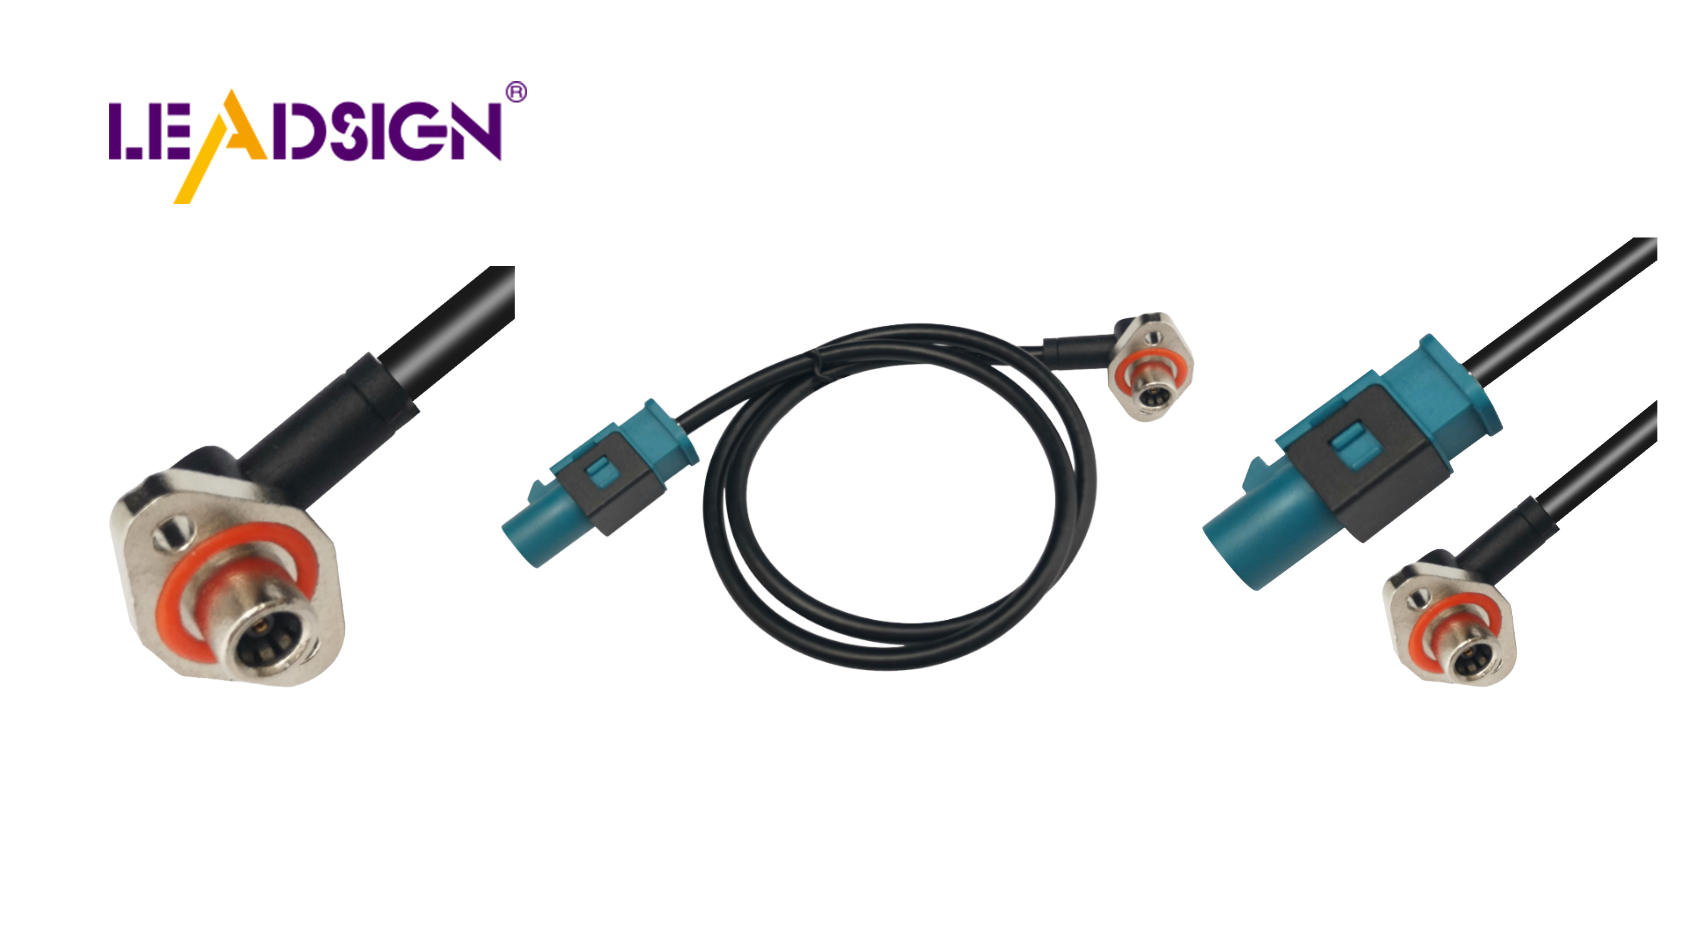
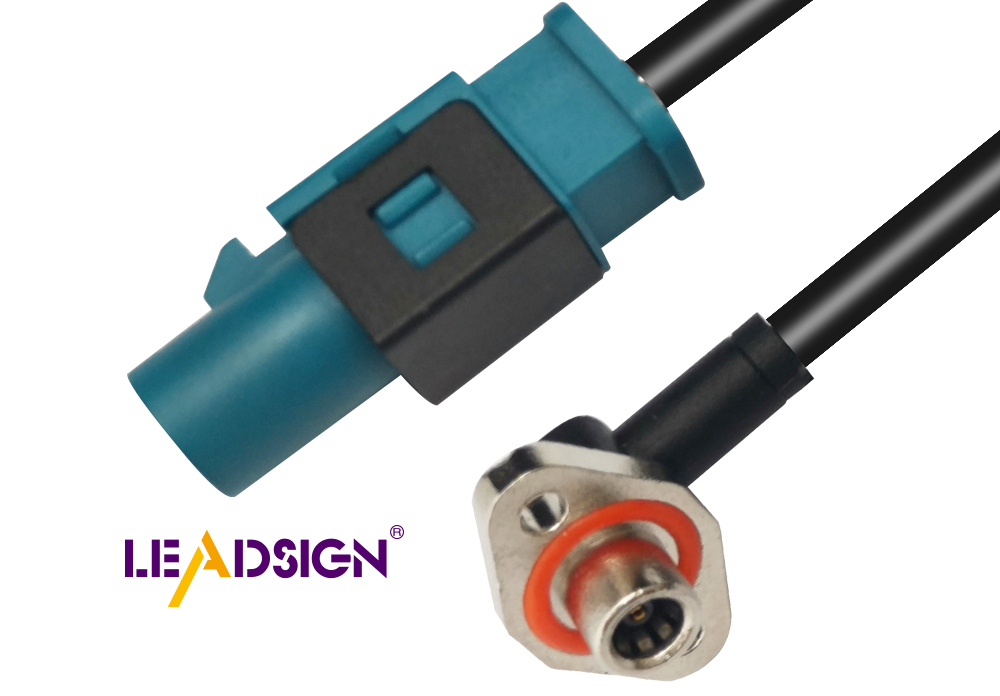
For modern data upgrades (backup camera, GPS, USB‑C): Pre‑terminated LEADSIGN FAKRA and HSD cables are recommended – no field crimping, guaranteed impedance.
3. Safety Precautions Before You Start
Disconnect the battery (negative terminal first). Wait 10 minutes for airbag capacitors to discharge.
Work in a well‑ventilated area – avoid fumes from old insulation or soldering.
Wear safety glasses and gloves – protect against sparks, sharp edges, and battery acid.
Do not rush – check each connection twice.
Keep a fire extinguisher (Class C) nearby – electrical fires.
4. Step‑by‑Step Installation Procedure
✅ Step 1: Disconnect the Battery
Locate the negative terminal (marked “-”). Loosen the nut and remove the cable. Secure it away from the battery.
Repeat for the positive terminal if necessary.
✅ Step 2: Remove the Old Wiring Harness
Label everything – use masking tape and a marker to tag each connector (e.g., “Left headlight”, “Ignition switch”, “Alternator”).
Take reference photos – helps when routing the new harness.
Remove all connectors, clips, and screws holding the old harness.
Gently extract the harness – do not pull on wires.
✅ Step 3: Prepare the New Wiring Harness
Lay the new harness flat on a clean surface (table or floor).
Verify that all connectors match your vehicle’s components (lights, alternator, starter, ignition, etc.).
Check for any shipping damage – loose terminals, broken locks.
Group wires by destination: front (headlights, horns), rear (taillights, fuel sender), engine bay, dashboard.
✅ Step 4: Install the New Wiring Harness
Route the harness – follow the original path as much as possible. Keep wires away from exhaust, sharp edges, and moving parts.
Secure the harness with zip ties every 15‑25 cm. Do not overtighten – leave a little slack.
Connect wires according to the wiring diagram – match colours and labels.
For power circuits (alternator, starter, lights): use crimp terminals with adhesive‑lined heat‑shrink for moisture protection.
For signal and data circuits (cameras, GPS, USB‑C): use pre‑terminated LEADSIGN FAKRA or HSD cables – plug‑and‑play, no field crimping.
✅ Step 5: Test the Installation Before Final Assembly
Reconnect battery (positive first, then negative).
Turn on the ignition – check dash lights, headlights, turn signals, brake lights, horn, radio.
Use a multimeter – verify voltage at key points (battery, alternator output, fuse block). Voltage drop should be <0.2V.
If something does not work – double‑check the wiring diagram and connector orientation.
✅ Step 6: Finish the Installation
Secure all wires permanently – add zip ties where needed.
Reinstall panels, trim, and dashboard components – ensure no wires are pinched.
Perform a final test – all systems should operate correctly.
Dispose of the old harness – do not leave loose wires behind.
5. Tips for a Professional Installation
Keep wires organised – use colour‑coded labels or heat‑shrink markers.
Follow a wiring diagram – never guess. If your kit does not include one, find a vehicle‑specific manual.
Use heat‑shrink tubing – never use electrical tape alone for exterior or underbody splices.
For data cables (FAKRA, HSD) – do not cut or splice. Order pre‑terminated LEADSIGN cables in the exact length you need.
Test as you go – check each circuit after connecting it, not at the very end.
6. Common Problems and Solutions
Problem | Likely cause | Fix |
|---|---|---|
No power to any circuit | Main battery connection loose or fuse blown | Check battery terminals; replace main fuse. |
Lights work but engine does not crank | Starter trigger wire not connected | Check wiring diagram; re‑attach starter signal wire. |
Intermittent flicker | Poor crimp or loose ground | Re‑crimp; clean and tighten ground connection. |
Backup camera no image | Wrong FAKRA colour or damaged cable | Use correct colour (blue for camera); replace with LEADSIGN pre‑terminated cable. |
USB‑C port not recognised | Non‑HSD cable or poor termination | Use LEADSIGN HSD USB‑C pre‑terminated cable. |
7. 2026 Trends – Modern Upgrades in Old Vehicles
Upgrade | Required component | Recommended source |
|---|---|---|
LED headlights | High‑current relay harness | Any quality brand |
GPS navigation | FAKRA amber (50Ω coax) | LEADSIGN pre‑terminated |
Backup camera (1080p) | FAKRA blue (50Ω coax) | LEADSIGN |
4K camera (long RV / bus) | Mini FAKRA blue low‑loss | LEADSIGN |
USB‑C fast charging / CarPlay | HSD USB‑C cable (100Ω) | LEADSIGN |
Why LEADSIGN? Pre‑terminated cables eliminate the need for field crimping – essential for high‑frequency signals (GPS, camera, USB‑C). Plug‑and‑play, perfect signal integrity, no callbacks.
Final Recommendations – Installation Checklist
Step | Action |
|---|---|
1 | Disconnect battery (negative first). |
2 | Label and remove old harness. |
3 | Prepare new harness – verify connectors, group wires. |
4 | Route and secure new harness (zip ties, away from heat/sharp edges). |
5 | Connect power and ground circuits with crimp + heat‑shrink. |
6 | For data lines (camera, GPS, USB), use LEADSIGN pre‑terminated cables. |
7 | Test each circuit with multimeter and by operating device. |
8 | Reinstall panels, final test. |
Remember: A well‑installed wiring harness not only restores safety and reliability but also allows you to enjoy modern conveniences in your classic vehicle. Take your time, follow the diagram, and your car will reward you with years of trouble‑free service.
Ready to add modern data features to your classic car?
[Request a free LEADSIGN FAKRA/HSD sample kit] | [Get custom length pre‑terminated cables]
See Also
Understanding Ford Fakra Connectors: A Comprehensive Overview
Fundamentals of HSD Connectors for Automotive Applications
Maximizing Data Transfer in Vehicles: Cables and Connectors
Boosting Data Transfer Efficiency with High-Speed Connectors
