How to Securely Install Automotive Wiring Harness Connectors and Terminals

Installing car harness connectors properly is very important. It keeps your car safe and makes the electrical system work well. Correct installation helps electricity flow smoothly, lowers resistance, and saves battery power. Good connectors are made from strong materials. They can handle heat, rust, and shaking, which lowers the chance of accidents or electrical problems.
Aspect | Description |
|---|---|
Better Performance | Made to improve battery use, reduce resistance, and help electricity flow better, which boosts how well your car works. |
Strong Safety Features | Built with safety in mind, using materials that resist heat, rust, and shaking to lower risks of accidents or electrical issues. |
Easy to Install | Simple design makes it easy to set up. Works with many car batteries, saving time and avoiding tricky wiring. |
Long-Lasting | Made to handle tough conditions, lasting a long time and needing fewer replacements. |
If not installed right, problems can happen. These include bad connections, rust, or damage. Such issues stop electricity from flowing, cause system failures, or even lead to stress or short circuits. Following clear steps can help you avoid mistakes. This keeps your car running safely and reliably.
Key Takeaways
Installing car harness connectors correctly keeps you safe and improves electricity flow, lowering accident risks.
Use proper tools, like crimpers and wire cutters, to make strong and dependable connections.
Check connections with tools like multimeters or testers to find problems early and keep the wiring harness working well.
Tools and Materials for Wiring Harness Installation
Important Tools for Installing Car Harness Connectors
Using the right tools makes installation safe and easy. Below are some tools you’ll need:
Tool | Purpose |
|---|---|
Crimping tools | Make strong connections between wires and terminals. |
Wire strippers | Take off insulation to show the wire core. |
Heat shrink tubing | Keeps connections safe from water and rust. |
Connector housing | Holds terminals steady and protects wire connections. |
Each tool is important for making strong connections. Crimping tools create tight bonds, while heat shrink tubing keeps wires safe from damage.
Common Materials for Wiring Harness Installation
The materials you pick affect how safe and strong your harness is. Wiring harnesses usually have wires, connectors, and covers. These parts keep connections secure and protect from damage.
Conduits and Tubing: Made of PVC, nylon, or metal, they guard wires from damage.
Heat Shrink Tubing: Seals out water when heated, stopping rust.
Braided Sleeving: Flexible and tough, great for areas with lots of movement.
Tapes and Wraps: Keep wires safe from water and wear, using vinyl or silicone.
Molded Shapes and Grommets: Stop wires from rubbing on panels, keeping them safe.
These materials are strong, flexible, and meet safety rules, making the harness last longer.
Extra Tools for Better Accuracy
For harder jobs, extra tools can help you work faster and better.
Tool | Description |
|---|---|
Automated Crimping Machines | Crimp wires to terminals perfectly for strong connections. |
Wire Cutting and Stripping Machines | Cut and strip wires to the right size, saving time. |
Robotic Arms | Do tricky tasks like putting wires into connectors, making work easier. |
These tools are great for big or professional projects where speed and accuracy matter.
Getting Ready to Install Car Harness Connectors
Staying Safe During Wiring Harness Installation
Safety is very important when working with car electrical systems. Taking the right steps lowers the chance of accidents and makes the job easier.
Wear safety gear like gloves and glasses to avoid shocks or injuries.
Use tools with rubber handles to stay safe from live wires.
Disconnect the car battery first to stop short circuits.
Work in a bright, open space to reduce risks.
These steps help you stay safe while handling wires and connectors.
Checking If Connectors Fit Your Car
Before starting, make sure the connectors fit your car's needs. Using the wrong connectors can cause bad connections or system problems.
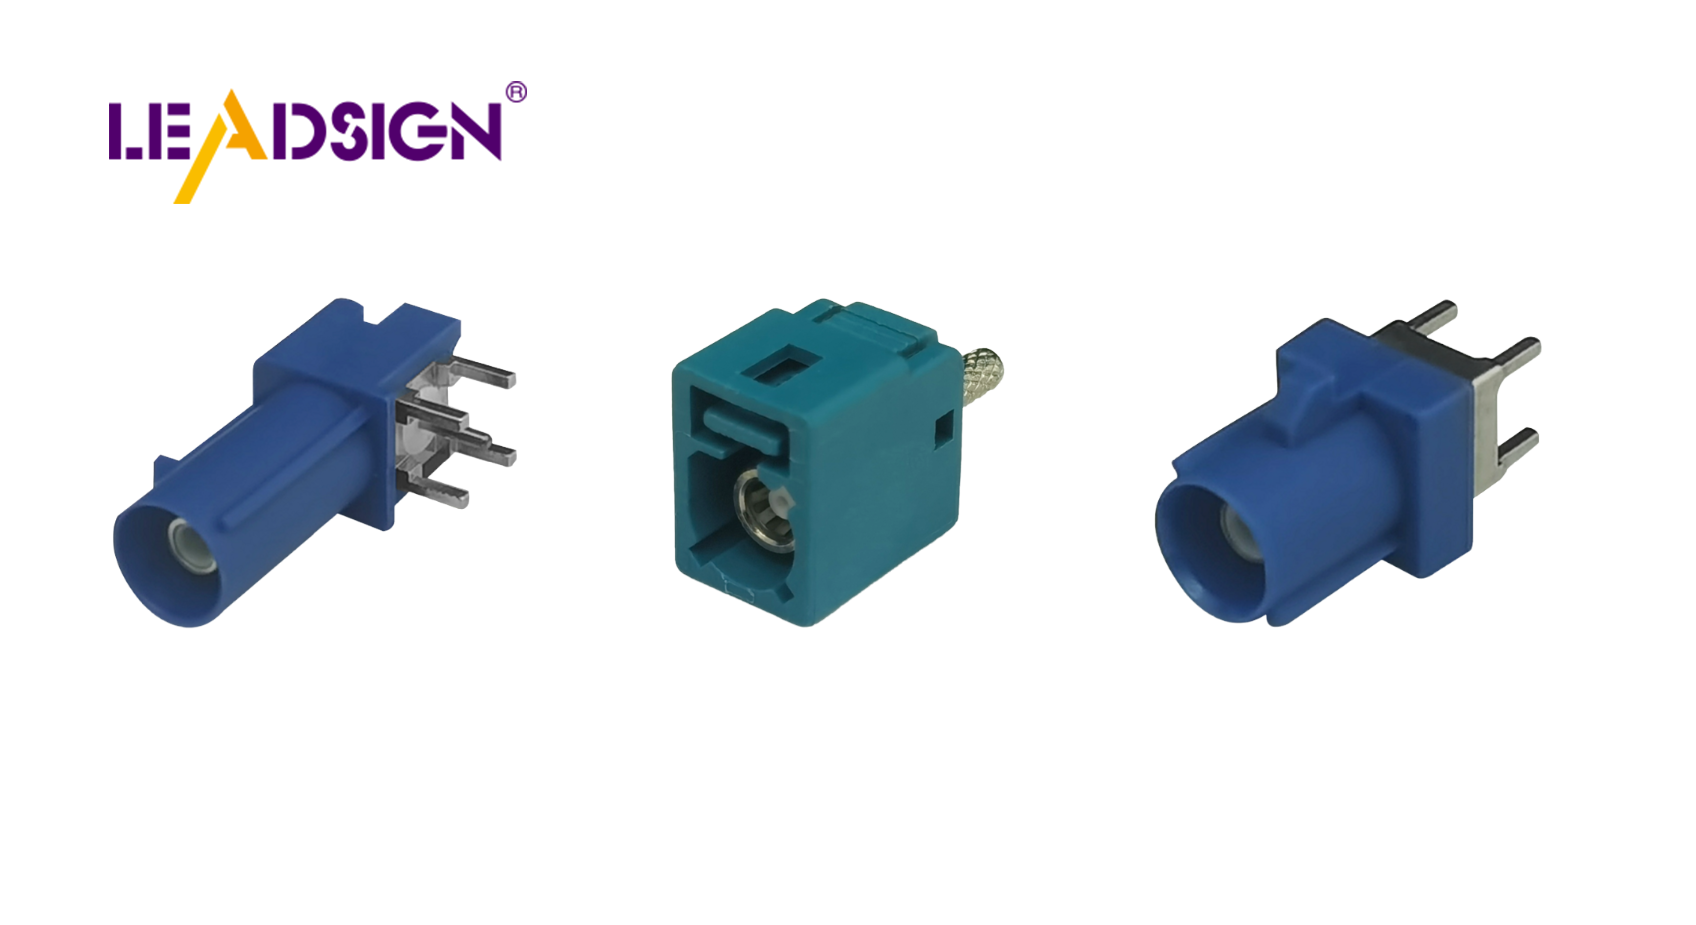
Look at the connector's shape and coding system. Some, like FAKRA connectors, have special codes to prevent mistakes. Check if the connector's features, like temperature range and frequency, match your car. If unsure, read the car manual or ask an expert. This step ensures the connectors work well and protect your wiring.
Keeping Your Work Area and Wires Neat
A tidy workspace makes the job faster and avoids mistakes. Start by getting the wiring harness ready. Cut wires to the right size and remove insulation carefully. Cover connections with heat shrink tubing for safety.
Label both ends of each wire to make them easy to track. Group similar wires, like power or data, to avoid interference. Don’t bend wires too much to keep them from breaking. Use clips to hold wires in place and Velcro ties to bundle them neatly.
Keep your tools close and your workspace clean and organized. Being neat saves time and helps you do a better job.
Step-by-Step Guide to Install Car Harness Connectors
Stripping Wires for Wiring Harness Installation
Stripping wires is the first step in this process. Use wire strippers to remove the plastic covering on the wire ends. This shows the metal core, which helps electricity flow. Be careful not to cut too deep and damage the wire. Strip the wire to the right length so it fits the connector. A clean strip makes the connection strong and avoids electrical problems.
Crimping Connectors Securely
Crimping connects the wire to the connector tightly. Pick crimping tools that match your wire size. Place the stripped wire into the terminal carefully. Squeeze the crimping tool hard to lock the wire in place. Slide heat shrink tubing over the crimped part and heat it to seal. This keeps water out and stops rust. Crimping correctly makes the wiring last longer.
Attaching Terminals to the Wiring Harness
Attaching terminals needs care for a good connection. Follow these steps:
Strip the wire ends gently to show the metal core.
Push the crimped terminals into the connector housing carefully.
Cover the crimped parts with heat shrink tubing for safety.
These steps make sure your wiring works well and stays strong.
Securing and Bundling the Wiring Harness
Securing and bundling wires keeps them safe and neat. Follow these steps:
Cover soldered joints with heat-shrink tubing and heat it to seal.
Group wires with zip ties or tape to keep them organized.
Use clips, looms, or zip ties to hold wires in place and stop strain.
Also, use conduits or braided covers to protect wires from damage. Molded shapes and grommets stop wires from rubbing against sharp edges. A secure harness lasts longer and helps your car work better.
Testing and Finalizing the Installation
How to Test Wiring Harness Connections
Testing makes sure your wiring harness works properly and safely. Use tools to check for problems and ensure everything is connected right. Below is a table of tools you can use:
Tool/Device | Purpose |
|---|---|
Test table | Holds the harness steady, making connectors easy to reach. |
Multimeter | Checks voltage, current, resistance, and if circuits are complete. |
Continuity tester | Finds broken wires or wrong connections in the circuit. |
Modular testing systems | Uses software and hardware for automatic testing and analysis. |
RTS | Tests many wires at once for breaks and insulation issues. |
Arcadia | Finds advanced problems in how the harness is set up. |
TS1300 | Tests electrical, mechanical, and environmental performance of the harness. |
First, attach the harness to a test table. Use a multimeter to check voltage and if circuits are complete. A continuity tester helps find broken wires quickly. For advanced testing, systems like RTS or Arcadia are useful. Testing ensures your harness is ready to work well.
Inspecting for Faulty or Loose Connections
Loose or bad connections can cause big problems in your car. Watch for these signs:
Intermittent Connectivity: Signals may stop or act strangely.
Corrosion and Oxidation: Look for rust or buildup on connectors.
Physical Damage: Check for broken parts or torn wires.
Incorrect Wiring: Look for wires that are crossed or shorted.
Check each wire and connector carefully. Replace broken parts right away. Tighten any loose connections to avoid future trouble. This step keeps your harness working smoothly.
Tips for Long-Term Durability of Wiring Harness Connections
To make your harness last longer, follow these tips:
Run wires along stable paths to stop too much movement.
Use clamps or ties to keep wires from rubbing or shaking.
Add strain relief to protect wires where they connect.
Cover wires with tubing to guard against damage or chemicals.
Pick strong materials that match your car’s environment.
These tips protect your harness from damage and wear. A well-kept harness helps your car work better and reduces repairs.
Putting in car harness connectors needs careful steps:
Keep wires tidy and use proper folding methods.
Protect connections and avoid pulling on wires too much.
Attach the connector housing firmly in place.
Using good tools and staying safe makes the job easier. Always wear gloves and goggles to stay safe from shocks or injuries. Following the steps helps your wiring work better and last longer.
Take your time to do it right. A good harness setup makes your car run better and prevents problems later. Your work keeps your car safer and more reliable.
FAQ
What are the basic steps to install car harness connectors?
First, strip the wires to expose the metal inside. Next, crimp the connectors tightly onto the wires. Attach the terminals carefully to the harness. Secure the wires neatly and test everything to make sure it works.
How to replace a wiring harness in a car?
Take out the old harness by disconnecting and labeling wires. Remove it slowly to avoid damage. Put in the new harness by doing the steps backward. Make sure all connections are tight and secure.
Can I use the same connectors for a car stereo installation?
Yes, you can, but check if they fit the stereo. Look at the connector's size, coding, and wiring needs. Make sure they match to avoid problems during installation.
See Also
Boosting Performance Using HFM Connectors In Vehicles
Enhancing Vehicle Data Flow With Innovative Connectors
Benefits of HFM Connectors For The Automotive Sector
Significance of HSD Connectors Within Automotive Applications
