How to Install Custom Automotive Wiring Harness Connectors – Professional B2B Guide (2026)

Intro: A Proper Installation Prevents Callbacks
Installing custom automotive wiring harness connectors may seem challenging, but with the right steps, it becomes a straightforward process. Poorly installed connectors lead to loose connections, corrosion, and intermittent failures – all of which cost time and money. A professional installation ensures reliability, safety, and long service life.
In this guide, you will learn:
Tools and materials you need
How to prepare for installation (compatibility, wiring diagram)
Step‑by‑step installation procedure
Troubleshooting common mistakes
Tips for a durable, professional result
2026 trends affecting custom harness installation
Why LEADSIGN pre‑terminated FAKRA/HSD cables simplify the process
1. Tools & Materials – What You Need
✅ Essential Tools
Tool | Purpose |
|---|---|
Ratcheting crimper (with interchangeable dies) | Secure terminals onto wires; ensures gas‑tight connection |
Wire strippers (self‑adjusting or gauge‑specific) | Remove insulation without nicking copper strands |
Heat gun | Shrink heat‑shrink tubing for insulation and sealing |
Multimeter | Test continuity, voltage drop, and resistance |
Pick set | Release stuck connector locks |
Cable ties / zip ties | Secure harness to vehicle |
Grommets | Protect wires passing through metal edges |
✅ Materials Checklist
Material | Why It Matters |
|---|---|
Copper wire (stranded) | High conductivity, flexible, corrosion‑resistant |
Aluminum wire (cost‑saving, less common) | Lighter, cheaper, but more brittle |
PVC or XLPE insulation | Protects against heat, moisture, abrasion |
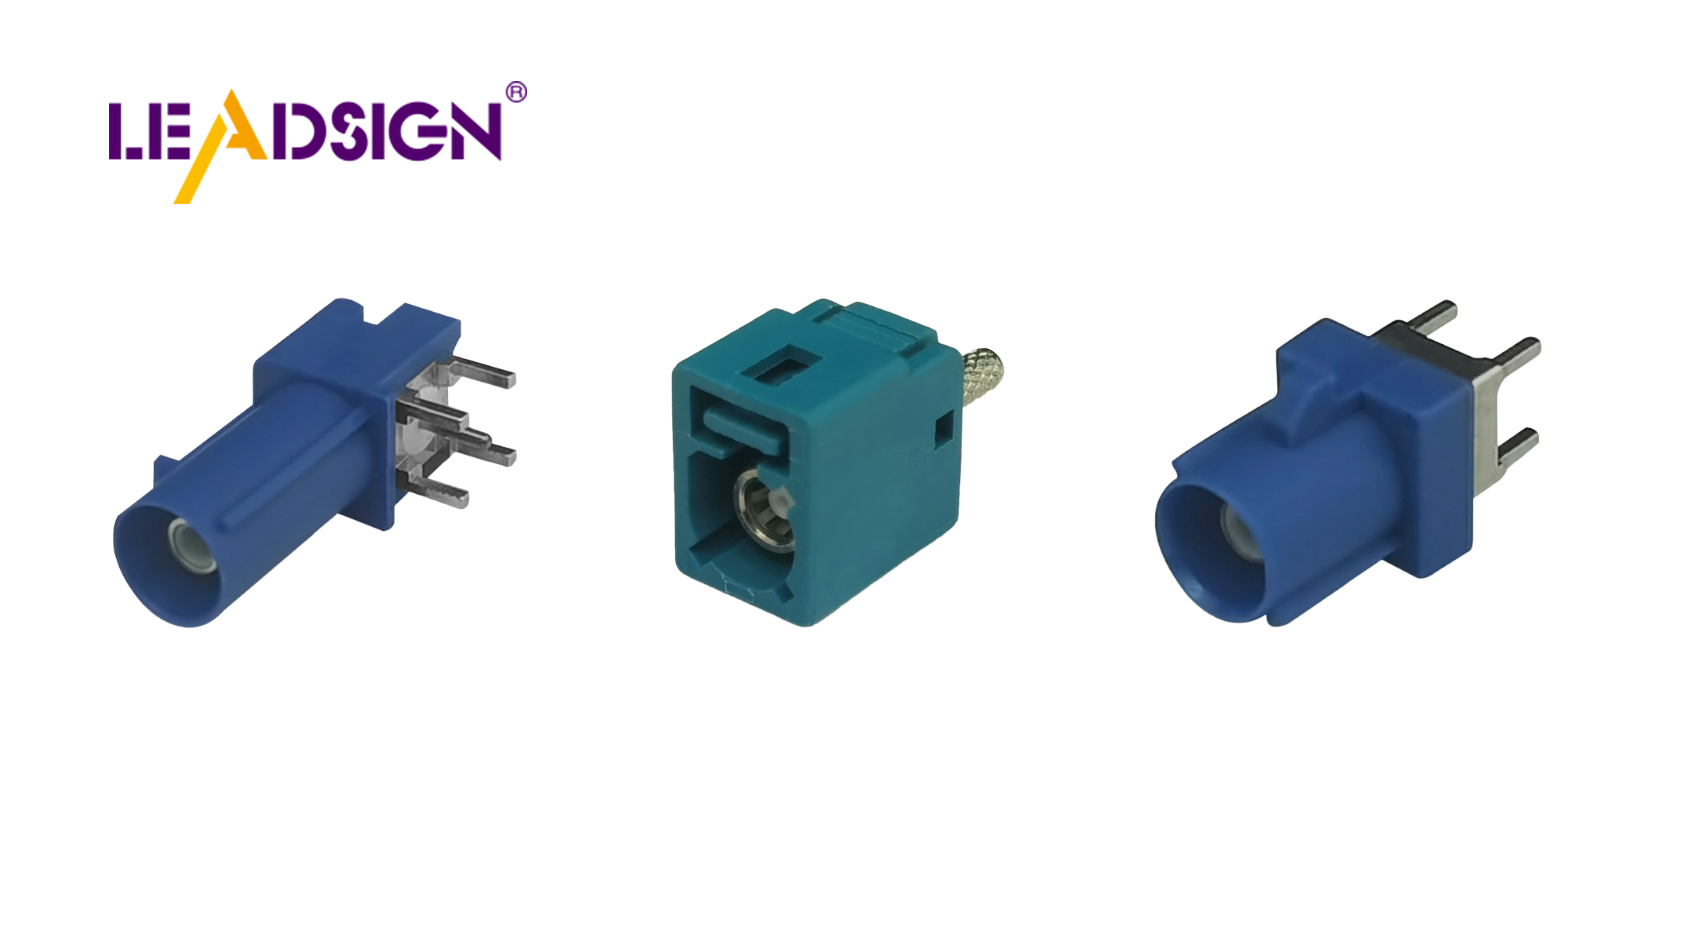
Connector housings (Deutsch, Weather Pack, FAKRA, HSD, etc.) | Hold terminals securely; provide environmental sealing |
Heat‑shrink tubing (adhesive‑lined) | Seals splices against moisture; adds strain relief |
Dielectric grease | Protects connector seals from water ingress (apply only to seals, not electrical contacts) |
Pro tip: For exterior or underbody applications, use adhesive‑lined heat‑shrink and sealed (IP67) connectors – unsealed connectors will fail within months.
2. Preparation – Before You Start
🔹 Disconnect the Battery
Remove the negative terminal first to prevent sparks, short circuits, and airbag deployment.
Wait 10 minutes for airbag backup capacitors to discharge.
🔹 Remove the Old Harness (if replacing)
Take clear photos of the original wiring – note wire colours, connector positions, and routing.
Label each wire with masking tape (e.g., “+12V constant”, “reverse light trigger”).
Carefully disconnect old connectors using a pick tool (do not pull by wires).
🔹 Ensure Compatibility
Count circuits (number of wires) and verify current ratings.
Match wire gauge (AWG) to terminal size (red=22‑18 AWG, blue=16‑14 AWG, yellow=12‑10 AWG).
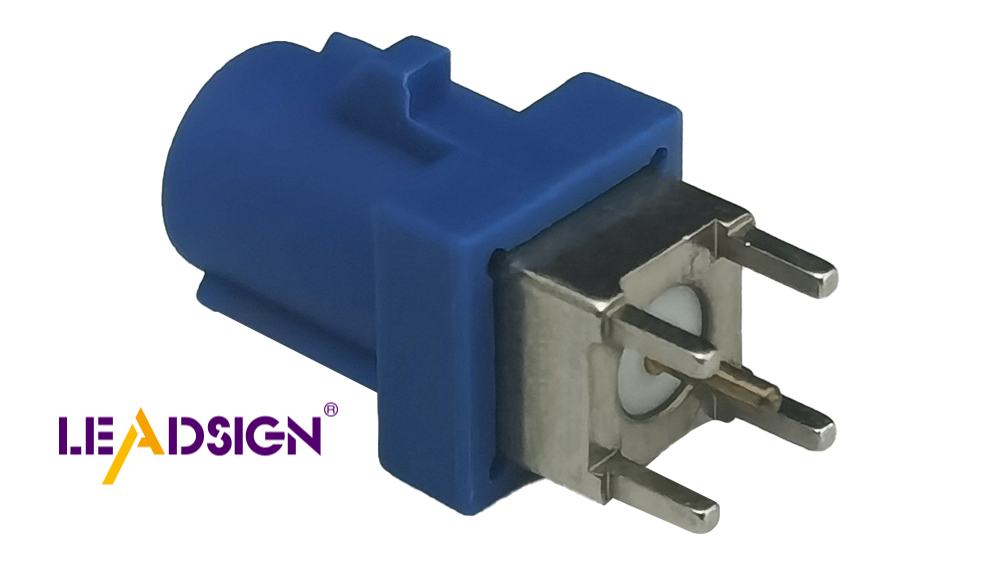
For high‑speed data (camera video, GPS, USB‑C, Ethernet), use FAKRA or HSD connectors – not general‑purpose power connectors.
3. Step‑by‑Step Installation
Step 1: Prepare Wires
Strip insulation to the correct length (typically 5‑8 mm). Do not nick strands.
Slide heat‑shrink tubing onto the wire (if using).
For data cables (FAKRA/HSD): use pre‑terminated cables from LEADSIGN – no stripping or crimping needed.
Step 2: Crimp Terminals (for power/signal wires)
Select correct terminal for wire gauge.
Insert wire fully into terminal.
Crimp with ratcheting crimper using the correct die – listen for ratchet release.
Pull test (5‑10 lbs) – wire should not come out.
Step 3: Insert Terminals into Housing
Push terminal into connector housing until it clicks.
Gently tug to confirm retention.
Engage secondary lock / CPA if present.
Step 4: Route and Secure Harness
Keep wires away from hot surfaces (exhaust, turbo), sharp edges, and moving parts.
Use grommets where wires pass through metal panels.
Secure with cable ties every 15‑25 cm – not too tight (do not crush insulation).
For long runs, use split loom tubing or corrugated conduit.
Step 5: Seal and Protect
Apply dielectric grease to rubber seals and grommets – not to electrical contacts.
For splices or repaired wires, slide heat‑shrink tubing over the joint and heat until adhesive oozes.
Step 6: Test the Installation
Reconnect battery (positive first, then negative).
Use a multimeter:
Continuity – each wire from end to end.
Voltage drop – power circuits should be <0.2V.
Operate the system (light, camera, radio) – confirm function.
Wiggle connectors while powered – no flickering or disconnection.
4. Troubleshooting – Common Mistakes & Fixes
Mistake | Consequence | Prevention |
|---|---|---|
Incorrect wire gauge | Overheating, voltage drop | Match terminal to wire size. |
Over‑crimping or under‑crimping | Intermittent connection, wire pull‑out | Use ratcheting crimper; perform pull test. |
No strain relief | Wire pulls out of connector under vibration | Zip‑tie wire within 50 mm of connector back. |
Unsealed connector in underbody | Corrosion within months | Use IP67/IP69K sealed connectors. |
Using power connector for data (FAKRA/HSD) | No image or signal | Use FAKRA for coaxial video; HSD for differential data. |
Forcing mismated FAKRA colour | Bent centre pin, damaged housing | Check colour coding (blue=camera, amber=GPS). If it doesn’t fit, it’s wrong. |
Pro tip: For FAKRA/HSD data cables, avoid field crimping entirely. Use pre‑terminated LEADSIGN cables – they are factory‑tested for impedance and ready to install.
5. Tips for a Durable & Professional Installation
Plan your routing before cutting any wires. Use the vehicle’s wiring diagram.
Label everything – use heat‑shrink labels or tape flags.
Use dielectric grease sparingly – only on seals, not on electrical contacts.
Do not reuse old connectors – they may have damaged locks or corroded terminals.
Test before final assembly – connect everything, test, then secure the harness.
6. 2026 Trends – Custom Harness Installation
Trend | Implication |
|---|---|
4K cameras on trucks & vans | Mini FAKRA required (20 GHz). Use pre‑terminated low‑loss coax. |
5G telematics | Mini FAKRA (violet) – field repair impossible; replace entire cable. |
EV / hybrid | High‑voltage (orange) harnesses – do not touch. Low‑voltage data lines need double shielding. |
Pre‑terminated cables | Shops increasingly use LEADSIGN pre‑terminated FAKRA/HSD cables – no crimping, no impedance mismatch. |
Modular harness design | Future upgrades require extra circuits; plan for expansion. |
7. Why LEADSIGN – Simplify Installation with Pre‑Terminated Cables
For power and basic signal connectors, many brands offer reliable terminals. But for high‑speed data (FAKRA, HSD), field termination is difficult and error‑prone. LEADSIGN pre‑terminated cables eliminate this challenge.
What LEADSIGN provides:
✅ FAKRA (standard & Mini) – all 14 colours, 50Ω, up to 20 GHz, IP67 optional
✅ HSD (USB‑C, Ethernet, LVDS) – 100Ω, locking, up to 5 Gbps
✅ Pre‑terminated cables – custom lengths 0.3m – 20m, no crimping
✅ Low‑loss, double‑shielded coax – for long runs and EV environments
✅ Bulk pricing – for shops, fleets, and distributors
For your business: When you install a custom harness with a backup camera, GPS, or USB‑C port, include LEADSIGN pre‑terminated FAKRA/HSD cables – your customers get a plug‑and‑play solution with no signal loss and no callbacks.
Final Recommendations – Installation Checklist
Step | Action |
|---|---|
☐ | Disconnect battery (negative first) |
☐ | Prepare tools and materials |
☐ | Strip wires correctly (no nicks) |
☐ | Crimp terminals with ratcheting crimper; pull test |
☐ | Insert terminals into housing until click; engage secondary lock |
☐ | Route harness away from heat/sharp edges; use grommets |
☐ | Secure with cable ties (not too tight) |
☐ | Apply dielectric grease to seals only |
☐ | Test continuity and voltage drop; verify function |
☐ | For FAKRA/HSD, use pre‑terminated LEADSIGN cables |
Remember: A well‑installed harness is invisible – but a poorly installed one will cost you a comeback.
Ready to simplify your custom harness installations with pre‑terminated data cables?
See Also
Understanding HSD Connectors Within Automotive Applications
Benefits of HFM Connectors for Automotive Solutions
Exploring High-Speed FAKRA-Mini Connectors for Automotive Use
Significance of FAKRA Connectors in Vehicle Technology
Improving Data Transfer in Vehicles Using FAKRA PCB Connectors
