How to Install Custom Automotive Wiring Harness Connectors

Installing car harness connectors may seem hard at first. But it gets easier with the right steps. Loose connections or rust can happen if parts are not covered. Bad crimping or missing pieces can also cause problems. Custom connectors fix this by providing better designs. They make things work well in tough conditions.
Key Takeaways
Use proper tools like crimpers and wire cutters for safe work.
Pick good materials, like copper wires and strong covers, for lasting use.
Follow steps like unplugging the battery and checking wires to stay safe.
Preparation for Installing Car Harness Connectors
Tools You’ll Need for Installation
Using the right tools makes installation easier. Here’s what you need:
Crimping tools: These help attach wires securely to terminals.
Wire strippers: They remove the plastic cover to show the wire inside.
Heat shrink tubing: This keeps water out and stops rusting.
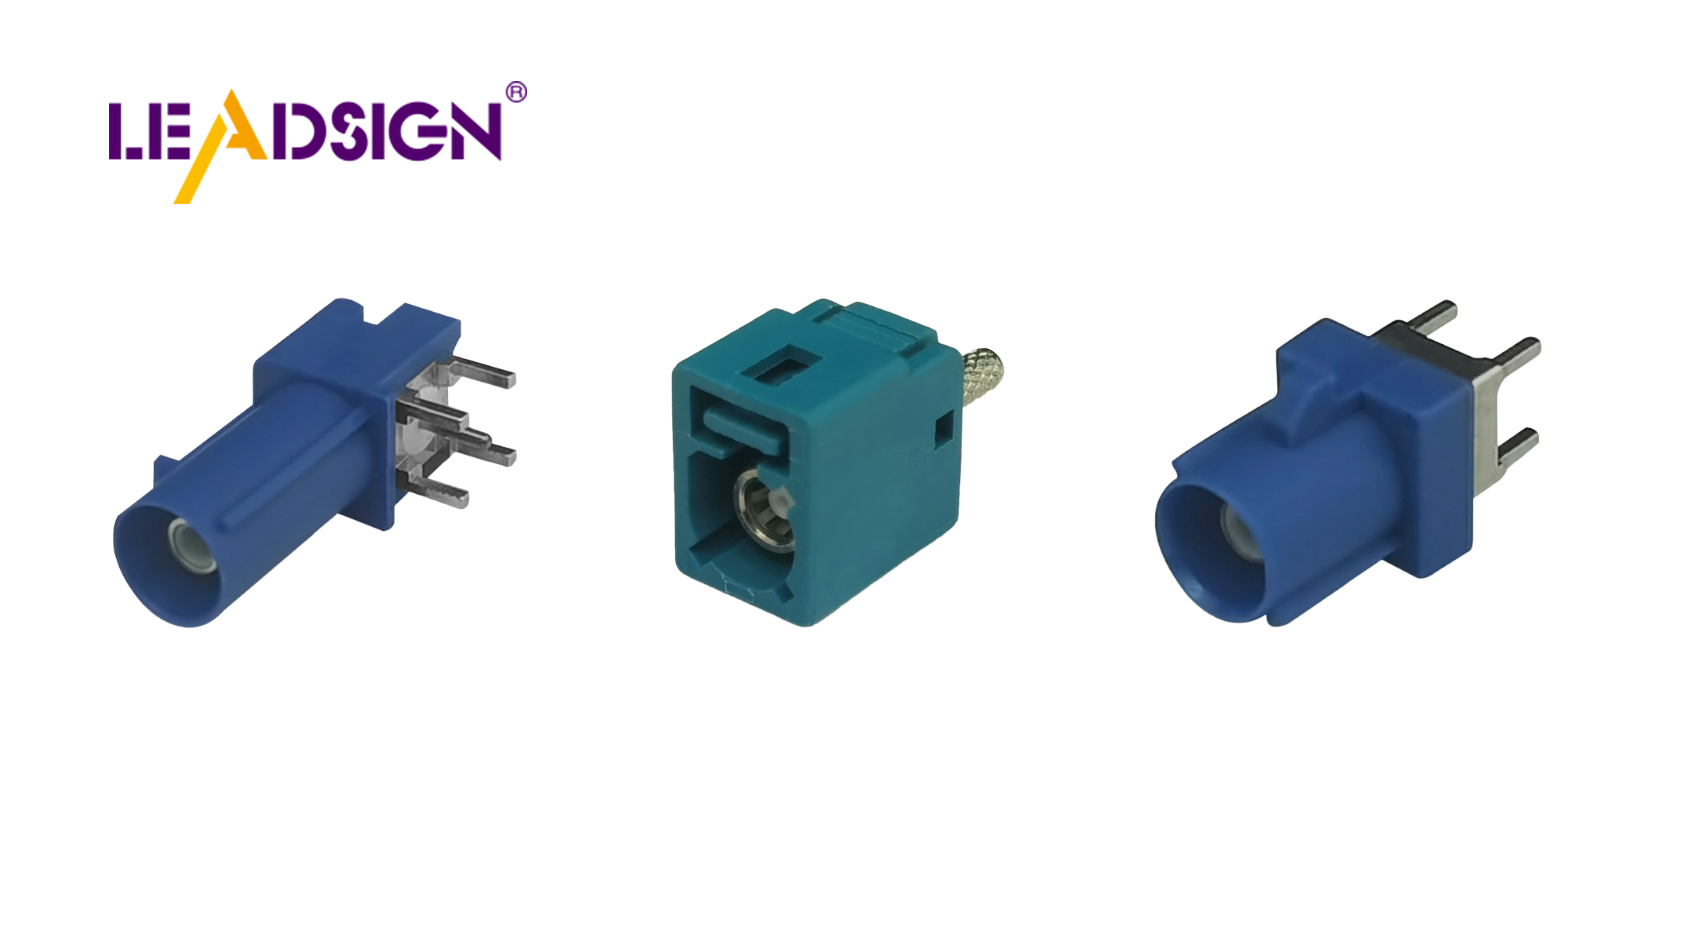
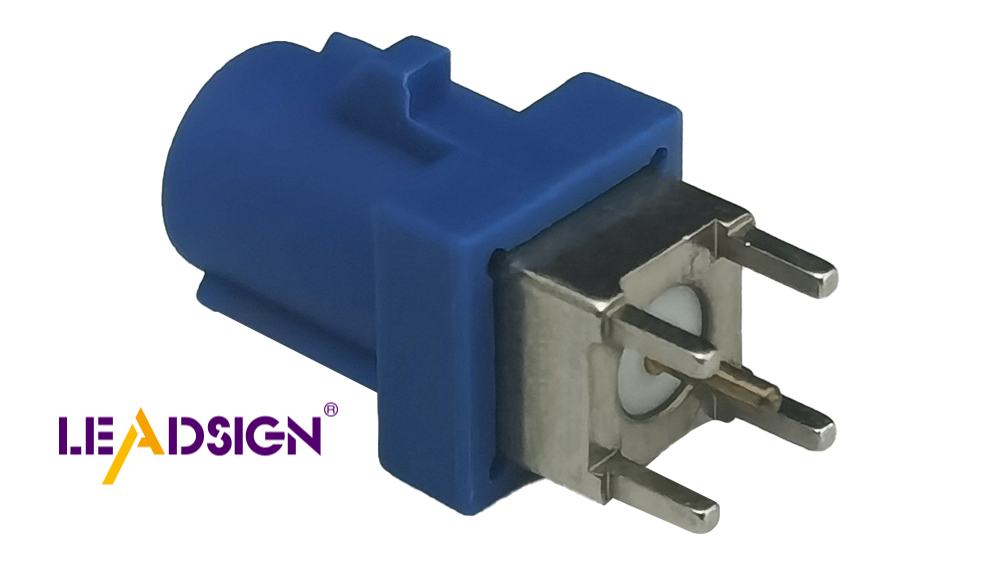
Connector housings: These hold wires in place and keep them steady.
Each tool is important for a good and lasting result. Check your tools before starting to make sure they work well.
Materials Checklist for the Harness Installation
The materials you pick affect how long your harness lasts. Common materials include:
Copper wires: These bend easily, carry electricity well, and don’t rust.
Aluminum wires: These are cheaper and lighter but wear out faster.
PVC or XLPE insulation: These protect wires from heat, water, and damage.
Most cars use copper wires because they work better. Aluminum wires are used to make cars lighter. Always choose materials that fit your car’s needs.
Ensuring Compatibility with Your Vehicle’s Wiring System
Before starting, make sure the connectors match your car. Do these steps:
Count how many circuits your car’s parts need.
Check how much power your devices, like a stereo, use.
Pick a harness that can grow if you add more devices later.
This helps your system handle power safely and avoids problems. Planning ahead saves time and money.
Step-by-Step Guide to Install Car Harness Connectors
Disconnecting the Battery and Removing the Old Harness
First, disconnect the battery for safety. Take off the negative terminal to stop sparks. Snap pictures of the current wiring setup for reference. Carefully remove the old harness, starting with the bulkhead connection. If needed, lift the car to reach wires under the engine. Use masking tape to label each wire for easy identification. This step helps make switching to the new harness easier.
Getting Wires and New Connectors Ready
Prepare wires before attaching new connectors. Strip off the insulation gently to avoid damaging the wires. Slide heat-shrink tubing onto the wires before connecting them. After crimping or soldering, move the tubing over the joint and heat it to seal. Add electrical tape if extra insulation is needed. Secure wires with zip ties or clips to keep them in place. Use grommets to protect wires passing through metal edges.
Connecting the Wires to the Harness
Cut wires to the right length for a clean fit. Use crimping tools to attach terminals firmly and evenly. Place the crimped terminals into the connector housing carefully. Lock the housing to stop accidental disconnections. Cover the crimped connections with heat-shrink tubing for extra protection. This keeps out moisture and reduces strain for a strong connection.
Securing the Harness and Completing Installation
Hold the harness in place with clips, tie wraps, or conduits. Keep wires away from sharp edges or moving parts. Use rubber grommets for wires going through metal panels. Wrap the harness with tape for added security. Arrange the wires neatly to improve durability and performance. Check all connections to ensure they are tight and properly aligned.
Testing the Harness to Ensure It Works
Once installed, test the harness carefully. Look for loose connections or visible issues. Use a multimeter to check voltage, resistance, and continuity. Shake the wires lightly to test their strength. Make sure the harness matches the planned layout. Test the stereo and other devices to confirm they work correctly.
Tip: Following these steps makes the process safer and easier. It also helps your wiring system last longer and work better.
Troubleshooting and Tips for Harness Installation
Avoiding Common Mistakes During Installation
Mistakes can cause problems or damage your car's wiring. Follow these tips to avoid errors:
Pick the right wire size and type for safety.
Measure wires carefully to avoid power flow problems.
Check wires for damage before putting them together.
Match connectors to your car's wiring system correctly.
End wires properly to stop open or short circuits.
Make sure you have all the needed parts.
Tie wires snugly but not too tight to prevent breaks.
Follow the instructions or diagrams closely.
These steps will make the process easier and more reliable.
Fixing Loose or Faulty Connections in the Harness
Loose or bad connections can mess up your car's wiring. Watch for these signs:
Signals that stop and start randomly.
Rust or discoloration on the connectors.
Broken covers or wires that look worn out.
Wires connected wrong, like crossed or shorted ones.
To fix this, clean dirty connectors and check for loose parts. Replace broken pieces and fix any wiring mistakes. These fixes will make your harness work again.
Tips for a Durable and Professional Installation
A good installation lasts longer and works better. Start by checking your car's wiring design and getting the right tools. Keep wires away from heat and sharp edges. Use crimping or soldering to make strong connections. Test the wires with a multimeter to check voltage and flow. Label wires and connectors to make future repairs easier. These tips will help you build a strong and neat wiring system.
Tip: Careful planning and attention to detail make installation easier and better.
Putting in car harness connectors the right way helps a lot. It makes your car's wiring work better and more reliable. Doing it properly lowers the chance of short circuits and keeps you safe. It also makes the wiring last longer in tough weather. Be patient, follow the steps, and feel proud of your work.
FAQ
Why is heat-shrink tubing used in wiring harnesses?
Heat-shrink tubing keeps water out and stops rust. It also makes connections stronger and keeps wires tight over time.
How can you pick connectors that fit your car?
Count the circuits and check your car's power needs. Pick connectors made for your car's wiring system.
Should you use old connectors again?
Using old connectors is a bad idea. They might be damaged and cause weak connections or problems. Always use new connectors for safety.
See Also
Understanding HSD Connectors Within Automotive Applications
Benefits of HFM Connectors for Automotive Solutions
Exploring High-Speed FAKRA-Mini Connectors for Automotive Use
Significance of FAKRA Connectors in Vehicle Technology
Improving Data Transfer in Vehicles Using FAKRA PCB Connectors
