Learn to Install Automotive Wire Connectors Types Efficiently

Installing automotive wire connectors types properly is very important. It keeps the electrical system safe and working well. Correct installation makes strong connections that stop electrical problems. This skill improves how your car works and saves money. Learning this reduces mistakes and makes strong, lasting connections. Good installation protects your car and keeps it reliable for a long time.
Key Takeaways
Proper installation of automotive wire connectors is crucial for maintaining a safe and efficient electrical system in your car.
Gather essential tools like wire strippers, crimping tools, and heat guns to ensure strong and reliable connections.
Always check and prepare your wires by inspecting for damage, cutting to the right length, and removing just enough insulation.
Choose the correct connector type for your wire size and purpose to prevent loose connections and electrical issues.
Secure connections by crimping tightly and using heat-shrink tubing or electrical tape for added protection against environmental damage.
Test your connections with a multimeter to confirm proper electrical flow and identify any potential issues.
Avoid common mistakes such as using the wrong connector size or stripping too much insulation to ensure successful installations.
Tools and Materials for Installing Automotive Wire Connectors Types
To install wire connectors well, you need the right tools. These tools help make strong connections and avoid errors. Below are the important tools and materials to gather first.
Important Tools
Wire strippers
Wire strippers remove the plastic cover from wires safely. Pick one that fits your wire size for clean cuts. This helps create a strong and neat connection.
Crimping tool
A crimping tool attaches the connector tightly to the wire. Use a good-quality crimper made for cars. It ensures a firm hold that won’t come loose later.
Heat gun or lighter (for heat-shrink connectors)
Heat-shrink connectors need heat to seal properly. A heat gun spreads heat evenly, but a lighter works too. Sealing protects wires from water and rust.
Multimeter (optional, for testing connections)
A multimeter checks if electricity flows through your connections correctly. It’s optional but useful to confirm your work is done right.
Needed Materials
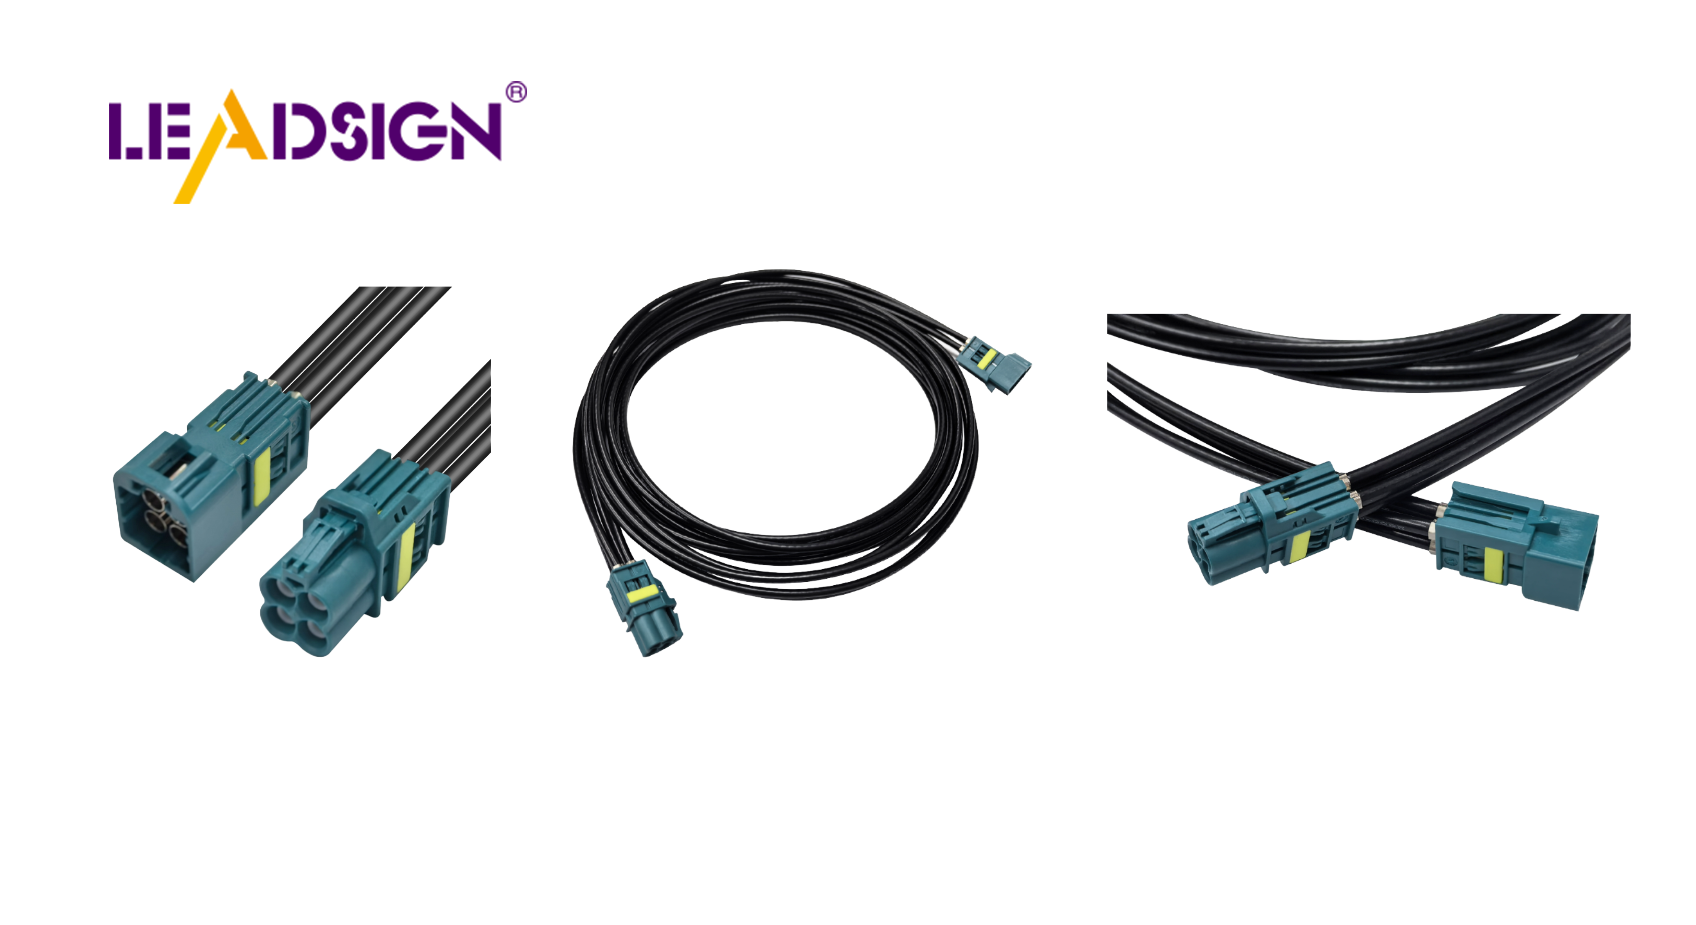
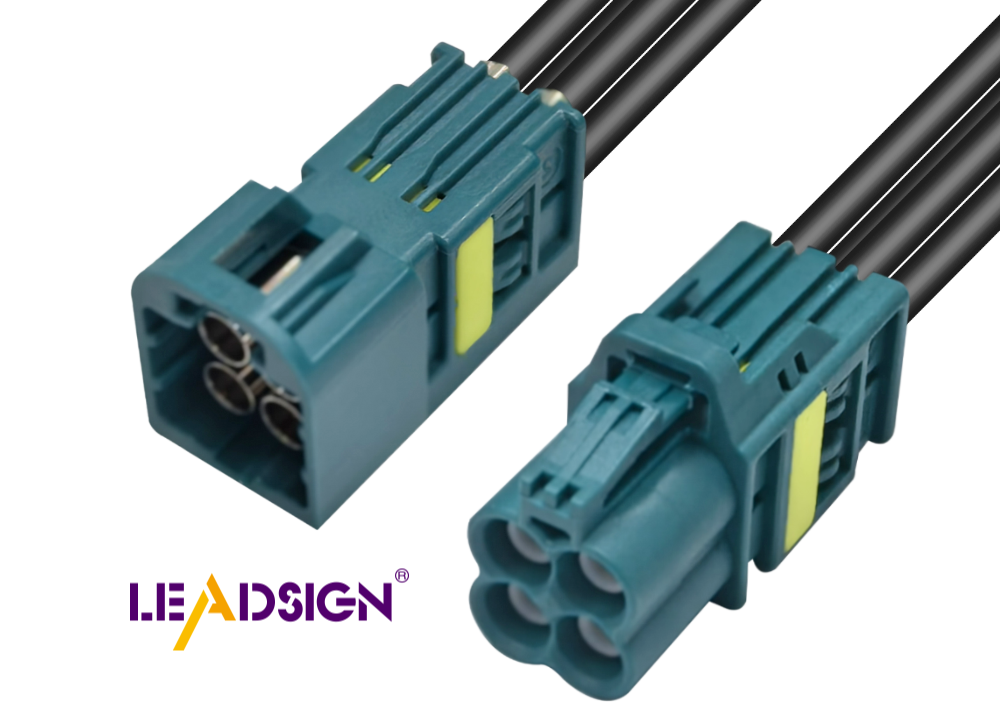
Standard automotive wire connectors (e.g., butt connectors, spade connectors, pin connectors)
Standard connectors are used in most car wiring jobs. Butt connectors join two wires, spade ones disconnect easily, and pin ones fit special uses. Always pick what suits your project best.
Advanced connectors like FAKRA-Mini for high-speed data transmission
Modern cars need advanced parts like FAKRA-Mini connectors. These handle fast data up to 28 Gbps efficiently. They’re small, affordable, and great for systems like GPS or entertainment.
Heat-shrink tubing (if applicable)
Heat-shrink tubing gives extra protection to your wires. It keeps dirt and water out while making connections last longer. Use it whenever possible for better results.
Electrical tape (optional)
Electrical tape adds insulation or secures loose wires temporarily. It’s not always needed but can help in certain cases.
Having these tools ready makes installation easier and faster. Being prepared ensures secure wire connections every time.
Getting Ready for Installation
Before starting, make sure you are well-prepared. Good preparation helps the work go smoothly and ensures strong connections. Follow these steps to get ready.
Checking and Preparing Wires
Wires are important for making good connections. Check and prepare them carefully to avoid problems later.
Look for damage or rust on the wire.
Check each wire closely for cuts, fraying, or rust spots. Damaged wires can cause weak connections and electrical issues. Replace any wire that is badly damaged.
Cut the wire to the right length.
Measure how much wire you need for your project. Use a sharp tool to cut it neatly. Don’t leave extra wire as it can cause clutter or short circuits.
Remove insulation to show enough bare wire.
Use a wire stripper to take off the plastic coating. Only expose enough wire to fit into the connector properly. Be careful not to harm the thin metal strands inside.
Setting Up Tools
Having your tools ready makes work faster and easier. A tidy setup helps avoid mistakes.
Adjust your crimping tool for the connector size.
Set your crimper to match the size of your connector. This makes sure it fits tightly and stays secure. Check again so it’s not too loose or too tight.
Keep tools and materials organized nearby.
Arrange everything neatly in your workspace where you can reach easily. A clean area helps you stay focused and work better.
By following these tips, you’ll be ready for installing automotive connectors successfully. Being prepared reduces errors and makes installation smoother.
Step-by-Step Guide to Install Automotive Wire Connectors
Installing wire connectors needs care and focus. Follow these steps for a strong connection.
Removing the Insulation
Use a wire stripper to take off the plastic cover.
Hold the wire firmly in place. Position the stripper on the insulation. Gently squeeze and pull off the plastic layer. Be careful not to cut or damage the metal strands inside. Only strip enough to fit securely into your connector.
Choosing and Preparing the Connector
Pick a connector that matches your wire size and purpose.
Choose one that fits your wire gauge correctly. For example, use butt connectors to join wires or FAKRA-Mini for fast data transfer. The right choice ensures tight, safe connections.
Insert the bare wire into the connector properly.
Push the stripped part of the wire fully into place. Make sure no loose strands stick out, as they might cause problems like short circuits. A snug fit keeps it steady during crimping.
Securing with Crimping
Place your connector in the crimper tool carefully.
Put it in its correct slot on your crimper tool. Align it well so pressure is even when you squeeze. Proper alignment makes a strong hold.
Press firmly to lock the wire in place.
Squeeze hard until it grips tightly onto your wire. Test by gently pulling; if it stays firm, it's secure. A good crimp stops wires from coming loose later on.
Follow these steps for easy installation of automotive connectors. Careful stripping, choosing, and crimping make lasting connections.
Securing the Connection
Cover the connection with heat-shrink tubing or tape.
After crimping, protect the connection from damage. Insulation stops water, dirt, and other harmful things. Heat-shrink tubing works best for this job. Slide it over the connection before heating. Use a heat gun to shrink it tightly around everything. This makes a strong and waterproof seal. If you don’t have tubing, use electrical tape instead. Wrap the tape tightly around the connection for protection. Make sure there are no open spaces to keep it safe.
Check the connection using a multimeter for proper flow.
Testing ensures your work is done correctly. A multimeter checks if electricity flows through properly. Set it to measure continuity or resistance first. Place its probes on both sides of the connection carefully. A beep or low resistance means a good connection exists. No beep or high resistance shows a problem somewhere. Look for loose parts or mistakes in stripping wires if needed. Fix any issues and test again until it’s right.
By insulating and testing connections, they stay strong and last long. These steps prevent problems later and keep your car working well!
Tips and Fixes for Automotive Wire Connectors
Installing wire connectors can sometimes be tricky. Knowing how to avoid errors and fix problems helps keep connections strong. Here are some simple tips to help you do it right.
Mistakes to Avoid
Using the wrong connector size
Always pick a connector that fits your wire size. If it’s too big or small, it won’t hold well. This can cause loose wires, electrical issues, or safety risks. Check the label to make sure it matches your wire.
Stripping too much or too little insulation
Removing the right amount of insulation is important. Too little means bad contact inside the connector. Too much leaves wires open to damage or short circuits. Use a marked wire stripper for accurate results.
Fixing Bad Connections
Tighten loose crimps by re-crimping
Loose crimps weaken connections and may cause problems. Gently pull on the wire after crimping to check if it’s tight enough. If not, crimp again with firm pressure using an adjusted tool.
Replace damaged wires or connectors
Broken wires or connectors stop electricity from flowing properly. Look for frayed parts, cracks, or rust spots. Replace anything damaged right away for safe and working connections.
Helpful Tips
Use color-coded connectors
Color-coded connectors make choosing easier by matching wire sizes. They help prevent mistakes and speed up your work.
Practice crimping on spare wires first
Try crimping on extra wires before starting on your car. This helps you learn how tools work and how hard to press them. Practicing makes you more confident and improves results.
By avoiding mistakes, fixing issues quickly, and following these tips, you’ll install automotive wire connectors easily and reliably every time!
Using proper tools and clear steps makes work easier. Each action helps create better connections and boosts your skills. Practice often to get better and feel more confident. Fixing problems teaches you more and avoids future errors. Learning this saves time, money, and keeps your car safe. These methods protect your vehicle and make it last longer. Begin now to see improvements in your car projects!
See Also
Enhancing Automotive Performance Using HFM Connectors
Why HSD Connectors Matter in Automotive Applications
Understanding HSD Connectors for Automotive Use
