Comprehensive Guide to Installing Car Harness Connectors


Installing automotive harness connectors the right way is very important. It keeps your car safe and working well. A good setup helps the harness handle heat, water, and shaking. Strong connectors and good covering stop electrical problems. This keeps your car safe from short circuits or broken parts. It also makes the wires last longer.
Key Takeaways
Pick the right tools like wire cutters and crimpers. Good tools make work simple and last a long time.
Select the correct car harness connectors for your vehicle. A proper fit stops problems and keeps things safe.
Sort and label wires before starting the installation. This saves time and avoids errors while wiring.
Tools and Materials for Automotive Harness Connectors
When doing a diy wire harness project, having the right tools helps a lot. Let’s look at what you’ll need to begin.
Important Tools for Installation
You don’t need many tools, just a few key ones. Here’s a simple list:
Wire strippers: Remove wire covers without harming the wires.
Crimping tools: Attach connectors securely to the wires.
Pliers: Useful for holding and bending wires while working.
Heat guns: Shrink tubing to protect your wire connections.
These tools are easy to find and make the job easier.
Tip: Buy good tools. They last longer and work better.
Materials Needed for Automotive Wiring Harness
The main part of a wiring harness is the materials. A harness groups wires, cables, and connectors to send power or signals in your car. Most wires are copper or aluminum because they carry electricity well. For covering, PVC or XLPE is used since they are strong and heatproof.
For better performance, try PTFE (Teflon) insulation. It handles water, oil, and high heat. Nylon and polyurethane are also good but have different features. Use protective sleeves or tubing to keep wires safe from damage.
Extra Tools for Better Work
Want to improve your diy wire harness? Add these extra tools:
Multimeter: Checks if electricity flows correctly.
Label maker: Helps you mark wires for easy identification.
Cable ties: Groups wires neatly for a clean look.
These extras aren’t required but can make your work look professional.
Note: Staying neat and using good materials makes connectors last longer and work better.
Getting Ready for Installation
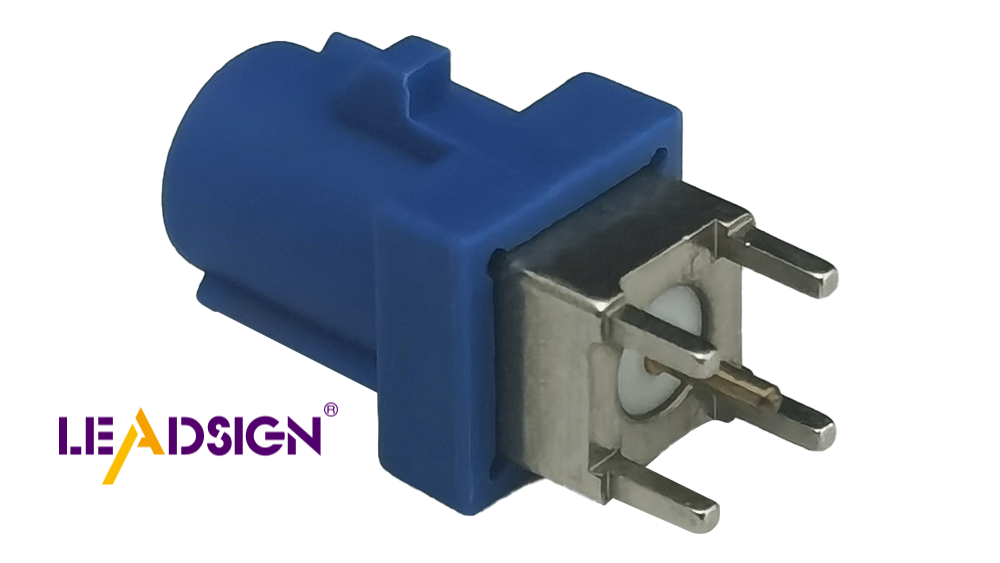
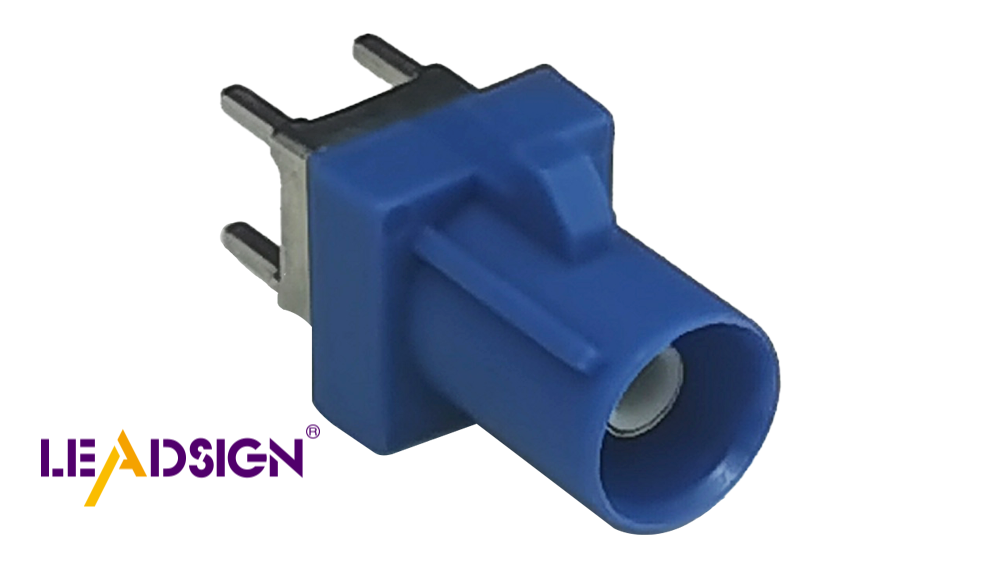
Picking the Best Automotive Harness Connectors
Choosing the right automotive harness connectors is very important. They must fit your car’s electrical system well. Here’s how to pick the right ones:
Compare pictures and details to find a perfect match.
Check the pins, their type, and if they fit your car.
Wiring harnesses send power and signals in your car. Wrong connectors can cause problems. Always check the details before buying.
Sorting and Labeling Wires
Before starting, organize and label your wires. This will save time later. Follow these tips:
Use labels to show where each wire connects. Tape or a label maker works well.
Plan the circuits ahead of time. This helps with future fixes.
Tie wires together neatly with cable ties to keep them in order.
Pro Tip: Before removing old wires, wrap tape around them. Write notes like “left speaker” or “rear camera.” This makes reinstallation easier.
Staying Safe While Building a Wiring Harness
Safety is key when making a wiring harness. Follow these steps to stay safe:
Wear safety glasses to protect your eyes.
Work in a place with good airflow to avoid breathing fumes.
Use a flat, heat-safe surface to prevent accidents.
Keep your area clean and tidy to avoid risks.
Make sure the wire insulation goes fully into the crimp tab. Ensure connectors hold wires tightly. This stops energy loss and keeps connections strong.
By preparing well, you’ll have a safe and smooth installation process.
Step-by-Step Guide to Install Wire Connectors
Stripping and Preparing Wires
Getting wires ready is the first step. Follow these simple steps:
Use wire strippers to remove 5-10 mm of insulation. Be careful not to cut the strands.
Add a little flux to the bare wire. This helps solder stick better.
Heat the wire with a soldering iron. Add solder until the strands are fully covered. This is called tinning.
If needed, tin the component leads too. Then, connect the tinned wire to the component.
Let the joint cool completely. A shiny connection means it’s done right.
Slide heat-shrink tubing over the joint. Use a heat gun to secure it. This keeps the connection safe.
Tip: Check your wiring diagram before moving forward to avoid errors.
Crimping or Soldering Automotive Harness Connectors
You can attach connectors by crimping or soldering. Each method has good and bad points:
Method | Pros | Cons |
|---|---|---|
Soldering | - Strong and reliable connections. | - Takes time and needs skill. |
- Permanent bond when done well. | - Can fail with vibration if not insulated. |
| Crimping | - Fast and consistent process. | - Needs special tools, which can be expensive. | | | - Great for cars because it resists vibration. | |
For crimping, put the stripped wire into the terminal. Use a crimping tool to secure it. Pull gently to check if it’s tight. For soldering, follow the tinning steps above for a strong connection.
Securing and Routing the Connections
After attaching connectors, secure and route the wires. Here’s how:
Use zip ties or clips to hold wires in place. This stops them from moving and wearing out.
Keep wires away from sharp edges, heat, and moving parts. This prevents damage.
Measure wires carefully to avoid extra bends or pulling.
Follow your wire diagram to route wires correctly.
Pro Tip: Use waterproof connectors in wet areas. This gives extra protection.
Testing the Automotive Wiring Harness
Before finishing, test the harness to make sure it works. Follow these steps:
Lay the harness on a board or template. Check if the lengths match your diagram.
Use a multimeter to test continuity. This ensures connections are complete and not crossed.
Check insulation resistance to confirm wires are properly covered.
If you can, use a Hypot tester to check for leaks in the system.
Testing makes sure your harness is safe and works well. Don’t skip this step!
Troubleshooting Common Challenges
Even with good planning, problems can happen during wiring work. Don’t stress—most issues are simple to fix if you know how. Let’s look at common problems and their solutions.
Fixing Loose or Faulty Connections
Loose or bad connections can cause flickering lights or system failures. Here’s how to fix them:
Crimp-on butt-splice connectors: Strip wire ends, insert into the connector, and crimp tightly. This is fast and keeps wire length the same. Avoid using it in wet areas since it’s not waterproof.
Heat-shrink solder-splice connectors: Strip wire ends, insert into the connector, and heat until solder melts. This makes a strong, waterproof connection but may shorten the wire slightly.
Manual soldering: If wires are too short, add an extra piece. Solder the ends and cover with heat-shrink tubing. Avoid cold solder joints as they can fail later.
Tip: Gently pull on wires to test the connection. Redo loose joints.
Identifying and Correcting Wiring Errors
Mistakes can happen when working with many wires and connectors. Here’s how to find and fix them:
Check your wiring diagram to ensure wires are routed correctly.
Use a multimeter to test for broken or crossed wires.
Label wires before starting to avoid confusion. If unsure, trace the wire back to its source.
Pro Tip: Take your time with tricky tasks like labeling wires or taping near branch-outs. Accuracy matters.
Preventing Overheating and Short Circuits
Overheating or short circuits can harm your harness and be unsafe. Prevent these by following these tips:
Use thick insulation for wires near hot areas like the engine.
Plan wire routes considering humidity and extreme temperatures.
Protect flexible joints with over-molded connectors, welds, or grommets.
Note: Keep wires away from sharp edges and moving parts to avoid damage over time.
By solving these problems early, your wiring harness will be safe, strong, and long-lasting.
Tips for a Professional Finish
Keeping Wires Neat and Organized
Neat wires are not just for looks. They make repairs easier. Group wires together using zip ties to keep them secure. Before tying, untangle the wires to avoid messes. Use sticky cord clips to attach wires to surfaces like panels or dashboards.
Don’t pull zip ties too tight. Leave some slack to protect the wires. If you have many circuits, label each group. This helps you find them quickly later.
Pro Tip: Use colored zip ties or labels for each circuit. It keeps things simple and organized.
Protecting Wires with Heat Shrink Tubing
Heat shrink tubing is great for keeping wires safe. It’s cheap, easy, and looks professional. Slide the tubing over the wire connection. Use a heat gun to shrink it tightly. This seals out water, dust, and vibrations.
Why is heat shrink tubing so useful?
Benefit | What It Does |
|---|---|
Strong Protection | Keeps wires safe from water, chemicals, and damage. |
Safer Connections | Lowers the chance of electrical problems. |
Saves Money | Prevents costly repairs by protecting wires. |
Clean Look | Makes your wiring look tidy and professional. |
Tip: Pick tubing that fits your wire size for the best results.
Making the Wiring Harness Last Longer
To make your harness last, use good materials and methods. Choose strong connectors that handle heat and shaking. Route wires carefully to avoid bending or rubbing. Add protective sleeves to guard against damage.
Testing is very important. Check the wires for smooth power flow. Test their strength and see if they can handle tough conditions.
Here’s how to keep your harness in good shape:
Look for damage or wear often.
Check for rust at connection points.
Replace damaged parts quickly to avoid bigger problems.
Pro Tip: Machines can build harnesses with fewer mistakes than people. This improves quality.
Follow these tips to create a strong and long-lasting wiring harness.
Installing car harness connectors can be simple. Just follow these steps:
Check wires to ensure they connect properly.
Match each connector to the right wire and use.
Strip wires to the correct length for a good fit.
Use crimping tools to attach terminals tightly.
Carefully place terminals into the connector housings.
Always test your wiring to make sure it works well. Reviewing your work keeps it safe and reliable. Take your time, and you’ll get a neat and professional result.
FAQ
What does a wiring harness do in a car?
A wiring harness keeps wires neat and safe. It helps power and signals move correctly to car parts.
Can I put connectors on without special tools?
Yes, but special tools make it easier and better. Basic tools like wire cutters and crimpers are needed for strong connections.
How can I check if my connectors are tight?
Pull the wires gently after attaching them. If they don’t move, the connection is good. You can also test with a multimeter.
See Also
An In-Depth Overview of HSD Connectors
Understanding Fakra Connectors Used in Honda Cars
Exploring Fakra Connectors Found in Ford Vehicles
Fundamentals of HSD Connectors Within Automotive Applications
