How Fleets & Repair Shops Install Automotive Connectors the Right Way (2026 Update)

Intro: Why “Beginner” Mistakes Cost B2B Buyers Thousands
Automotive electrical connectors seem simple – but improper installation is a leading cause of aftermarket electrical failures. According to a 2025 fleet maintenance report, over 35% of intermittent camera, sensor, and infotainment issues trace back to poorly installed or wrong‑type connectors.
For a repair shop or fleet manager, each faulty connection means:
Customer comebacks (lost labor & reputation)
False ADAS alerts (safety risk + liability)
Backup camera / radio signal dropouts (driver frustration)
Potential short circuits (fire hazard, insurance claim)
In this guide, you’ll learn which connector types to use for 2026 vehicle systems (including EVs and ADAS), how to install them reliably, and how to avoid the three most expensive mistakes.
1. Know Your Connectors – Updated for 2026 Vehicle Electronics
Different applications demand different connectors. Here’s what works (and what doesn’t) for modern cars.
Connector Type | Best Use Case | 2026 Verdict for B2B |
|---|---|---|
Blade (spade) | Non‑critical, low‑vibration areas (old radios, interior lights) | ⚠️ Acceptable for basic circuits – but not for cameras or sensors |
Bullet | Engine bay, high‑vibration (sensors, ignition) | ✅ Good – use sealed versions for moisture protection |
Butt (crimp) | Wire repair / extension, power distribution | ✅ Recommended – choose heat‑shrink insulated type for durability |
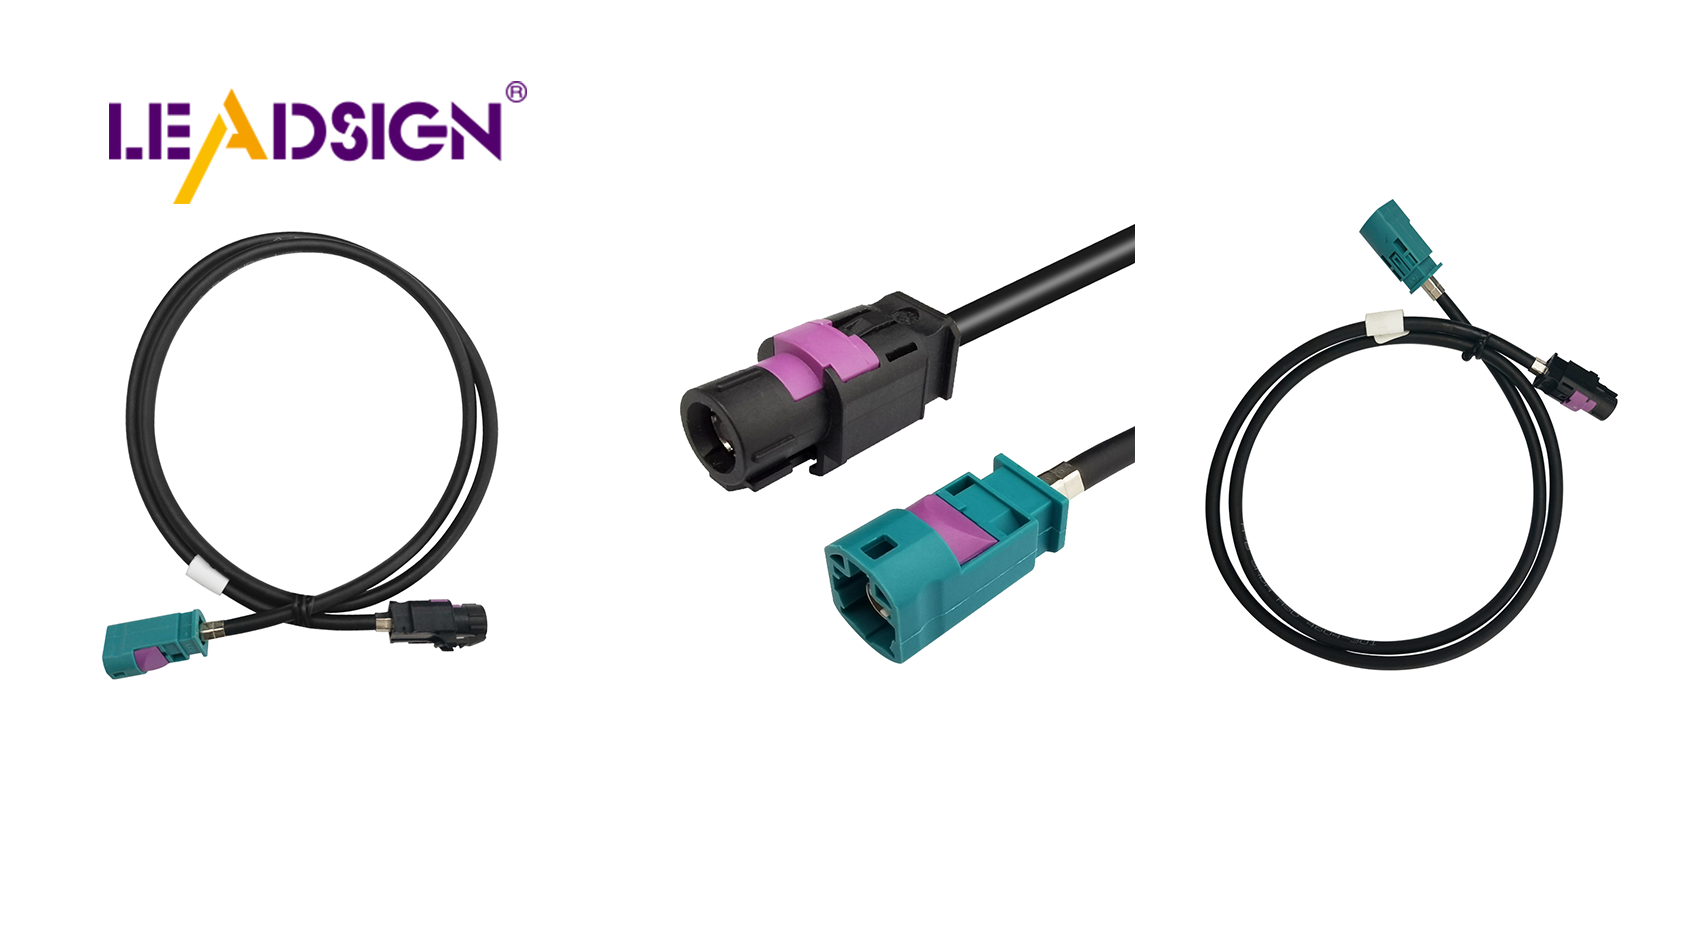
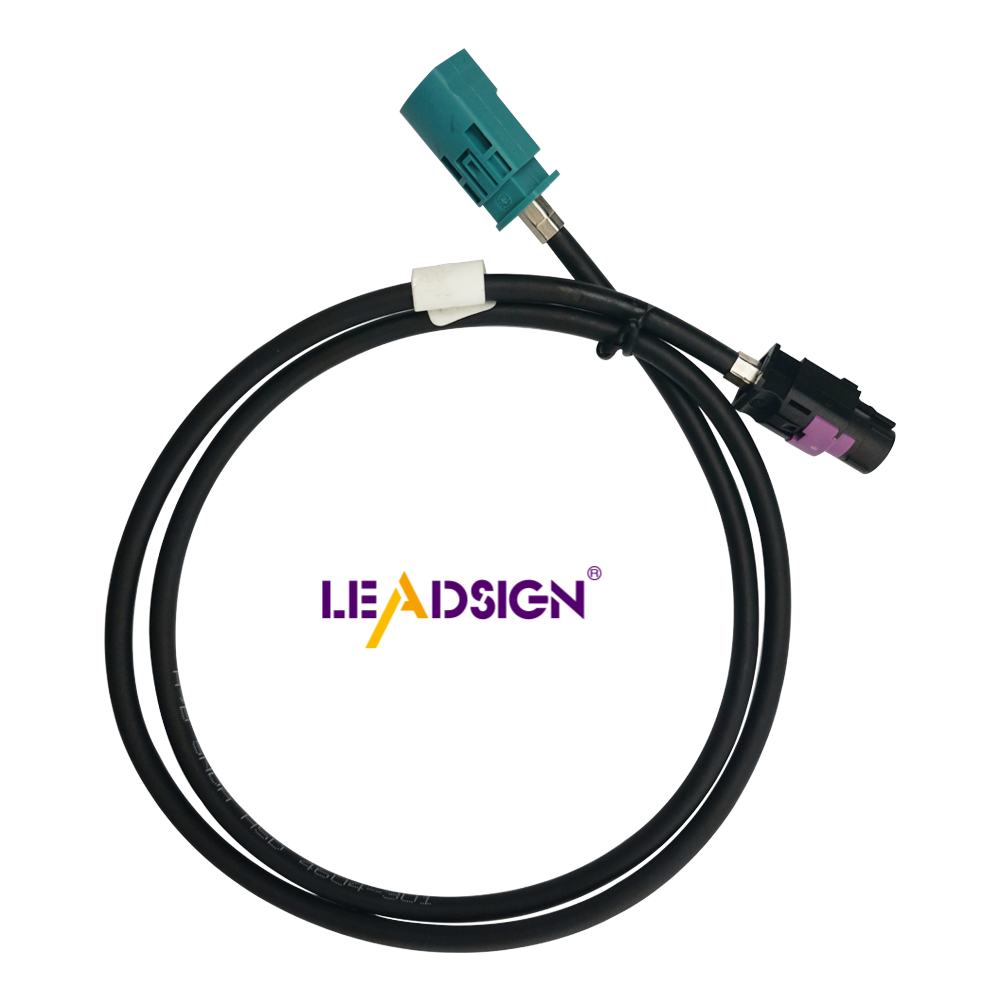
FAKRA (coaxial) | GPS, SDARS, backup cameras, 4G/5G antennas | ✅ Essential for 2026 – ensures impedance match (50Ω) and signal integrity |
Sealed multi‑pin (e.g., Deutsch, Metri‑Pack) | ADAS sensors, ECUs, electric cooling fans | ✅ Standard for EV & ADAS – mandatory for warranty work |
Key takeaway for your business: If you’re installing aftermarket car multimedia or reverse cameras, always use FAKRA‑type coaxial connectors for video signals and sealed bullet or multi‑pin connectors for power – otherwise signal interference and water ingress will cause repeat repairs.
2. Diagnosing Connector Problems – What Professionals Check First
Instead of guessing, use a systematic approach. Here are the top three failures we see in fleet vehicles:
🔴 Corrosion
Green or white powder on terminals → increased resistance → voltage drop → camera flickering or radio cutting out.
Solution: Use dielectric grease on every connection, and specify IP67‑rated connectors for exterior / underbody locations.
🟡 Loose connection
Intermittent operation (lights flicker, screen resets) is often a crimp that has loosened due to vibration.
Solution: Always use a ratcheting crimper, not pliers. Pull‑test every crimp (5‑10 lbs force).
🟠 Incorrect wire gauge / insulation damage
A wire that is too thin for the current will overheat. Nicked strands break under vibration.
Solution: Use wire strippers with gauge‑matched holes. Never use a knife or scissors.
Tool checklist for your workshop:
Multimeter (continuity & resistance mode)
Ratcheting crimper with interchangeable dies
Automatic wire stripper (adjustable for different gauges)
Heat gun (for shrink‑tube seals)
3. Step‑by‑Step Professional Installation (That Lasts)
Follow this process – it’s the same one used by OEM‑certified installers.
Step 1: Preparation
Disconnect battery (negative terminal first) – mandatory for safety and to avoid blowing fuses.
Gather all connectors, tools, and heat shrink tubing (dual‑wall adhesive type for moisture seal).
Step 2: Strip the wire correctly
Remove 3/8 inch (7‑9 mm) of insulation – not more, not less.
Check: No nicks in the copper strands.
Step 3: Crimp the connector
Insert stripped wire into the connector barrel.
Use the crimper’s correct die (red for 22‑18 AWG, blue for 16‑14 AWG, yellow for 12‑10 AWG).
Crimp firmly – the result should be a solid mechanical lock with no visible gaps.
Step 4: Seal and secure
For butt / bullet connectors: Slide heat shrink over the crimp and apply heat until sealant oozes slightly.
For FAKRA: Ensure the coaxial pin is fully seated and the housing clicks locked.
Strain relief: Zip‑tie the wire within 2 inches of the connector – this prevents vibration from transferring to the crimp.
Step 5: Test before final assembly
Use a multimeter in continuity mode – every connection should beep.
For power circuits: Check voltage drop under load (less than 0.2V drop is ideal).
4. The Three Most Expensive B2B Mistakes (And How to Avoid Them)
Mistake | Real‑world consequence | Prevention |
|---|---|---|
1. Using unsealed connectors on a backup camera | Camera fails after first car wash – customer demands refund | Always use IP67 or IP69K connectors for exterior locations |
2. Over‑crimping / under‑crimping | Intermittent signal – diagnostic time kills your profit | Use a ratcheting crimper that stops at correct pressure |
3. Reusing single‑use connectors (e.g., T‑taps) | Loose grip, arcing, melted insulation | Never reuse – always install fresh connectors |
Pro tip for shop owners: Document your installation process (photos of crimps, heat shrink, routing). If a future electrical issue arises, you can prove it wasn’t your work – protects you from liability claims.
5. 2026 Trends That Affect Your Connector Choices
EVs (800V platforms) – High‑voltage interlock circuits require orange‑colored, HV‑rated connectors. For low‑voltage (12V) accessories like infotainment and cameras, use standard automotive connectors but with extra EMI shielding because EVs generate more electromagnetic noise.
ADAS (radar / camera / ultrasonic sensors) – Signal integrity is critical. Use twisted‑pair or shielded connectors and avoid long unspliced runs. A poor connection here can trigger false automatic braking – a serious safety and legal risk.
Data‑intensive infotainment – Modern radios with wireless CarPlay / Android Auto need stable 12V power and clean ground. Use butt connectors with heat shrink for permanent splices – no twist‑and‑tape.
Aftermarket telematics / GPS tracking – Fleets are adding more tracking devices. Install using sealed bullet connectors so devices can be removed without cutting original wires.
6. Buying Guide for B2B: What to Look For
Quality indicators
Material: Tin‑plated or gold‑plated brass/copper terminals (pure brass corrodes quickly).
Insulation: Nylon or polypropylene housing, rated from -40°C to +125°C.
Sealing: IP67 (temporary immersion) or IP69K (high‑pressure wash) for exterior/underhood.
Crimp type: Open‑barrel (for professional crimping tools) – not closed‑barrel (cheap and unreliable).
Trusted brands for professional use
TE Connectivity – wide range, including sealed multi‑pin.
Amphenol – excellent for harsh environments.
Molex – strong for signal integrity (ADAS).
LEADSIGN – FAKRA & automotive coaxial, cost‑effective with OEM‑grade quality.
Where to buy for your shop
Online B2B platforms (Alibaba, Global Sources) – good for bulk, but request test samples.
Local auto electrical distributors – faster for small quantities, but markups are higher.
Direct from manufacturer (like us) – best for custom lengths, pre‑crimped leads, and consistent quality.
Final Words: Install Once, Not Twice
For a repair shop or fleet, every electrical come‑back hurts your bottom line and customer trust. Choosing the right automotive connector type and installing it professionally is not difficult – it just requires the right tools, a few extra minutes, and a focus on sealing, strain relief, and testing.
Ready to upgrade your connector inventory?
We supply:
OEM‑grade sealed bullet, butt, blade and FAKRA connectors
Pre‑crimped pigtails (save 50% installation time)
Custom‑length coaxial cables for reverse cameras & GPS
[Contact us for a bulk quote or free sample kit]
[Link to product catalog | Follow us on LinkedIn | Email: info@leadsignauto.com]
See Also
Essential Insights into HSD Connectors for Auto Sector
Significance of FAKRA Connectors in Auto Technology
Navigating Ford's FAKRA Connector Solutions
