Master the Installation of Car Harness Connectors with This Step-by-Step Guide

Installing auto harness connectors is more than a simple job. It is important for your car’s safety and how it operates. Bad connections can disrupt the wiring and cause problems. These issues might even prevent systems from functioning properly. For example, wiring harnesses affect airbags and ABS brakes. Secure auto harness connectors ensure these systems work when needed.
By using a step-by-step guide, you can avoid mistakes. This helps create strong and safe connections. It also enhances how well the wires carry electricity and increases their longevity. Whether crimping connectors or checking them, the right tools are essential. Good preparation keeps your car safe and functioning optimally.
Key Takeaways
Installing car harness connectors correctly is very important. It keeps your car safe and working well. Tight connections stop problems with airbags and brakes.
Use the correct tools and supplies for the job. Important tools are wire strippers, crimpers, and heat guns. Keeping tools ready makes the work easier.
Test your connections with a multimeter when you're done. This checks if everything works and prevents future electrical issues.
Understanding Auto Harness Connectors
What Are Auto Harness Connectors
Auto harness connectors are small parts that are very important. They help connect wires in your car’s electrical system. These connectors make sure power and data move smoothly between parts. You can think of them as "bridges" linking things like your stereo or airbags. Without them, your car’s electrical system wouldn’t work right.
These connectors come in many shapes and sizes for different jobs. Some send data quickly for things like infotainment systems. Others provide power to important safety features. Their flexibility makes them a big part of modern car technology.
Common Types of Auto Harness Connectors
There are different types of auto harness connectors for various uses. Here’s a simple list of the most common ones:
Crimp connectors: These are strong and last a long time. They work well in cars because they handle vibrations.
Soldering connectors: These join wires by melting solder, creating a solid bond. They’re great for lasting connections.
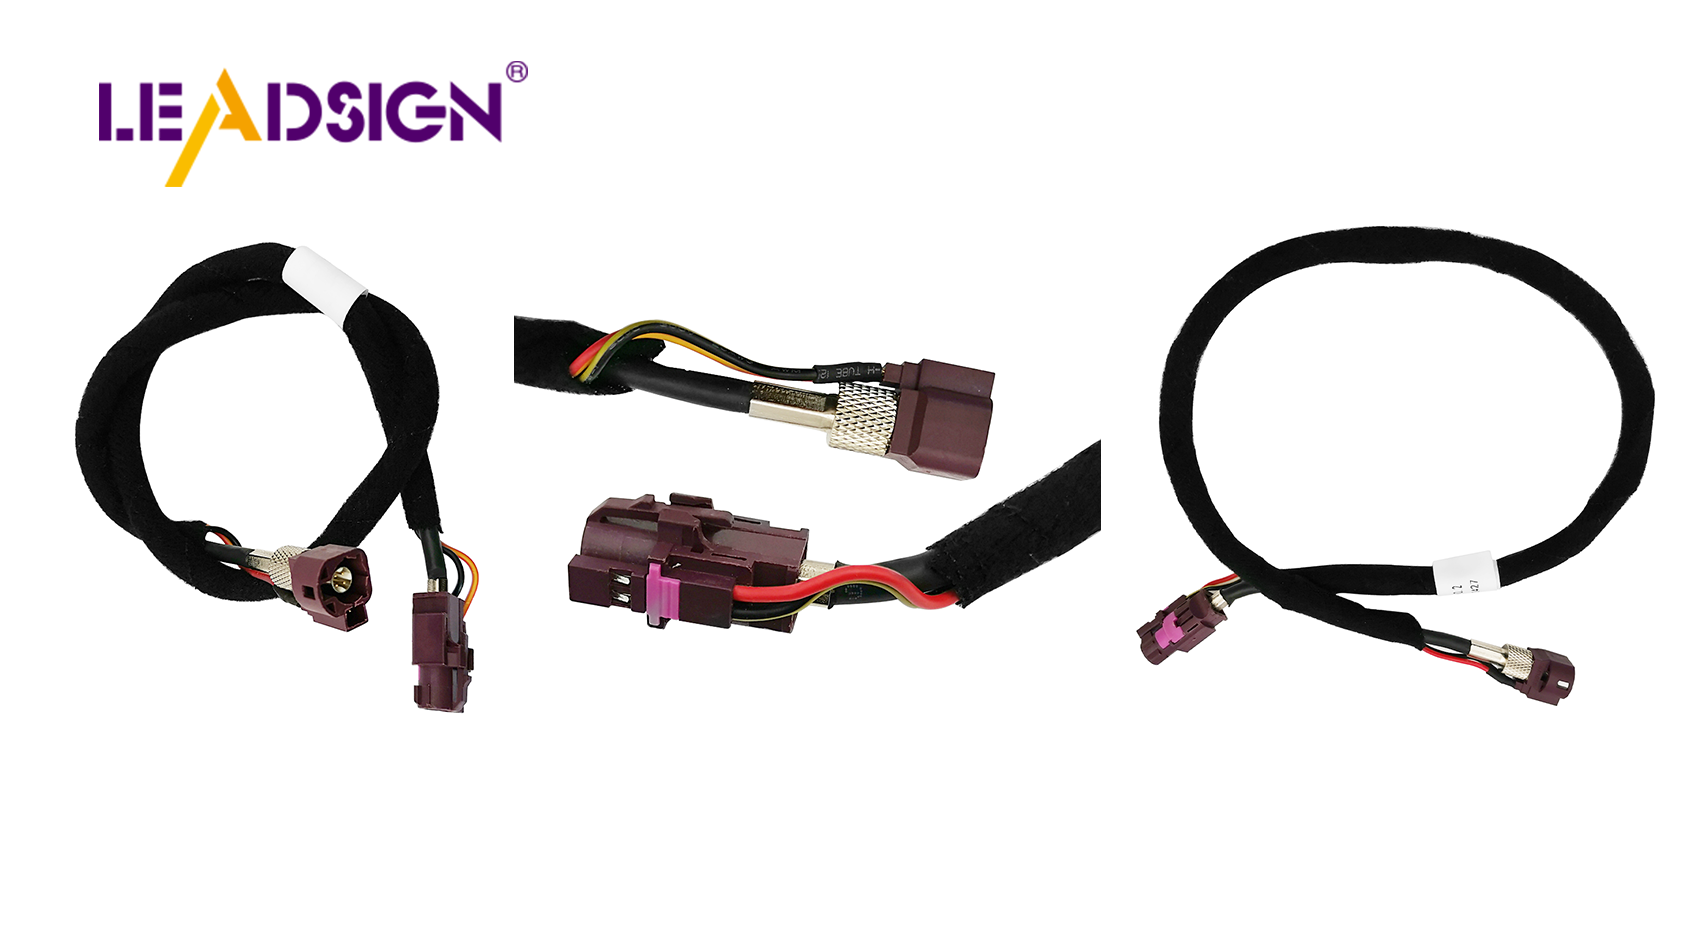
HSD connectors: High-Speed Data connectors send large amounts of data. They’re used in USB ports, cameras, and infotainment systems.
Each type has its own purpose, so picking the right one is important.
The Role of Proper Installation in Automotive Systems
Installing connectors the right way is very important for safety. If done poorly, it can cause electrical problems. These issues might affect systems like airbags or ABS brakes. Preparing before installation helps connectors fit well and work properly.
Here’s why auto harness connectors are important for your car:
They help power and data flow for advanced systems like ADAS.
They keep safety systems working in different conditions.
Their reliability ensures features like airbags work when needed.
What It Does | |
|---|---|
Internal connectivity | Links parts inside the car, like sensors and stereos. |
External connectivity | Connects the car to tools for repairs or diagnostics. |
Replacement | Lets you temporarily replace devices during repairs. |
By installing connectors correctly, you can avoid problems and keep your car in good shape.
Tools and Materials for Wire Harness Connector Installation
Having the right tools and materials is the first step. It helps make installing wire harness connectors easier and faster. Let’s go over what you’ll need.
Must-Have Tools
Here are the main tools you’ll need for the job:
Wire Strippers: These remove wire coverings without harming the wires.
Crimping Tools: Use these to attach connectors tightly to wires.
Pliers: These help you hold and adjust wires during work.
Heat Guns: These are used to shrink tubing that protects connections.
Each tool is important for making strong and safe connections.
Important Materials
After gathering tools, collect the materials needed for the job:
Wires
Wire strippers
Heat shrink tubing
Protective sleeves for extra safety
These materials help keep your connections secure and long-lasting.
Extra Tools for Better Results
Want to improve your installation? Try these optional tools:
Cable Tying Tools: These keep wires neat and in place.
Ferrules: These protect wires and improve their connections.
Cable Tie Mounts: These make attaching cable ties easier.
Labeling Tools: Use these to mark wires for easy tracking later.
These extras aren’t required but can make your work look professional.
Being prepared with the right tools and materials makes installation smoother. Good preparation is the key to success!
Getting Ready for the Installation
Steps to Prepare the Wires
Before starting, make sure the wires are ready to use. Preparing them well ensures they connect securely and work properly. Follow these simple steps:
Cut the wires to the needed length using a wire cutter.
Remove the wire covering to expose the metal inside. Be gentle to avoid damaging the strands.
Check that the exposed part matches the connector’s size. This keeps the connection tight and prevents issues.
Taking time here makes the rest of the job easier. Properly prepared wires are key to a good installation.
Setting Up Your Workspace
A clean workspace helps you work faster and with fewer problems. Before starting, organize your area for comfort and efficiency. Here’s how:
Place all tools and materials, like strippers and connectors, nearby.
Use a small box or tray to hold tiny parts so they don’t get lost.
Keep wires untangled by using cable ties to group them neatly.
When everything is easy to find, you’ll avoid mistakes. A tidy space also protects your tools and materials from damage.
Planning the Installation Steps
Planning ahead makes the process smoother and less stressful. Follow this simple plan:
Match each wire to the correct connector based on its purpose.
Strip the wire ends to the right length for proper insulation.
Use a crimping tool to attach terminals firmly to the wires.
Place the terminals into the connector housings, aligning them correctly.
Test the connections to ensure they are secure and working.
By following these steps, you’ll avoid errors like loose connections or wrong parts. Testing at the end confirms everything is set up correctly.
Pro Tip: Always check the manufacturer’s instructions for your connectors. This ensures you’re doing it the right way for a safe and lasting result.
Step-by-Step Installation Process
Picking the Right Connector
Choosing the correct connector is the first important step. Think about these things to make the best choice:
Weather conditions: Will it face heat, cold, or moisture?
Electric needs: What voltage and current will it handle?
Space limits: Is there enough room for the connector?
Rules: Does it meet safety standards like SAE?
Usage: Will it be connected and disconnected often?
Follow these steps to decide:
Match the connector to your car’s electric needs.
Make sure it works in the expected weather conditions.
Check if it fits in the available space.
Confirm it meets safety rules.
Ask an expert if you’re unsure.
Picking the right connector makes installation easier and more reliable.
Putting the Wire into the Connector
After choosing the connector, it’s time to add the wires. Follow these steps to do it right:
Cut the wires to the needed length and remove the covering.
Pick the correct terminal for the connector.
Push the bare wire into the terminal snugly.
Use a crimping tool to secure it. Don’t squeeze too hard.
For extra strength, solder the joint by heating and adding solder.
Doing this correctly helps the connectors last longer and work well.
Securing the Connector with Crimping
Crimping locks the wire in place for a strong connection. Here’s how to do it:
Use the right crimping tool for your connector.
Place the wire and terminal in the tool’s jaws.
Squeeze the tool tightly to secure the crimp.
Check the crimp to ensure it’s firm and undamaged.
If soldering is needed, heat the joint and add solder for extra hold. This step ensures the connector stays secure, even with movement or stress.
Protecting the Connection with Insulation
Insulation keeps the connectors safe from damage and ensures safety. Use these materials for protection:
What It Does | |
|---|---|
PTFE | Resists water, oil, chemicals, and heat. |
Silicone | Flexible, fire-resistant, and handles heat well. |
TPR | Strong against UV rays and works in extreme temperatures. |
After crimping or soldering, slide heat-shrink tubing over the joint. Use a heat gun to shrink it tightly. Add electrical tape or a sleeve for extra safety. Insulation protects the connectors from water, dirt, and wear.
Pro Tip: Always check that no bare wire is showing to avoid short circuits.
Testing and Ensuring Quality
Checking Connections with a Multimeter
After finishing the installation, test the connections to ensure they work. Use a multimeter for this step. It checks resistance to find good or bad connections.
First, set the multimeter to resistance mode. Place the probes on the connection points. A low resistance number means the connection is strong. High or changing resistance may mean the connection is loose or weak. Also, check for wires touching where they shouldn’t. This step ensures your system works properly and avoids future problems.
Making Sure Everything Works
After testing, check if all parts are working. Turn on the car’s systems and test each connected part. For example, if you added a camera connector, see if the camera turns on and shows a clear image.
Watch for flickering lights, strange noises, or error messages. These could mean there’s a problem with the connection. If something isn’t right, go back and fix the issue. Testing now saves you from bigger problems later.
Doing Final Safety Checks
Before finishing, check everything one last time. Look for bare wires, loose parts, or damaged insulation. Make sure all connections are tight and safe from water or dirt.
Cover any exposed wires with heat-shrink tubing or tape. This stops short circuits and keeps the system safe. Gently pull on the wires to ensure they’re secure. These final checks make sure your installation is safe and will last a long time.
Pro Tip: Use a checklist during testing to stay organized and avoid missing steps.
Avoiding Common Mistakes in Installation
Even with good tools, mistakes can still happen. Knowing what to avoid saves time and prevents problems. Let’s explore common errors and how to avoid them.
Crimping Mistakes
Crimping may look easy, but doing it wrong causes trouble. Bad crimps can make wires loose or cause short circuits. This can lead to system failures, especially in safety features like airbags or ABS.
To prevent this, always use the correct crimping tool. Push the wire fully into the terminal before crimping. Squeeze the tool firmly but not too hard to avoid damage. Gently pull the wire after crimping to check if it’s secure. These steps help create a strong and safe connection.
Tip: Don’t reuse single-use connectors. They lose strength after one use and might not hold wires well.
Picking the Wrong Connector
Not all connectors work for every job. Choosing the wrong one can cause big issues. For example, a poorly sealed connector might let water in, causing rust or short circuits. A connector that can’t handle heat might fail in tough conditions.
Think about where the connector will be used. Will it face heat, cold, or moisture? Does it need to meet safety rules? Picking the right connector ensures it works well and lasts long.
Note: Cheap or unsafe connectors can cause danger and legal problems. Always pick high-quality parts.
Skipping Testing
After connecting everything, skipping testing is a big mistake. Without testing, you might miss loose wires or bad connections. These issues can make systems stop working later.
Use a multimeter to test each connection. Low resistance means the connection is strong. Then, check if connected systems, like cameras, work properly. If something doesn’t work, fix the connection.
Pro Tip: Use a checklist during testing to avoid missing anything. This simple step can prevent future problems.
By avoiding these mistakes, your connectors will work safely and reliably.
Learning how to assemble wire harnesses can be simple. Follow clear steps to make strong and safe connections. Set up your workspace neatly and choose the right connectors. Always test each connection to ensure it works properly. Take your time and review your work carefully.
Want to share knowledge? Pass along this guide or find more tips to get better at wire harness assembly!
FAQ
What are the most common types of car electrical connectors?
The most common types are crimp, soldering, and HSD connectors. Each one has a special job in your car’s systems.
How can I pick the right connector for my car?
Think about the environment, power needs, and space available. Choose a connector that fits your car’s requirements. Look into different types to find the best match.
Can connectors be reused during repairs?
Single-use connectors shouldn’t be used again. They weaken after removal. Always replace them with new ones to keep things safe and working well.
Tip: Check the details of electrical connector types before installing. This helps avoid problems with compatibility.
See Also
Understanding Fakra Connectors for Honda Cars
Exploring Fakra Connectors Used in Ford Models
An In-Depth Look at HSD Connectors
Fakra Connectors Explained: Benefits, Uses, and Setup Advice
