Installing Custom Automotive Wiring Harness: A Complete Guide

Installing auto harness connectors may look easy, but small errors can cause big trouble. Using the wrong connectors or skipping good insulation can lead to shorts or bad connections. A step-by-step guide helps you avoid these problems. It also makes sure your automotive wiring is safe and lasts long. Take your time, and you’ll do it right.
Common Mistakes
Description
Using wrong connectors
Picking connectors that don’t fit properly.
Improper crimping procedures
Not crimping connectors the right way causes issues.
Inadequate insulation
Poor insulation can lead to short circuits.
Insufficient strain relief
No strain relief can damage the wires.
Key Takeaways
Pick the correct connectors for your wires. This makes connections safe and strong.
Use the right tools like wire strippers and crimpers. These tools help make good, long-lasting connections.
Test your connections with a multimeter every time. This checks that everything works before you finish.
Tools and Materials for Auto Harness Connectors

Having the right tools makes wiring much easier. Here’s what you’ll need.
Essential Tools
Wire Strippers
Wire strippers are important for removing wire insulation. They expose the copper inside without damage. A clean strip helps make a strong connection. Use a stripper that fits your wire size.
Crimping Tools
Crimping tools are key for attaching connectors. They create strong joints that handle car vibrations. Always test your crimps to ensure they are secure.
Heat Gun
A heat gun shrinks heat shrink tubing. This tubing protects wires from water and wear. Be careful not to overheat the tubing or wires.
Multimeter
A multimeter checks if your connections work. It tests for continuity and finds problems before you finish.
Common Materials
Connectors
Connectors join wires together. Different types, like spade or bullet, have specific uses. Pick the right one for your wire size and job.
Heat Shrink Tubing
Heat shrink tubing protects wires from damage. It’s great for keeping outdoor connections safe from weather.
Electrical Tape
Electrical tape is useful for many tasks. Use it to group wires, add insulation, or hold things temporarily.
Optional Tools
Soldering Iron
A soldering iron makes strong, lasting connections. It takes practice but works well for splicing wires or professional finishes.
Terminal Release Tools
Terminal release tools help remove connectors easily. They’re useful for fixing or reusing connectors.
Pro Tip: Work in a clean, bright space. This helps you avoid mistakes and see details clearly.
Types of Auto Harness Connectors
Knowing the types of connectors is very important for car wiring. Each type has a specific job. Picking the right one makes connections safe and strong.
Common Connectors
Spade
Spade connectors look like forks. They are easy to attach or remove from screws. These work well in car stereo systems. You can disconnect them quickly without tools, saving time.
Bullet
Bullet connectors have male and female parts that snap together. They are often used in car audio systems. These connectors stay secure even when the car vibrates.
Butt Connectors
Butt connectors join two wires in a straight line. They are great for fixing or extending wires. They are simple to use and look neat when finished.
Specialty Connectors
Weatherproof
Weatherproof connectors are made for tough conditions. They resist water, brake fluid, and antifreeze. These are best for outdoor or engine areas. Their design keeps them working well over time.
Multi-Pin
Multi-pin connectors hold many wires in one place. They are used in complex systems like engine controls. These save space and make wiring easier by grouping wires together.
High-Speed Data (HSD) Connectors
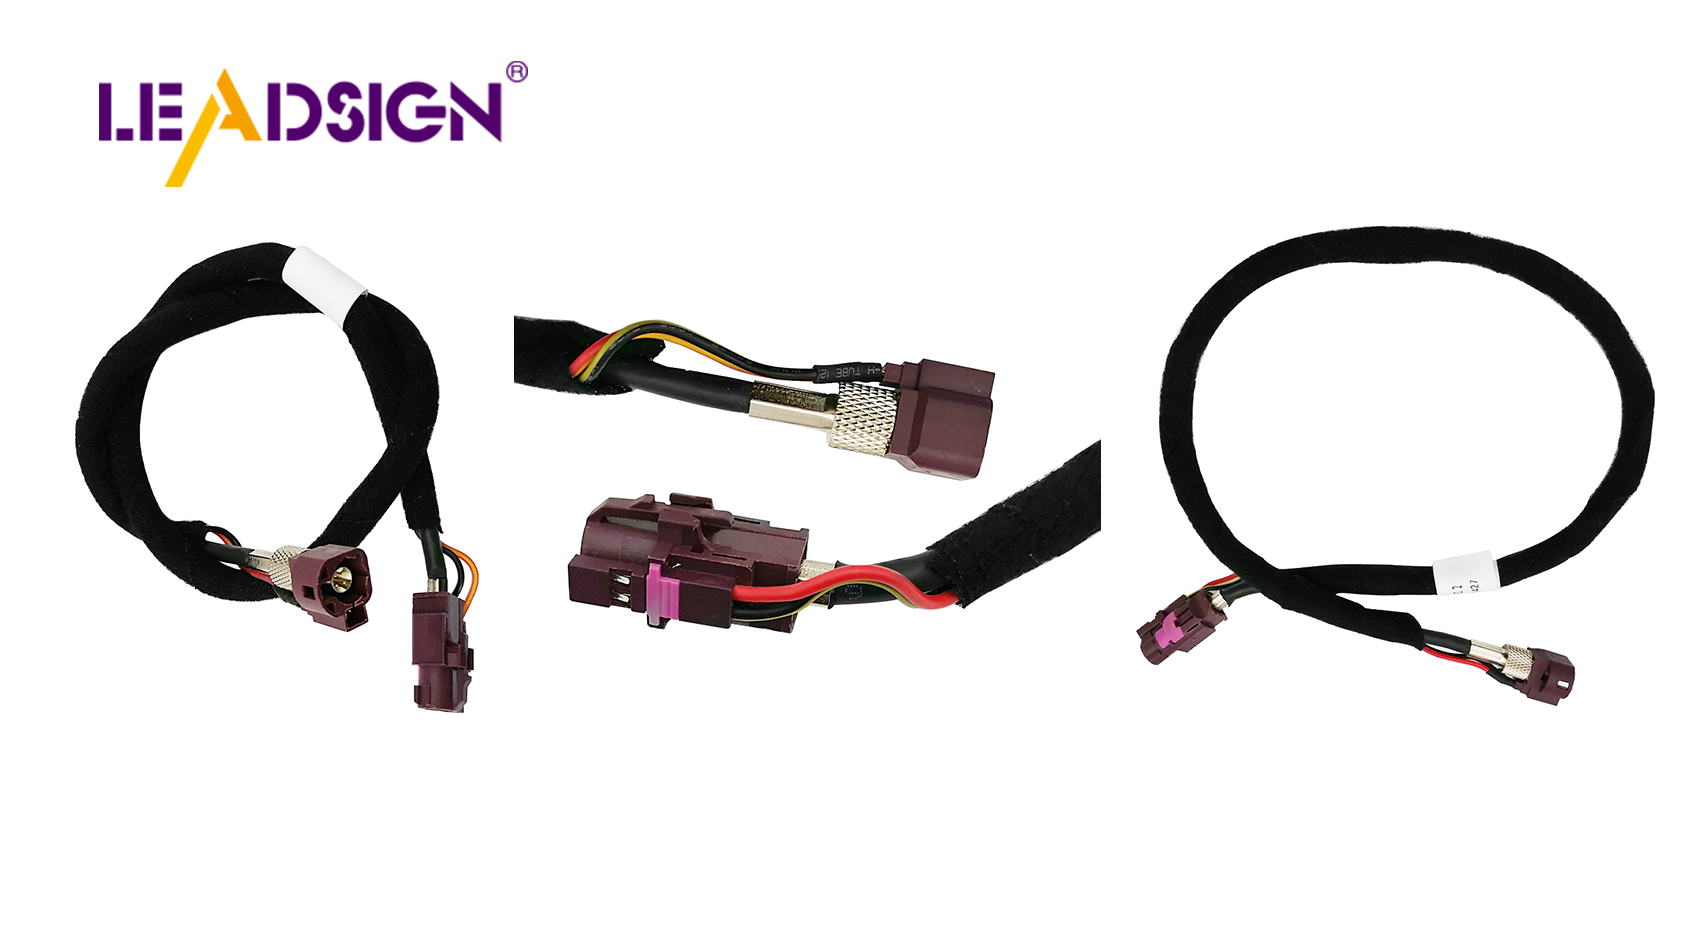
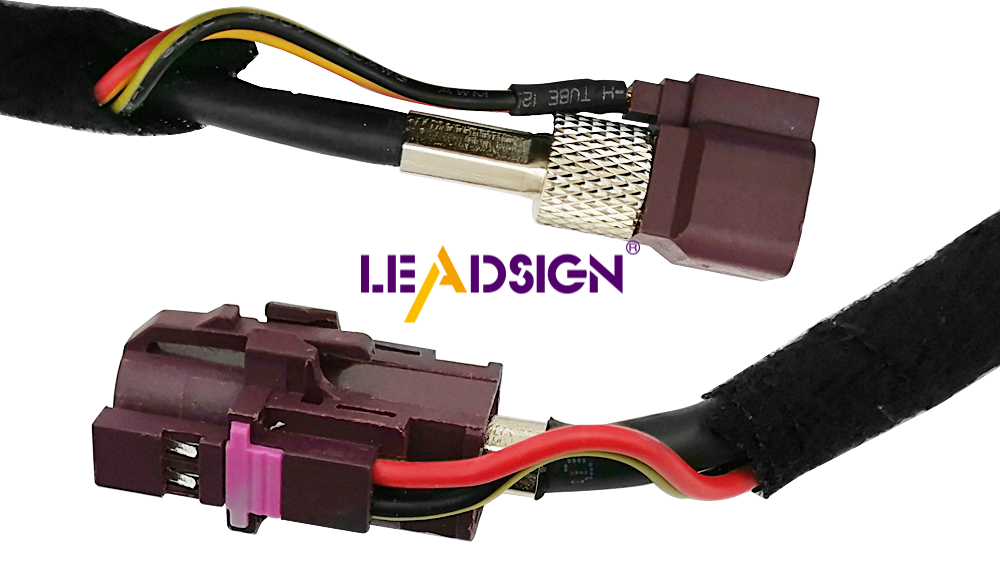
HSD connectors are used in modern car electronics. They handle fast data for cameras, USBs, and infotainment. They are strong and stay connected even in tough conditions.
Advantages of Specialty Connectors
Handle extreme heat and moisture.
Resist fluids like brake oil and antifreeze.
Strong design with easy connection features.
Advantage | Description |
|---|---|
Strong and Durable | Easy to connect but very sturdy |
Better Manufacturing | Designed to improve production processes |
Built for Tough Conditions | Work well in extreme environments |
Choosing the Right Connector
Picking the right connector depends on a few things:
Wire Gauge: Match the connector to the wire size.
Application: Think about the system’s power needs.
Environmental Conditions: Use connectors that resist dust and water.
Check the temperatures and conditions the connectors will face.
Make sure they can handle shaking and rough use.
Confirm the connector’s power ratings to avoid problems.
By learning about different connectors, you can make better choices. Whether replacing one or building a new system, the right connector ensures safety and good performance.
Step-by-Step Installation Process
Getting the Wires Ready
Removing insulation without harming the wire
The first step is to strip the wire insulation. Use a wire stripper with the right size to avoid cutting the wire. Expose about 3/8 to 1/2 inch of wire for most connectors. If using a knife, lightly cut the insulation and peel it off carefully. Accidentally damaged the wire? Cut off the bad part and try again. Keep your tools clean and sharp for better results.
Pro Tip: Practice on old wires to improve your skills before starting.
Checking wires for rust or damage
Look at the wire before putting it into the connector. Check for rust or broken strands. Damaged wires can make weak connections and cause problems later. If there’s rust, clean it with sandpaper or a wire brush. Replace wires that are badly damaged. Clean wires make strong and safe connections.
Attaching the Connector
Picking the right connector for the wire size
Choose a connector that matches the wire size. This ensures a tight fit. For example, spade connectors are good for stereos, while weatherproof ones work best outdoors.
Using a crimping tool to attach the wire
A crimping tool helps secure the wire to the connector. Put the stripped wire into the connector barrel, making sure all strands fit. Place the connector in the crimping tool and press firmly. Ratcheting crimping tools give the best results.
Checking the crimp for strength
After crimping, gently pull the wire to test its hold. A strong crimp won’t move. Look closely to see if the crimp is even and tight. If it’s loose or uneven, redo it to avoid problems later.
Securing the Connection
Using heat shrink tubing or tape for protection
Heat shrink tubing is the best way to protect the connection. Slide the tubing over the crimped area and heat it with a heat gun. This seals the connection from water and wear. If you don’t have tubing, use electrical tape as a temporary fix.
Testing the connection with a multimeter
Before finishing, check the connection with a multimeter. Turn off the power, then place the probes on both sides of the connection. A beep means the connection works. If there’s no sound, check for loose wires or bad crimps and fix them.
Making waterproof seals for outdoor connectors
For weatherproof connectors, take extra care to seal them. Use heat shrink tubing with adhesive or liquid electrical tape to cover the edges. Check these seals often and fix them if needed. This keeps water out and ensures the connection lasts.
Note: Sealing is very important for outdoor or engine-area connections exposed to tough conditions.
Putting in car wiring connectors can be simple. A step-by-step guide helps make safe and strong connections. Begin by getting the wires ready and picking the right connector. Attach each connector using good crimping and proper insulation. Practice often to get better at these steps. Always check your work carefully to prevent problems later. With patience and focus, you’ll learn car wiring quickly!
FAQ
How can I pick the right connector for my project?
Check the wire size and where it will be used. Match the connector to the power needs and how strong it must be.
How do I know if my connector works?
Use a multimeter to test it. Put the probes on both ends of the connector. If it beeps or shows a number, it’s working.
Can I use old connectors again?
Yes, but check them first. Clean off any rust or dirt. Make sure they fit well. Replace broken ones to avoid problems later.
See Also
Understanding HSD Connectors for Automotive Applications
An Overview of Ford Fakra Connector Technology
Maximizing Data Transfer in Vehicles with Connectors

