A Beginner's Guide to Installing Custom Automotive Wiring Harness

Auto harness connectors are key to your car's electrical system. They join wires, cables, and circuit boards to make things work. These connectors power your stereo, link sensors, and help with repairs. Without them, your car's parts couldn’t talk to each other.
Why is proper installation important? A good connection keeps your car safe and working well. Badly installed connectors can cause short circuits or harm parts. By following steps, you can make sure connections are strong and safe.
Think of it like a puzzle where every piece must fit. With the right steps, you’ll protect your car and feel confident fixing its electrical parts.
Key Takeaways
Pick the correct tools for the job. Crimping tools, wire strippers, and heat shrink tubing help make strong connections.
Use good-quality materials. Choose wires and connectors that fit your car's needs. This keeps it safe and long-lasting.
Work step by step. Strip the wires, crimp them tightly, and test everything to prevent electrical problems later.
Tools and Materials for Installation
Tools You’ll Need for Crimping Connectors
Before fixing automotive electrical connectors, gather the right tools. Using proper tools makes the job easier and ensures strong connections. Here’s what you’ll need:
A crimping tool made for automotive connectors.
Wire strippers to remove wire coverings neatly.
Heat shrink tubing or electrical tape for extra safety.
A heat gun or lighter to seal the tubing.
Wire cutters or sharp scissors for clean cuts.
Electrical wire that matches your connector’s size.
Wire crimp terminals that fit your wire and connector.
Needle-nose pliers for detailed work (optional).
For better results, try ratcheting wire crimpers. These tools press evenly and work with different terminal sizes. They help avoid weak or loose connections by crimping just right.
Materials You’ll Need for Wire Connectors
Picking the right materials is as important as having good tools. The materials you choose affect how safe and long-lasting your connections are. Here’s what to get:
Wire Size: Use wires that handle current without overheating. Check the AWG system to pick the right size.
Insulation Material: Choose insulation that works in your car’s conditions. XLPE and PVC are common choices.
Connector Selection: Pick connectors that lock securely and work well in your car.
Connector Housing: Protect connections from water, dirt, and chemicals. Nylon or PBT are good options.
Contact Material: Use connectors with materials like gold or tin-plated brass for better conductivity and rust resistance.
Sealing Requirements: If connectors face harsh weather, ensure they meet IP ratings for water and dust protection.
Using quality connectors keeps your car’s electrical system safe and working well. Connectors come in many shapes and sizes, so pick ones that fit your project.
Pro Tip: Always check if your materials match your car’s wiring. This simple step can save you trouble later!
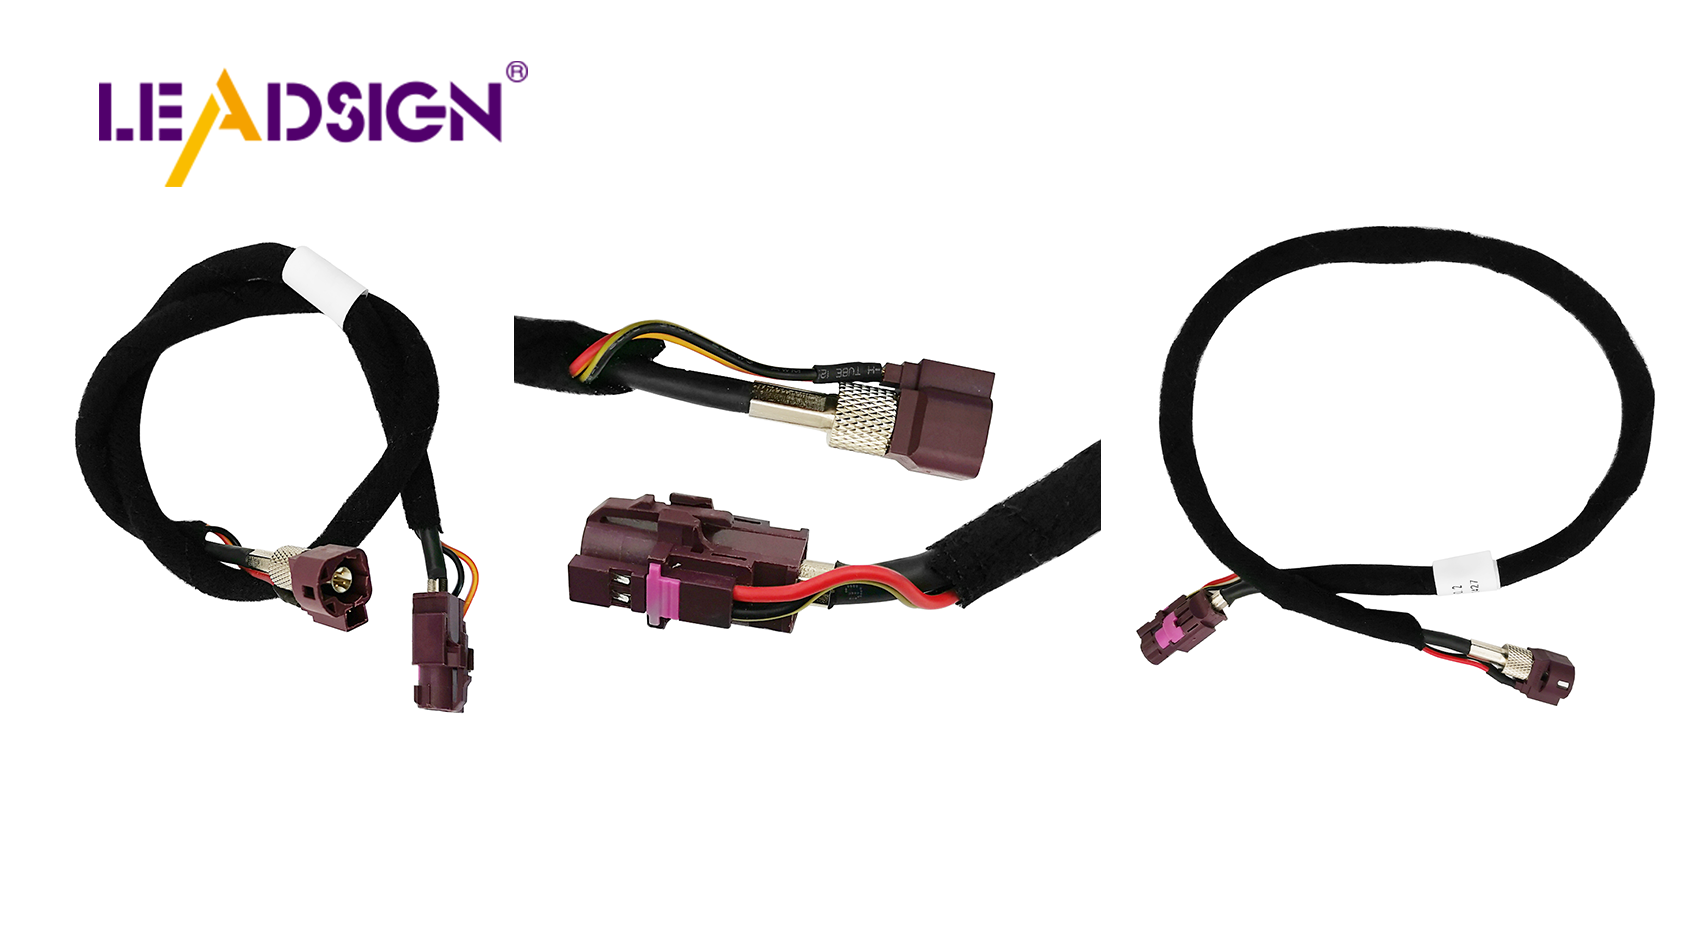
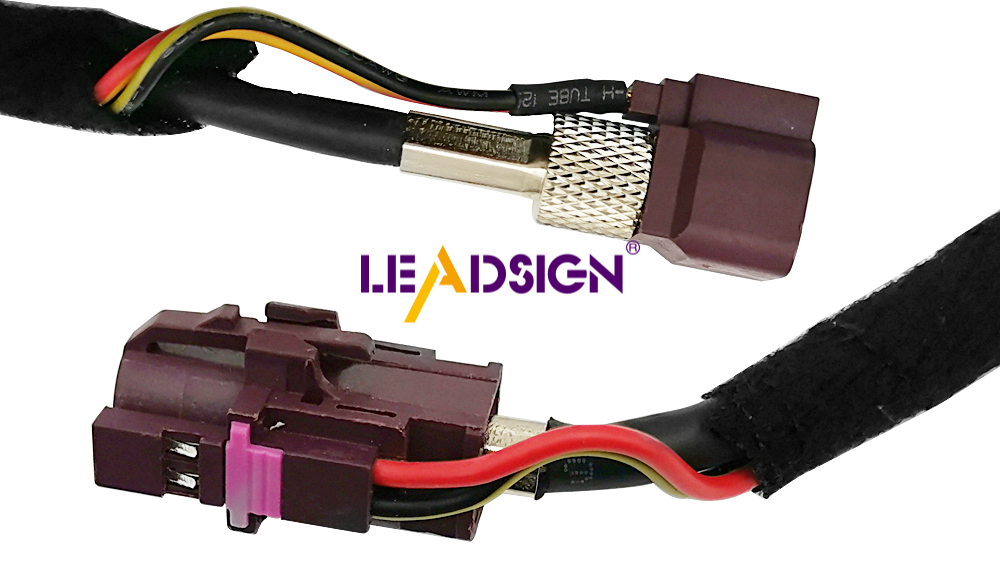
Understanding Auto Harness Connectors
When fixing your car’s wiring, knowing automotive electrical connectors is important. These connectors hold the car’s electrical system together. They help things like headlights and stereos work properly. Let’s look at common types and how to choose the right one.
Common Types of Connectors
Car connectors come in different shapes and sizes for specific jobs. Here’s a simple list of common types and their uses:
Connector Type | What It Does |
|---|---|
Wire-to-wire | Links small parts to the main wire harness. |
Board-to-wire | Connects the engine control unit to power through a PCB header. |
Device Connections | Used in sensors, with pre-assembled female parts for applications. |
A-Group connectors | Links the car’s head unit to the power supply. |
B-Group connectors | Connects speakers throughout the car. |
C-Group connectors | Optional connectors for extra devices. |
D-Group connectors | Optional connectors for navigation systems. |
Each type has a special job. For example, wire-to-wire connectors are for small tasks. Board-to-wire connectors handle bigger jobs like linking the engine control unit.
Pro Tip: Always check the connector type before starting. Using the wrong one can cause problems or damage.
Picking the Right Connector for Your Wiring
Choosing the right connector depends on your car’s needs. Think about these points:
Check if it will face moisture, heat, or dirt.
Pick insulation like XLPE or PVC for protection.
Make sure it meets ISO or SAE safety standards.
Use housing that resists dust and chemicals.
Choose contact materials like gold or tin-plated brass for better flow.
If it’s exposed, ensure it has good sealing.
Make sure it locks tightly to stay connected.
Test it in real conditions before deciding.
By following these tips, your connectors will work well and last longer. Picking the right one keeps your car safe and reliable.
Quick Tip: Not sure which connector to use? Check your car’s manual or ask a professional for advice.
Step-by-Step Installation Process
Preparing the Wires for Installation
Getting the wires ready is the first step in the process. Follow these steps to ensure everything is set up correctly:
Start by stripping the wire insulation. Use a wire stripper to carefully remove about a quarter to half an inch of insulation. Be gentle to avoid damaging the wire strands.
Pick the right connector for your project. Whether it’s a butt connector, ring terminal, or another type, make sure it matches your wire size and purpose.
Insert the exposed wire into the connector’s metal part. Ensure it fits snugly for a secure connection.
If needed, crimp male pins to the wires and add a seal to protect against moisture and dust.
Taking your time during this step ensures the wires are ready for a strong and reliable connection.
Crimping the Connector Securely
Crimping the connector is where the magic happens. Here’s how to do it right:
Gather your tools, including a crimping tool, wire strippers, and the connectors you’ve chosen.
Align the wire and connector properly. Insert the wire into the terminal and position it in the crimping tool.
Apply even pressure with the crimping tool. This step ensures the wire and connector are tightly bonded.
Inspect the crimp. Tug gently on the wire to confirm it’s secure. If it feels loose, redo the crimping process.
For added protection, insulate the connection by applying heat shrink tubing or wrapping it with electrical tape. Use a heat gun to shrink the tubing for a snug fit.
A secure crimp is essential for a durable connection that won’t fail over time.
Securing and Testing the Connection
Once the connector is crimped, it’s time to secure and test the connection:
Double-check that the connector is locked in place. A loose connection can cause issues later.
Perform a visual inspection to ensure there are no exposed wires or gaps in the insulation.
Test the connection using a multimeter. Measure resistance to confirm the connection is solid and free of faults.
If possible, conduct dynamic testing to identify any hidden issues, like intermittent connections or breaks in the wire.
Testing ensures your installation is safe and functional. It’s a small step that can save you from bigger problems down the road.
Pro Tip: Always test your work before moving on. It’s easier to fix issues now than after everything is assembled!
Tips and Precautions for Success
Avoiding Common Installation Mistakes
Mistakes can mess up your car’s wiring or cause damage. Here’s how to avoid them:
Wrong Wiring Connections: Always use your car’s wiring diagram. This helps you connect wires to the right spots.
Wrong Wiring Harness: Check your car model and stereo before buying a harness. The wrong one can cause problems or safety risks.
Messy Wires: Plan where wires will go before starting. Use zip ties or covers to keep them neat and stop tangling.
These steps make your work easier and prevent electrical issues.
Making Connections Last Longer
Want your wiring to last? Follow these tips:
Pick good-quality wires and connectors. Cheap ones break or rust quickly.
Cover connections with heat shrink tubing or tape. This blocks dirt and water.
Don’t bend wires too much. Bends can weaken them and cause breaks.
Secure wires tightly so they don’t move. Loose wires wear out faster.
These tips help your wiring stay strong over time.
Staying Safe While Working
Safety is super important when working with car wiring. Follow these rules to stay safe:
Unhook the battery before starting. Test to make sure no power is flowing.
Keep away from water and metal. Use gloves and insulated tools to stay safe.
Check tools and wires for damage. Replace anything broken or frayed.
Work in a space with fresh air. Have a fire extinguisher nearby, just in case.
Watch out for electrical dangers. Even small shocks can hurt you.
These tips keep you safe and your wiring job secure.
Quick Reminder: Check your work often. Fixing mistakes now is easier than later!
Installing custom automotive wiring harnesses might seem tricky at first, but breaking it into steps makes it manageable. Here’s a quick recap:
Choose the right connector for your task, like butt connectors or ring terminals.
Crimp the wire securely and add seals to protect against moisture and dust.
Test the connection to ensure it’s solid and safe.
Remember: Using the right tools, like crimping tools and wire strippers, ensures strong connections. Safety matters too—always disconnect the battery and work in a well-lit space to avoid accidents.
As a beginner, practice is your best friend. Mistakes will happen, but they’re part of learning. With time, you’ll gain confidence and master the process. So, grab your tools and start building those skills—you’ve got this! 🚗✨
FAQ
What’s the best way to choose the right wire size?
Check your car’s manual or wiring diagram. Match the wire size to the current it needs to carry. This prevents overheating and ensures safety.
Can I reuse old connectors for a new installation?
It’s better to use new connectors. Old ones may have wear or corrosion, which can lead to weak connections or electrical issues.
How do I know if my crimp is secure?
Tug gently on the wire after crimping. If it doesn’t move and feels tight, your crimp is secure. Always test with a multimeter for extra assurance.
Pro Tip: Keep a wiring diagram handy during installation. It’s a lifesaver when figuring out connections!
See Also
Understanding HSD Connectors Used in Automotive Applications
An In-Depth Overview of HSD Connectors Explained
Essential Information on Ford Fakra Connector Types
