How to Securely Install Car Wiring Harness Kits at Home

Intro: A Proper Installation Prevents Costly Comebacks
Correct installation of auto harness connectors is essential for vehicle safety and electrical reliability. Poor installation can lead to loose connections, short circuits, or even electrical fires. Learning to install connectors yourself saves money and builds valuable skills. Using the right tools and following a methodical process ensures your harness performs reliably for years.
In this guide, you will learn:
Essential tools and materials
Step‑by‑step installation procedure
Common mistakes and how to avoid them
How to test your work
2026 trends affecting home installations (camera data cables, EV considerations)
Why LEADSIGN pre‑terminated FAKRA/HSD cables simplify data line installations
1. Tools & Materials for Automotive Wiring Harness Installation
✅ Essential Tools
Tool | Purpose |
|---|---|
Wire strippers (self‑adjusting) | Cleanly remove insulation without nicking copper strands |
Ratcheting crimper (interchangeable dies) | Gas‑tight crimps for terminals |
Soldering iron & rosin‑core solder | Permanent low‑vibration interior splices |
Heat gun | Shrinking heat‑shrink tubing for moisture sealing |
Multimeter | Continuity, voltage drop, and resistance testing |
Cable ties & clips | Securing harness away from sharp edges and moving parts |
Helping hands station | Holding wires steady during soldering |
Wire cutters | Cutting wires to length |
✅ High‑Quality Materials
Material | Benefit |
|---|---|
Marine‑grade wire (tinned copper) | Corrosion‑resistant, ideal for underbody and engine bay |
Adhesive‑lined heat‑shrink tubing | Seals splices against moisture – mandatory for exterior repairs |
Dielectric grease | Protects connector seals – apply to rubber, not electrical contacts |
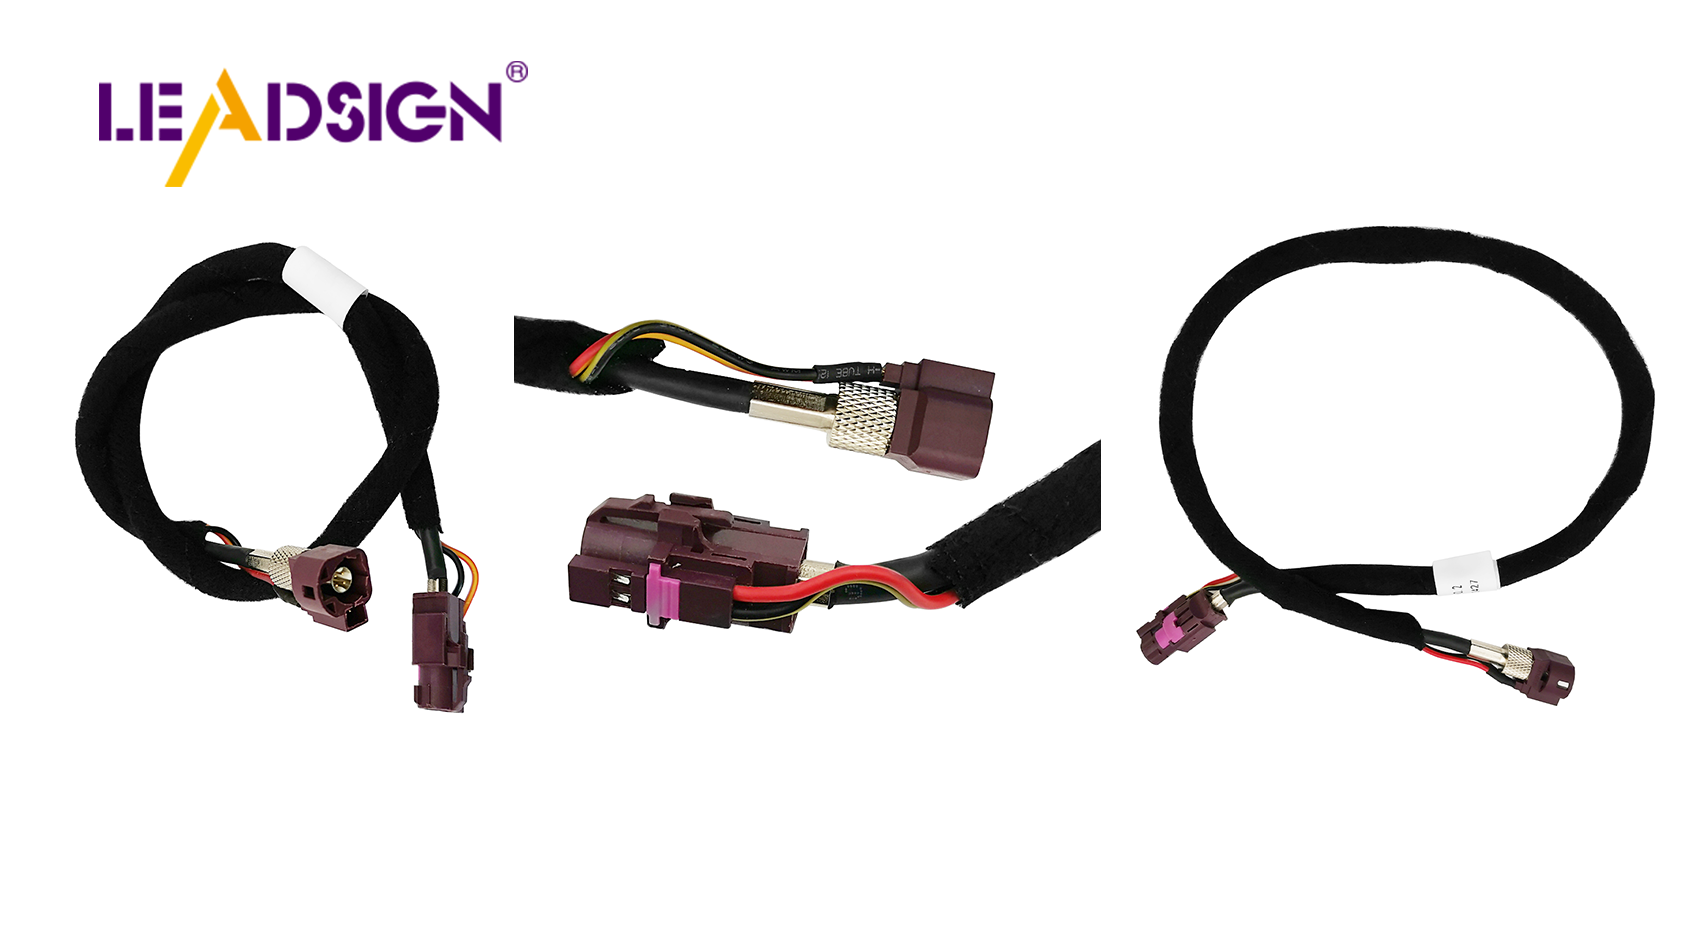
Automotive‑grade connectors (Deutsch, Weather Pack, FAKRA, HSD) | Vibration‑proof, sealed options available |
Split loom tubing / braided sleeving | Protects wires from abrasion and heat |
Pro tip for 2026: For high‑speed data (backup cameras, GPS, USB‑C), use pre‑terminated FAKRA/HSD cables from LEADSIGN – no crimping, no impedance mismatch.
2. Step‑by‑Step Installation Guide
✅ Step 1: Prepare the Wires
Consult the wiring diagram to confirm connections.
Lay out the harness on a workbench and verify wire lengths.
Plan the routing path inside the vehicle.
Strip 5‑8 mm of insulation – do not nick strands.
Slide adhesive‑lined heat‑shrink tubing onto each wire (if using).
Pre‑install terminals (crimp) or leave bare for soldering.
✅ Step 2: Connect Wires Correctly
Connection method | Best for | Key technique |
|---|---|---|
Crimping | Most automotive power and ground circuits | Use ratcheting crimper; perform pull test (5‑10 lbs). |
Soldering | Low‑vibration interior signal wires | Clean wires, heat evenly, apply solder, let cool naturally. |
Heat‑shrink butt splice | Exterior / underbody repairs | Crimp then heat until adhesive seals ends. |
For FAKRA/HSD data cables: Do not field‑crimp or solder – use pre‑terminated LEADSIGN cables.
✅ Step 3: Insert Terminals into Connector Housing
Push the terminal into the housing until you hear an audible click.
Gently tug the wire to confirm retention.
If the connector has a secondary lock (CPA), engage it.
✅ Step 4: Seal & Protect
Apply dielectric grease to rubber seals and housing gaskets – not to electrical contact surfaces.
Slide heat‑shrink tubing over the joint and heat until adhesive oozes.
For bundle protection, use split loom or braided sleeving.
✅ Step 5: Secure the Harness
Use cable ties every 15‑25 cm.
Add strain relief: zip‑tie within 5 cm of each connector backshell.
Keep wires away from sharp edges, hot surfaces (exhaust, turbo), and moving parts.
✅ Step 6: Test the Installation
Reconnect battery (negative last).
With multimeter:
Continuity: Each wire end‑to‑end (beep).
Voltage drop: <0.2V for power circuits under load.
Operate the device (light, camera, radio) – confirm function.
3. Common Installation Mistakes & How to Avoid Them
Mistake | Consequence | Prevention |
|---|---|---|
Nicking copper strands while stripping | Reduced current capacity, wire breakage | Use proper wire strippers, not a knife. |
Poor crimp (too loose or too tight) | Intermittent connection, overheating | Use ratcheting crimper with correct die; pull test. |
No heat‑shrink on exterior splice | Water ingress → corrosion within months | Use adhesive‑lined heat‑shrink for any underbody/engine bay splice. |
Forgetting secondary lock / CPA | Connector separates under vibration | Always engage lock – audible click. |
Routing wires near heat or sharp edges | Melted insulation, short circuit | Use loom tubing; keep away from exhaust, brackets. |
Field‑crimping FAKRA/HSD cables | Impedance mismatch → camera flicker / no signal | Use pre‑terminated LEADSIGN cables. |
4. 2026 Trends – What’s New for Home Installers
Trend | Implication |
|---|---|
4K backup cameras on trucks and SUVs | Use Mini FAKRA (20 GHz) cables; standard coax may cause image loss over long runs. |
5G telematics (dashcams, GPS trackers) | 5G antennas require Mini FAKRA violet low‑loss coax – field repair impossible; use pre‑terminated. |
EV / hybrid DIY projects | High‑voltage (orange) cables – do not touch. Low‑voltage data lines need double shielding. |
Pre‑terminated data cables | Shops and advanced DIYers prefer LEADSIGN plug‑and‑play FAKRA/HSD cables – no crimping, no impedance errors. |
For your home garage: Stock a few common pre‑terminated FAKRA cables (1m, 3m, 5m) in blue (camera) and amber (GPS) – they will cover most repair and upgrade scenarios.
5. Why LEADSIGN – Simplify Data Cable Installation
For power and ground circuits, you can crimp your own terminals. But for high‑speed data (FAKRA, HSD), field termination is error‑prone. LEADSIGN pre‑terminated cables eliminate this problem.
What LEADSIGN offers:
✅ FAKRA (standard & Mini) – all 14 colours, 50Ω, up to 20 GHz, IP67 optional
✅ HSD (USB‑C, Ethernet, LVDS) – 100Ω, locking, up to 5 Gbps
✅ Pre‑terminated cables – any length 0.3m – 20m, no field crimping
✅ Low‑loss, double‑shielded coax – for long runs and EV environments
✅ Bulk pricing – for home enthusiasts and small shops
For your DIY project: When you install a backup camera or GPS antenna, use a LEADSIGN pre‑terminated FAKRA cable – plug‑and‑play, perfect signal, no callbacks.
Final Recommendations – Installation Checklist
Step | Action |
|---|---|
1 | Disconnect battery (negative terminal first). |
2 | Prepare wires – strip 5‑8 mm, no nicks. |
3 | Slide heat‑shrink tubing onto wires. |
4 | Crimp or solder terminals; pull test. |
5 | Insert terminals into connector housing until click; engage secondary lock. |
6 | Apply dielectric grease to seals only. |
7 | Heat‑shrink to seal splices. |
8 | Route harness away from heat/sharp edges; use loom. |
9 | Secure with cable ties (15‑25 cm spacing). |
10 | Test continuity, voltage drop, and device function. |
Remember: A careful, step‑by‑step installation saves hours of troubleshooting and prevents dangerous electrical failures.
Ready to simplify your data cable installation with pre‑terminated solutions?
[Request a free LEADSIGN FAKRA/HSD sample kit] | [Get bulk pricing for pre‑terminated cables]
See Also
Improving Data Transfer in Vehicles Using FAKRA Connectors
Why FAKRA Connectors Matter in Automotive Technology
Maximizing Vehicle Data Flow with Superior Connectors
