How to Install Auto Harness Connectors Aimed at Beginners

Learning to install auto harness connectors helps you fix wiring. It saves money and keeps your car's electrical parts working well. Beginners may struggle with bad tools, skipping steps, or wrong connectors. This guide makes the process simple for better results. Changing connectors is easy when you choose the right one. You can also design harness connectors to fit your needs.
Key Takeaways
Picking the correct auto harness connector is important. Match it to your car's power and surroundings for good results.
Installing wire harness connectors correctly avoids electrical problems. Use safety steps and proper tools for strong connections.
Checking connections with tools like multimeters is key. It ensures your work is right and avoids future issues.
Understanding Auto Harness Connectors
What Are Auto Harness Connectors?
Auto harness connectors are key parts of a car's electrical system. They join harness wires to circuits and power sources, helping current flow smoothly. A connector usually has a male plug and a female jack that fit tightly together. These connectors are made from different materials, with brass and copper being the best because they conduct electricity well.
Auto harness connectors are used in three main ways:
Internal connectivity: They connect things like radios and sensors inside the car.
External connectivity: These let your car link to tools during repairs.
Replacement: They allow quick swapping of connected devices when needed.
Importance of Proper Wire Harness Installation
Installing wire harness connectors the right way is very important. It keeps your car safe and working properly. A good wire harness helps parts communicate and stops problems. It also keeps wires neat and safe from damage, water, or heat. Secure terminals and grounding make your car's electronics safer.
Bad wiring can cause big problems. For instance, a broken harness under the dashboard once caused a sunroof fire, leading to a tragic death. This shows why proper installation is so important to prevent dangers.
Common Applications in Automotive Systems
Wire harness connectors are used in many car systems. Here are some examples:
Engine Wire Harness: Powers parts like the alternator and fuel injectors.
Chassis Wire Harness: Controls lights and anti-lock brakes.
Body Wire Harness: Sends power to safety and comfort features.
Door Wire Harness: Runs power windows and locks, built for frequent use.
Knowing these uses helps you see how wire harness connectors keep your car running smoothly and reliably.
Tools and Materials for Wire Harness Connector Installation
Essential Tools for Installation
Having the right tools makes installation easier and faster. You will need these basic tools to work with wire harness connectors:
Wire strippers to remove insulation without cutting the wire.
Crimping tools to attach connectors securely to wires.
Pliers to hold and bend wires when needed.
Heat guns to shrink tubing and add insulation.
Wire cutters to shorten wires to the right size.
Pleating tools to keep wires organized neatly.
Harness tapes and cable ties to bundle and secure wires.
Keep these tools nearby to make your work simple and accurate.
Recommended Materials for Quality Results
Using good materials makes your installation last longer. Some great materials for wire harness connectors are PVC, polyethylene, and polyurethane. These materials are strong and resist damage, perfect for cars. For more flexibility, use thermoplastic elastomers or cross-linked polyethylene. If you need heat resistance, try fluorinated ethylene propylene or polytetrafluoroethylene. Choosing these materials helps ensure your work is durable and reliable.
Optional Tools for Advanced Installations
For harder jobs, extra tools can make things easier. A multimeter checks if electrical connections work. Soldering irons create stronger bonds between wires and connectors. Labeling machines help mark wires for easy identification. These tools are not required but can improve your work and make it look professional.
Tip: Buying good tools and materials saves time and avoids mistakes during installation.
Step-by-Step Installation Guide for Auto Harness Connectors
Preparing Your Work Area and Ensuring Safety
Before starting, set up your workspace properly. A clean area helps you work safely and quickly. Follow these steps:
Wear gloves and safety glasses to protect yourself from harm.
Clear away clutter and dust to avoid slipping or tripping.
Keep tools in their place for easy access and safety.
Check tools to make sure they are working correctly.
Use the right tool for each job to stay safe.
Block off dangerous areas to avoid accidents.
These steps help you focus on the job without risks.
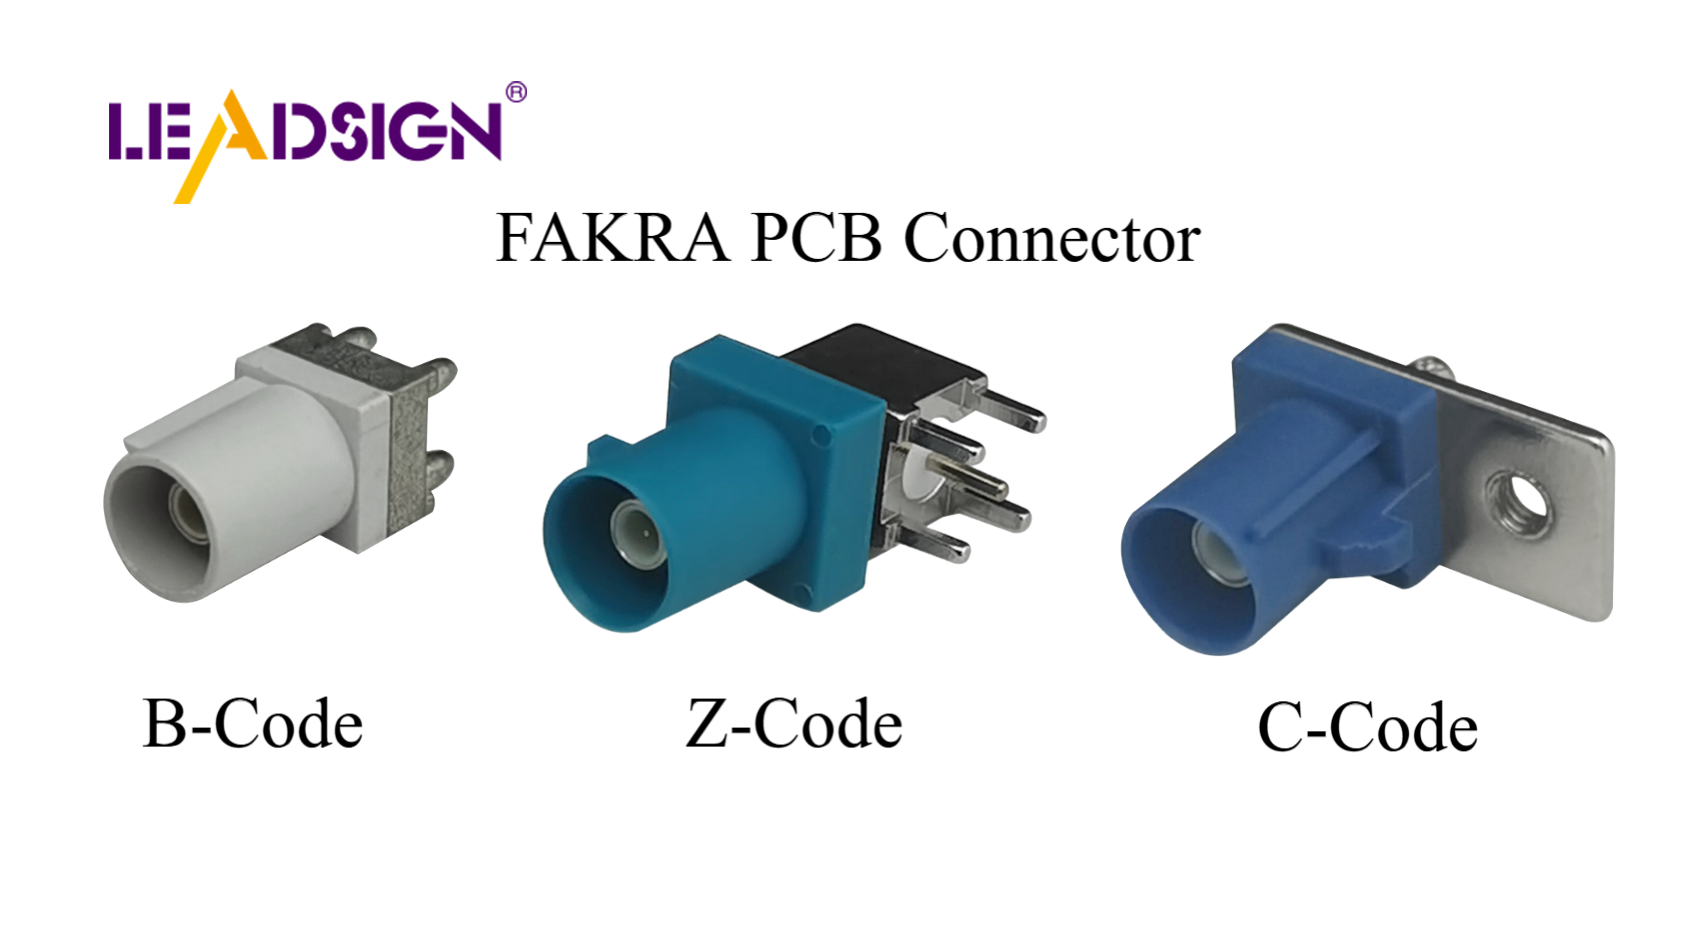
Choosing the Right Connector for Your Application
Picking the right connector is very important. Here’s how to choose:
Match the connector to the job, like blade connectors for tight spots.
Pick strong materials like copper or brass to last longer.
Make sure the connector can handle your car's power needs.
Think about the environment, like waterproof ones for wet areas.
Use easy-to-handle connectors for quick and simple changes.
The right connector makes your car's wiring work better.
Stripping and Preparing the Wires
Getting wires ready is key for a good connection. Follow these tips:
Use a wire stripper to take off insulation without cutting the wire.
Be careful not to damage or cut the wire strands.
For better results, use motorized or heated strippers.
Don’t use diagonal cutters; they’re not made for this job.
If skilled, gently use a razor blade to remove insulation.
Prepared wires make your connections stronger and more reliable.
Attaching the Connector to the Wire
To connect the wire, do these steps:
Strip the wire to the right length with a wire stripper.
Push the wire into the connector until it fits tightly.
Use a crimping tool to secure the wire in place.
Check to make sure the connection looks correct.
Tip: Always follow the instructions from the connector maker.
Securing the Connection Properly
A strong connection stops problems. Use these methods:
Crimp or twist the connector tightly to hold the wire.
Add sealant paste to fill gaps and make it last longer.
Use heat shrink connectors for a tight, durable fit.
Testing ensures the connection stays strong in all conditions.
Insulating and Protecting the Connection
Protecting the connection keeps it working longer. Try these ideas:
Wrap electrical tape around the joint for extra safety.
Use heat shrink tubing to seal and protect the connection.
Pick insulation like PVC or silicone for strength and flexibility.
Good insulation keeps your car's wiring safe from damage.
Testing the Connection for Functionality
Testing makes sure your work is done right. Use these tools:
A multimeter to check voltage, current, and if the circuit works.
A continuity tester to see if the circuit is complete.
A test table to hold the harness steady while testing.
Check all connections to confirm they work before finishing the job.
Common Mistakes to Avoid During Installation
Picking the Wrong Connector Type
Using the wrong connector is a common mistake. Always match the connector to your car's system and its job. For example, a low-power connector in a high-power system can fail. Avoid cheap tools that might harm the connectors during installation. Think about moisture, as non-waterproof connectors can rust. Check your connectors often to catch hidden damage early.
Stripping Wires the Wrong Way
Stripping wires poorly can cause big problems. Taking off too much insulation or cutting wire strands weakens the connection. This can lead to wire failure, overheating, or higher resistance. Nicks in the wire may break under stress or vibration. Always use a proper wire stripper for this task. Never use diagonal cutters, as they can damage the wire.
Crimping Too Much or Too Little
Crimping is key to securing connectors. Crimping too hard can break the wire or connector. Crimping too lightly makes the connection loose and unreliable. Both mistakes can cause electrical problems or safety risks. Use the right crimping tool for your connector type. Follow the maker's instructions for a strong and safe crimp.
Skipping the Testing Step
Not testing your work is a big mistake. Without testing, bad connections might go unnoticed and cause problems later. Testing ensures all connections are secure and working well. Use tools like a multimeter or continuity tester to check your work. Testing helps you find and fix issues before they become serious.
Tip: Testing saves time and money by preventing future problems.
Troubleshooting Wire Harness Connector Installation Issues
Fixing Connections That Fail Testing
When connections fail testing, common problems are often to blame. Knowing these issues and fixing them saves time. The table below shows errors, causes, and solutions:
Error | Cause | Solution |
|---|---|---|
Low Voltage Errors | Missing wires or bad contact | Look for missing wires and fix loose connections. |
Short Circuits | Wrong connections or solder mistakes | Check connectors and remove extra solder or wrong contacts. |
High Resistance | Dirt or weak connections | Clean connectors and make sure they fit tightly. |
Miswires | Wrong wiring or test program mistakes | Rewire correctly and check test programs for errors. |
Use tools like multimeters to test fixes. Always check your work to avoid repeating mistakes.
Resolving Loose or Damaged Connectors
Loose or broken connectors can mess up your car’s wiring. Follow these steps to fix them:
Disconnect the battery to stay safe.
Use tools like crimpers or soldering irons for strong fixes.
Test the fixed connectors to ensure they work properly.
Check connectors often for rust, looseness, or damage. Moisture and heat can cause these problems. Replacing bad connectors early stops bigger issues.
Identifying and Correcting Wiring Errors
Wiring mistakes can make systems stop working. To find and fix them:
Turn off power and use a voltage tester to confirm no electricity.
Tighten all connections and replace broken parts.
Use a multimeter to check for continuity, voltage, and resistance.
Other tools like circuit testers can help with tricky problems. Careful checks and tests make sure your wiring works well.
Installing wire harnesses correctly keeps your car safe and working well. It has many advantages:
Prevents short circuits by keeping wires secure.
Makes installation easier and avoids mistakes.
Helps save gas by improving fuel use.
Makes wires stronger to handle tough conditions.
Follow the steps closely to get better at it. For harder skills, check out books like Automotive Wiring and Electrical Systems, online videos, classes, or training programs. These can help you handle tricky tasks with ease.
Learning wire harness installation improves your car's performance and your skills. Keep practicing and getting better!
FAQ
How do I pick the right wire harness connector?
Choose a connector that fits your car's power needs. Think about where it will be used, like wet areas needing waterproof ones. Always match the connector to the specific job.
How do I check if a connection works?
Use a multimeter to measure voltage and check continuity. A continuity tester helps confirm the circuit is complete. Testing makes sure your connection is safe and working.
Why is insulation needed for wire harness connectors?
Insulation keeps connections safe from water, heat, and damage. It stops short circuits and helps wires last longer. Use strong materials like PVC or silicone for better protection.
See Also
Understanding HSD Connectors Essential For Automotive Applications
Discovering Advantages Offered By Fakra Automotive Connectors
Significance of HSD Connectors Within Automotive Sector
