Best Practices for Using Auto Wire Connector Types – Professional B2B Guide (2026)

Intro: Proper Connector Selection and Installation Prevent Failures and Improve Safety
Using the correct automotive electrical connector type – bullet, butt, spade, or quick‑disconnect – is essential for vehicle safety and performance. Incorrect selection or poor installation leads to loose connections, corrosion, voltage drop, and intermittent failures. This guide covers common connector types, how to choose the right one, essential tools, step‑by‑step installation, and testing procedures. For high‑speed data applications (cameras, GPS, USB‑C), specialised FAKRA/HSD connectors are required, and LEADSIGN offers pre‑terminated cables that eliminate field termination errors.
1. Common Automotive Connector Types – Quick Reference
Connector type | Description | Best use | Pros | Cons |
|---|---|---|---|---|
Bullet | Round male/female snap‑together | Quick disconnect (lights, speakers) | Fast, tool‑less disconnect | Can loosen under vibration |
Butt | Cylindrical splice, crimp | Permanent wire repair, extension | Gas‑tight, vibration‑resistant | Not reusable; requires crimp tool |
Spade (fork) | Flat fork‑shaped terminal | Relays, switches, fuse boxes | Easy attach/detach | Can loosen; limited current |
Quick disconnect | Flat tab and receptacle | Frequent connect/disconnect | Tool‑less, fast | Moderate retention |
Key insight: For power and low‑frequency signals, these four types are suitable. For high‑speed data (GPS, camera, USB‑C, Ethernet), you must use FAKRA (50Ω) or HSD (100Ω) connectors.
2. How to Choose the Right Connector
Selection factor | What to evaluate | Example |
|---|---|---|
Wire gauge (AWG) | Match terminal colour (red=22‑18, blue=16‑14, yellow=12‑10) | 16 AWG wire → blue terminal |
Environment | Moisture, heat, chemicals → sealed or heat‑shrink | Underbody → adhesive‑lined heat‑shrink butt |
Vibration | High vibration requires secondary lock or tight crimp | Engine bay → Deutsch or quality crimp |
Current | Must exceed circuit load | 15A fan → blue butt connector |
Frequency of disconnect | Frequent → bullet or quick disconnect | Test leads, speakers |
Pro tip: For exterior or underbody applications, always use sealed connectors (heat‑shrink butt or Weather Pack). Unsealed connectors will corrode within months.
3. Essential Tools and Materials
✅ Tools
Wire strippers (self‑adjusting or gauge‑specific) – clean strip without nicking strands.
Ratcheting crimper (interchangeable dies) – consistent, gas‑tight crimps.
Soldering iron & rosin‑core solder (optional, for low‑vibration interior).
Heat gun – for shrinking adhesive‑lined heat‑shrink tubing.
✅ Materials
Auto wire connectors (bullet, butt, spade, quick disconnect) – match wire gauge.
Heat‑shrink tubing (adhesive‑lined for exterior/underbody) – seals and insulates.
Electrical tape (temporary or secondary insulation – not for primary seal).
4. Step‑by‑Step Installation Process
🔹 Preparing the Wire
Strip insulation – use wire stripper to remove 5‑8 mm of insulation. Do not nick copper strands.
Twist strands (if stranded) – twist clockwise to keep strands together.
🔹 Making the Connection
Method | Steps | Best for |
|---|---|---|
Crimping (preferred for most automotive) | Insert wire into terminal, place in crimper with correct die, squeeze until ratchet releases, pull test | High‑vibration, permanent connections |
Soldering (optional) | Heat wire and terminal, apply solder until it flows, let cool naturally, cover with heat‑shrink | Low‑vibration interior signal wires |
Crimping tips:
Use a ratcheting crimper – not pliers.
Perform a pull test (5‑10 lbs) – wire should not move.
For exterior splices, use adhesive‑lined heat‑shrink butt connectors.
🔹 Sealing the Connection
For exterior/underbody: slide adhesive‑lined heat‑shrink tubing over the crimp, heat until adhesive oozes.
For interior: unsealed is acceptable; electrical tape may be used for temporary insulation.
5. Testing the Connection
Test | Tool | Procedure | Pass / Fail |
|---|---|---|---|
Visual inspection | Magnifying glass, bright light | Check for full wire insertion, no exposed copper, no cracked housing | No visible defects |
Pull test | Hand (5‑10 lbs) | Gently tug wire – should not come out | Wire stays in terminal |
Continuity | Multimeter (beep mode) | Probe from one end of wire to the other | Beep = good |
Voltage drop | Multimeter (DC volts) | Measure voltage across connection while circuit is loaded | <0.2V = good |
Pro tip: Always test before final assembly. A 10‑second check can prevent a 1‑hour callback.
6. Quick Disconnect Harnesses – Simplified Wiring
Quick disconnect harnesses (pre‑terminated with colour‑coded wires and mating connectors) are excellent for:
Aftermarket stereo installations
Lighting upgrades (LED bars, fog lights)
Accessory power distribution
Advantages:
Colour‑coded – reduces wiring errors
Tool‑less mating – saves labour time
Pre‑crimped terminals – eliminates field crimping errors
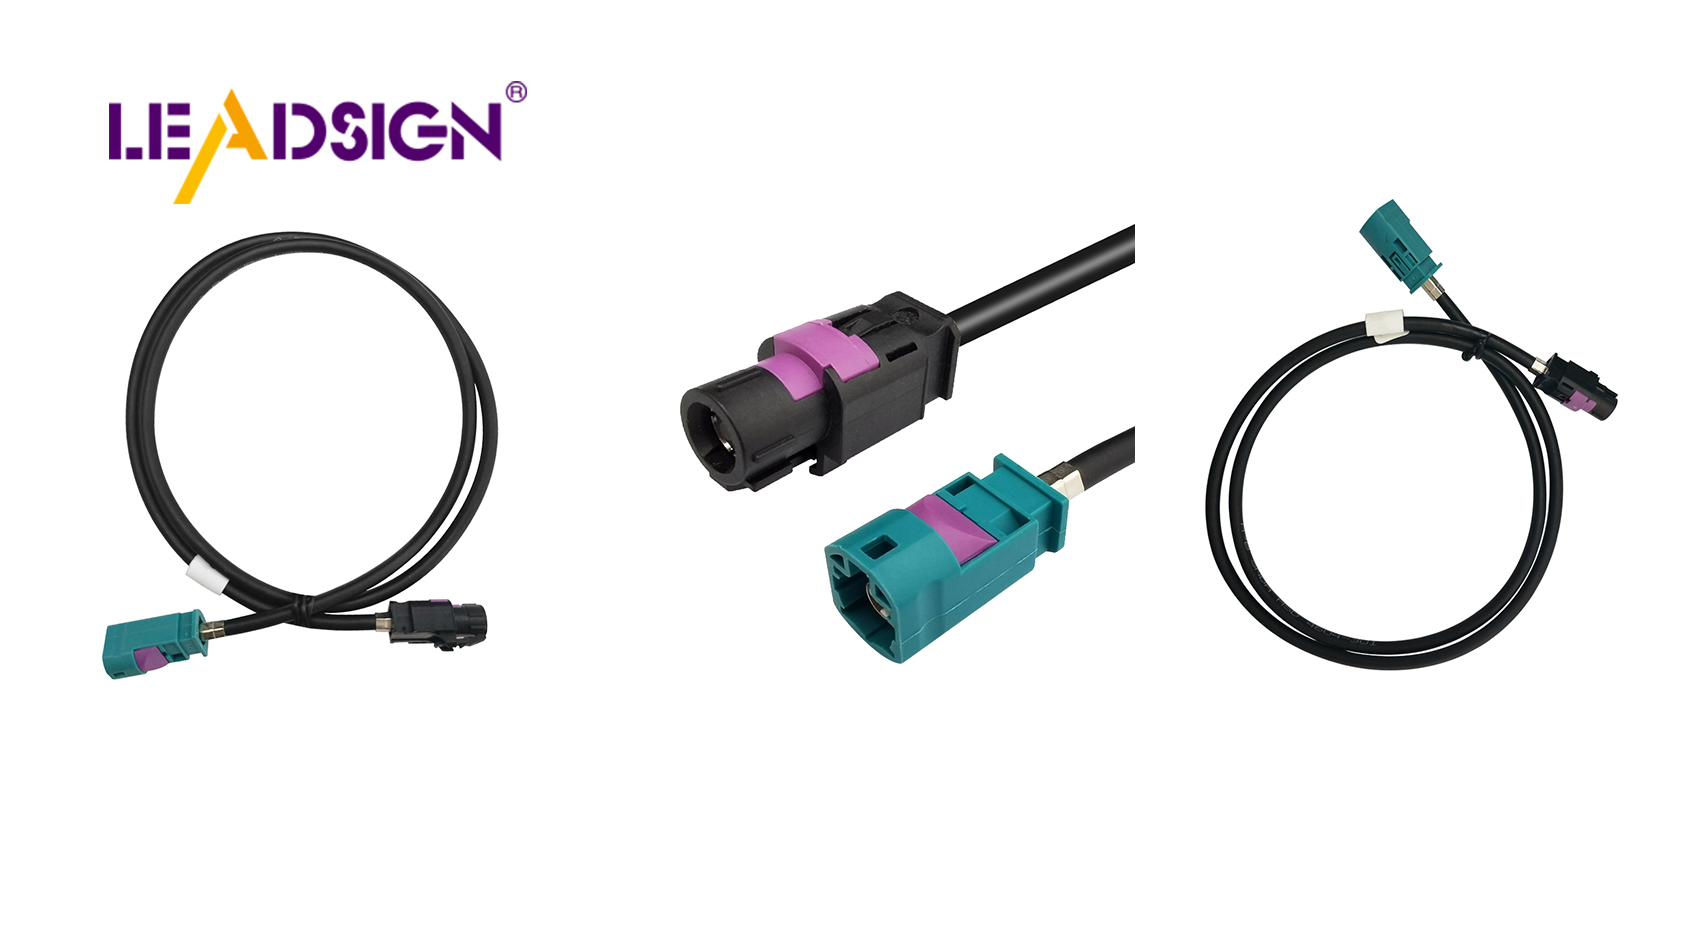
For high‑speed data quick disconnects (FAKRA, HSD): Use LEADSIGN pre‑terminated cables – available in custom lengths, colour‑coded for function (amber=GPS, blue=camera, violet=5G).
7. Common Mistakes and How to Avoid
Mistake | Consequence | Prevention |
|---|---|---|
Using wrong wire gauge terminal | Loose fit, overheating | Match terminal colour to wire AWG |
Stripping too much insulation | Exposed copper, short circuit risk | Strip only 5‑8 mm |
Nicking strands while stripping | Wire breakage under vibration | Use sharp, correct‑size stripper |
Poor crimp (too loose) | Intermittent connection, arcing | Use ratcheting crimper; pull test |
No heat‑shrink on exterior splice | Water ingress → corrosion | Use adhesive‑lined heat‑shrink |
Using unsealed connector underbody | Corrosion within months | Use IP67 sealed or heat‑shrink butt |
8. 2026 Trends – What’s Changing
Trend | Implication |
|---|---|
4K cameras and 5G telematics | Data connectors (FAKRA, HSD) are required – traditional bullet/butt/spade cannot carry video or high‑frequency signals. |
EV / hybrid | High‑voltage (orange) connectors – do not touch. Low‑voltage data lines need double shielding. |
Pre‑terminated cables | Shops prefer LEADSIGN plug‑and‑play FAKRA/HSD cables – no field crimping, guaranteed impedance. |
Quick disconnect harnesses | Increasingly used for aftermarket accessories – colour‑coded, labelled, ready to install. |
9. Why LEADSIGN – For High‑Speed Data Connectors
For power and basic signal, bullet, butt, spade, and quick disconnect connectors from any quality brand are sufficient. However, for high‑speed data (backup cameras, GPS, 5G, USB‑C, Ethernet), LEADSIGN provides pre‑terminated, colour‑coded FAKRA and HSD cables.
What LEADSIGN offers:
✅ FAKRA (standard & Mini) – all 14 colours, 50Ω, up to 20 GHz, IP67 optional
✅ HSD (USB‑C, Ethernet, LVDS) – 100Ω, locking, up to 5 Gbps
✅ Pre‑terminated cables – any length 0.3m – 20m, no field crimping
✅ Low‑loss, double‑shielded coax – for long runs and EV environments
✅ Bulk pricing – for shops, fleets, and distributors
For your business: When you install a backup camera or GPS antenna, use a LEADSIGN pre‑terminated FAKRA cable – correct connector, correct impedance, ready to install.
Final Recommendations – Connector Selection and Installation Summary
Application | Recommended connector | Seal required? | Source |
|---|---|---|---|
Interior light / switch (low current) | Bullet or spade (unsealed) | No | Any |
Permanent wire repair (interior) | Butt (unsealed) | No | Any |
Permanent wire repair (underbody) | Heat‑shrink butt | Yes | Any |
Engine bay sensor (vibration) | Crimp butt with heat‑shrink or Deutsch | Yes | TE / Deutsch |
GPS antenna | FAKRA amber (50Ω) | Optional | LEADSIGN pre‑terminated |
1080p backup camera | FAKRA blue | Optional | LEADSIGN |
4K camera (truck/bus) | Mini FAKRA blue (low‑loss) | IP67 optional | LEADSIGN |
5G telematics | Mini FAKRA violet | IP67 optional | LEADSIGN |
USB‑C CarPlay | HSD USB‑C | No (interior) | LEADSIGN |
Remember: Proper connector selection and installation prevent electrical gremlins, reduce callbacks, and ensure vehicle safety. For power circuits, crimp correctly. For data circuits, use pre‑terminated FAKRA/HSD cables – never field‑crimp.
Ready to simplify your high‑speed data connections with pre‑terminated cables?
[Request a free LEADSIGN FAKRA/HSD sample kit] | [Get bulk pricing]
See Also
Enhancing Automotive Efficiency with HFM Connectors
Benefits of HFM Connectors for Automotive Sector
Significance of FAKRA Connectors in Automotive Uses
